The Glassmakers Home   Gallery   Contact   Events & Projects   Projects: 2019 On   Film & TV   Archive & Links 1999 Time Team York  Furnace
1999 Time Team Furnace at York (just three days!)

Projects: 2019 Onwards   Short Article on the Time Team Furnace by Denise Allen

Over the September Bank Holiday 1999, we were asked by Channel 4's Time Team to take part in their ambitious live programme from York. The task was to blow a reproduction of a typical Roman glass jug, using a replica of a Roman wood-fired furnace. The furnace was built using modern materials for the sake of convenience and speed, under the supervision of Beryl Hines, a potter specialising in ancient kilns, and reached a temperature of about 1200°C, which was maintained day and night until Sunday morning, when it was lowered to about 1100°C for blowing.

By Sunday afternoon the glass was in a fit state to be blown, and Mark successfully blew several vessels for the cameras. These six live programmes were edited down into one hour-long documentary, (featuring the glassblowing sequence), which was broadcast at the end of the 2000 series of Time Team. The experiment provided fascinating insights into the way a Roman glassmaking team would have worked, and the co-operation necessary for making glass this way.
Furnace Build

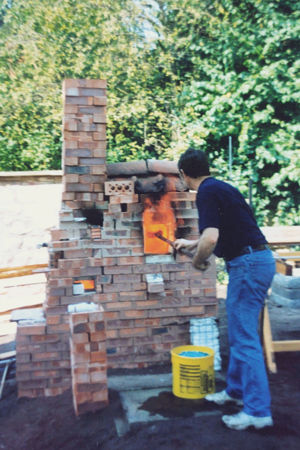
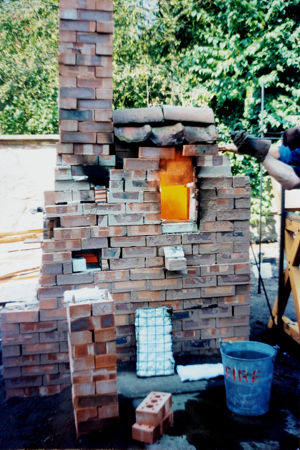
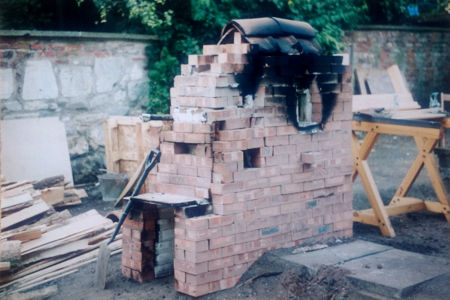
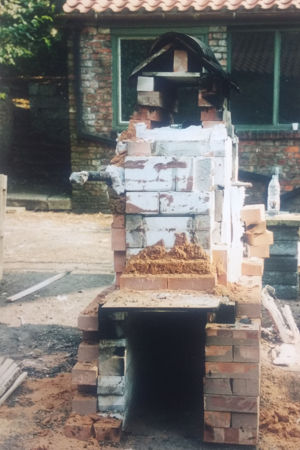
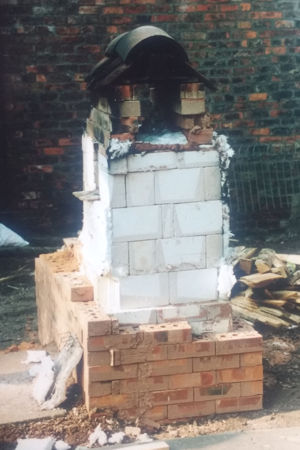
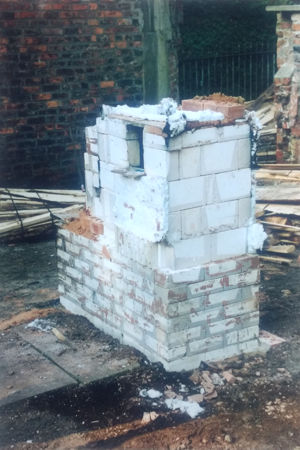
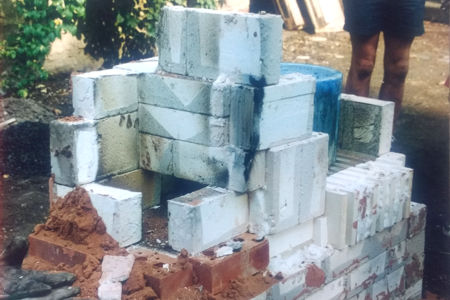
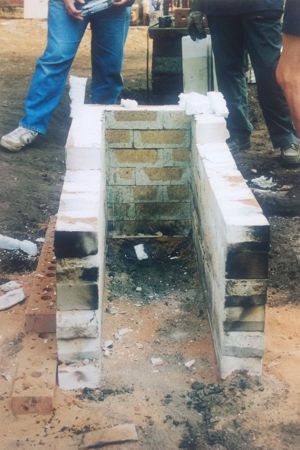
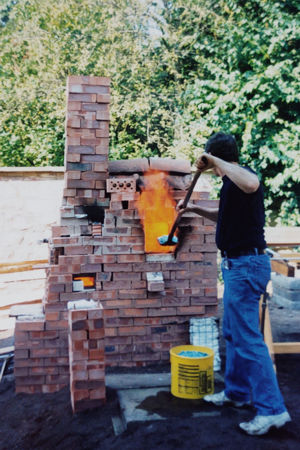
The furnace was built on a level bed of sand using HTI (High Temperature Insulation) bricks with an outer layer of housebricks, all luted together with a clay slip. Ceramic fibre blanket was used between the two layers of bricks, as was sand above the stoke hole.

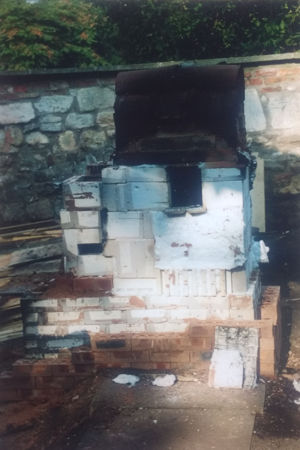
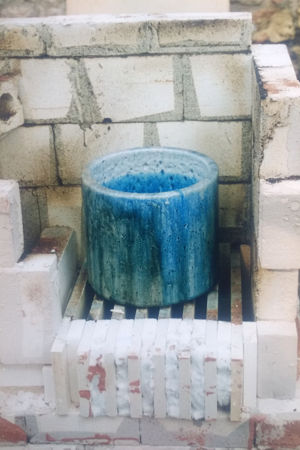
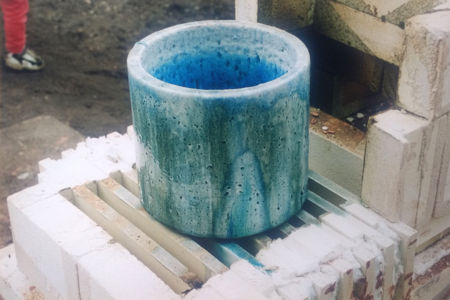
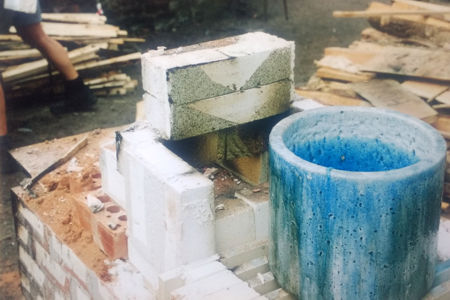
An ingenious method of constructing the siege for the pot was to lay kiln batts vertically, spaced using HTI splits. Kiln batts were also used for the roofs of the firing chamber and the melting chamber.

As an added insurance, we included a propane gas burner. It was not needed as wood proved an adequate fuel.

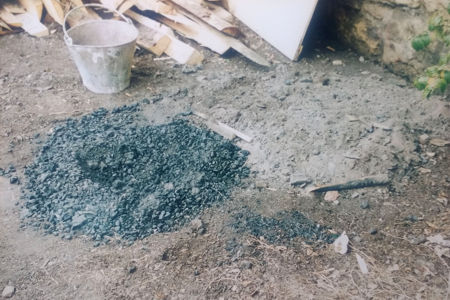
A small annealing oven was built above the melting chamber (although it never became hot enough for annealing). We used a small pit of hot ashes instead - with varying results!

We added a pipe warming hole at the base of the flue and a pillar of bricks to support the irons. Two paving slabs in front of the gathering hole formed a working platform.

Section drawings (click to enlarge)
Beginning of build Building firing chamber Adding pot supports (siege)
Adding pot supports (siege) Building melting chamber

Furnace Firing

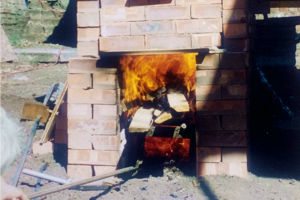
Although the furnace was a bit of a monster, it actually worked very well. The stokers were able to maintain the temperatures and although the glass still had plenty of bubbles, it was blowable.

The damper at the base of the flue was used to control the gathering hole heat outflow, so a positive pressure in the melting chamber forced some of the exhaust gases out of the gathering hole to allow for efficient reheating. In fact, the flue was unnecessary (as we now know from having built and worked at numerous wood-fired furnaces - March 2020).

Temperature chart

This is from the Time Team website at the time:

It's just after 2pm and Mark Taylor the glass blower is preparing to make a replica Roman glass jug. He is using a wood-burning furnace, which was built in just one day (Friday) to what is thought to be an authentic Roman design, by potter Beryl Hines and her team of four from Suffolk.

The furnace had been kept at a temperature of between 1100° and 1200° centigrade for 18 hours so that the molten glass stayed fluid enough to allow the bubbles to escape or dissolve. This involved Beryl and her team working in shifts overnight to keep stoking the furnace.

"The transformation in the glass was amazing," says Beryl. 'The early samples were almost grey because there were so many bubbles in them, but the samples we took out earlier today were beautifully green and clear.'

The task

OK, so the furnace worked so far, but would it - and the molten glass - be good enough to enable Mark to make the delicate Roman glass vessel that Roman glass expert Denise Allen had set him as a task? The moment of truth… Mark takes a lump of molten glass, slightly smaller than a tennis ball, from the bucket-sized crucible in the furnace.

The glass is a glowing red blob that quickly cools to dark brown. Mark blows a little air into it, it expands. Mark puts it back into the furnace to reheat it, to keep the glass malleable. He blows a little more and reheats again, in a constant process of blowing, shaping and reheating the glass, using a combination of traditional hand tools, gravity and 'letting the glass do its own thing'.

A furnace temperature of just under 1100° centigrade is needed to keep the glass moving. At one point Mark notices that the fire is dropping (an almost imperceptible difference but one that Mark's expert eye spots) and the glass is becoming more difficult to work so he waves furiously at John the stoker to pile more wood on the fire.

The completed jug (still hot!)

Mark adds a little more glass to make and shape the base. (No, I don't! - the jug has a folded foot. The writer probably mistook the function of the punty.) He adds a fine twirl of glass around the neck and the decorative handle and - voila! The jug is finished - but not quite. It has to anneal.

"This is critical," says Mark who, with his business partner David Hill, makes a wide range of replica Roman glassware. "If the glass cools too quickly and unevenly it can shatter now, or at a later date when it is in use."

A typical Roman annealing chamber would be at 550°centigrade. The vessel would stay there for about 45 minutes and then it would be cooled slowly, possibly in a special small furnace or in ash pits. Ash pits are frequently found in excavations of Roman and other ancient glass blowing sites.

"The tools Mark uses are pretty much the same as the Romans would have used," explains Denise (Allen). "He uses pucellas - which have developed from shears, wooden sticks, blowing rods and other simple tools. These stayed the same until the industrial revolution and all hand-blown glass is still made that way."

An average Roman glass blower could make three of these jugs an hour, reckons Mark. But it would be hard work.


Firing furnace Firing furnace Firing furnace Firing furnace
Filling the pot (© Denise Allen) Filling the pot (© Denise Allen) Filling the pot (© Denise Allen)

Furnace Demolition

The demolition was fairly straightforward, being a reversal of the construction phase.

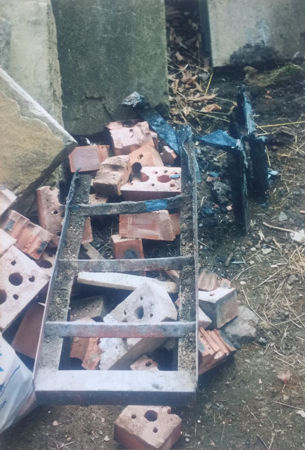
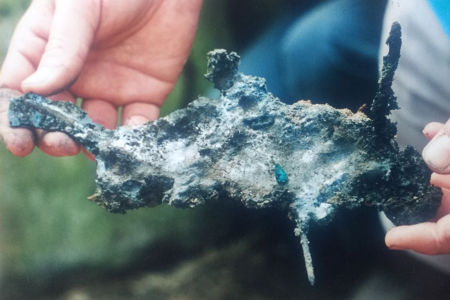
The pot had developed a small leak about halfway down the wall, and the glass had flowed onto the siege and down into the firepit, where it had combined with the partially-melted grate, some nails from the burnt wooden planks, and charcoal and ash to produce a few lumps of this conglomerate.

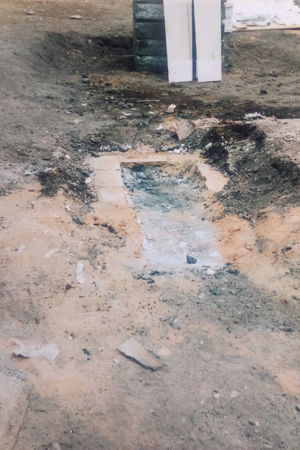
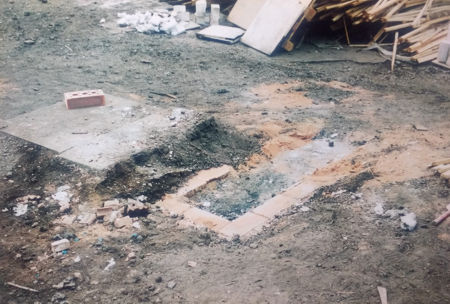
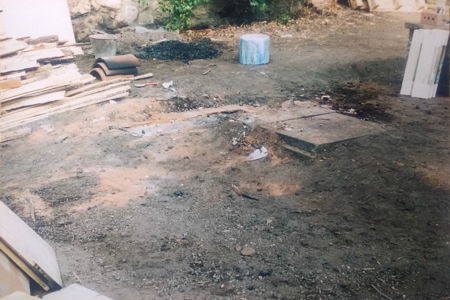
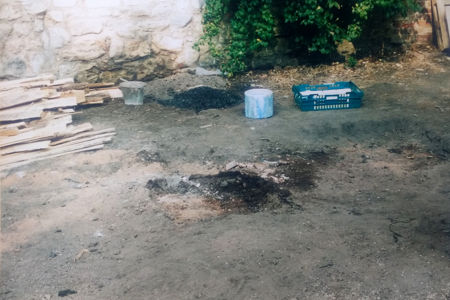
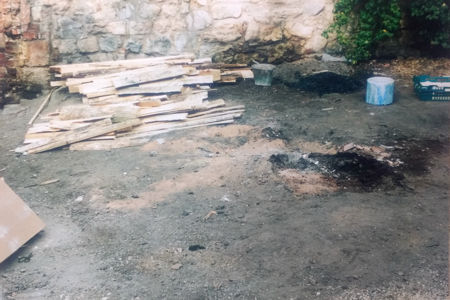
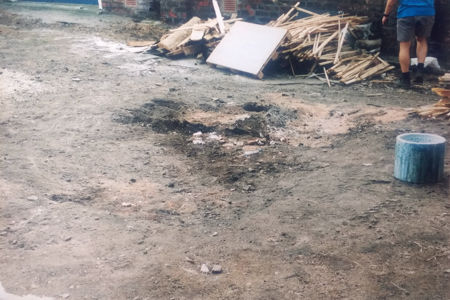
After the paving slabs had been removed, the area was purposely kicked and scuffed to simulate natural weathering, producing an indistinct area with some scattered sand, charcoal and small lumps of glass.

Demolishing furnace
Demolishing furnace Demolishing furnace
View of pot Mild steel grate
Agglomeration from firing chamber Demolishing melting chamber and flue
View of pot showing leak from crack Demolishing melting chamber
Demolishing firing chamber Ash and charcoal used as annealing pit
Furnace footprint Furnace footprint and working platform
Furnace footprint and working platform Scuffed furnace footprint
Scuffed furnace footprint Scuffed furnace footprint

Home   Gallery   Contact   Events & Projects   Projects: 2019 Onwards   Film & TV   Archive & Links