
Introduction ('Home')
Construction Phase
General Photographs
Pot Furnace Repair Photographs
Pot Furnace Marver Photographs
Small Furnace Construction
Lehr Construction Photographs
The construction phase for the small furnace has been divided into four sections
Superstructure Construction Photographs
Marver Photographs
Pot Setting Photographs
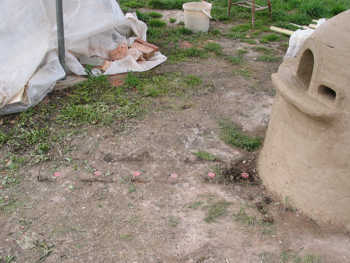
Trench and Wiring Photographs
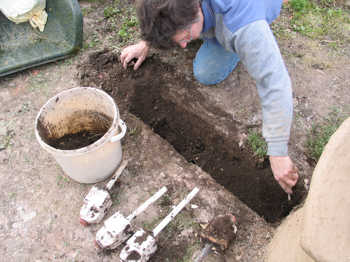
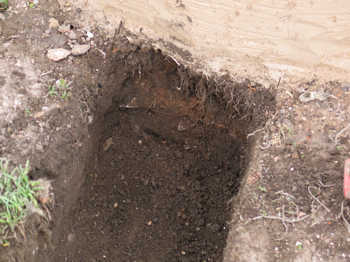
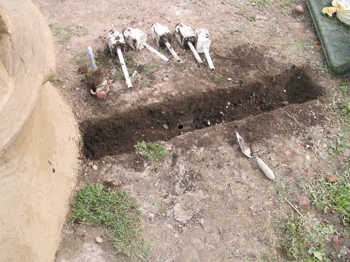
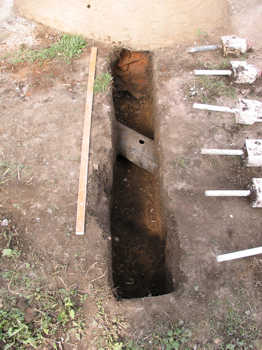
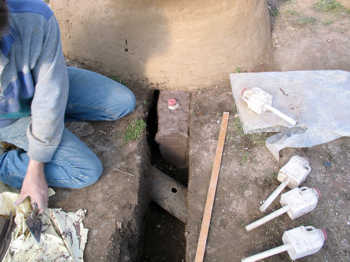
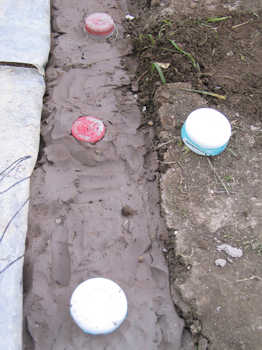
We decided to take ground temperature readings as we had in 2005, but to vary the type of soil. We dug a 30cm deep trench radiating out from the small furnace and filled it with clay, inserting six thermocouples, one every 20cm.
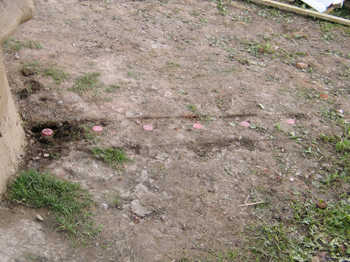
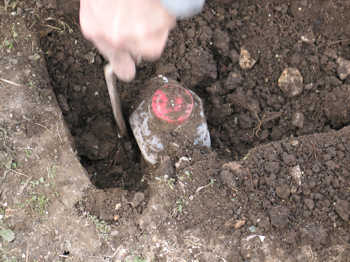
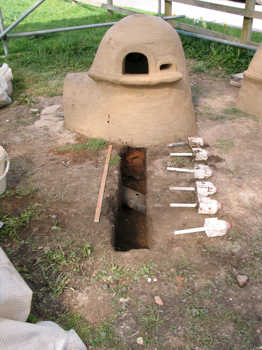
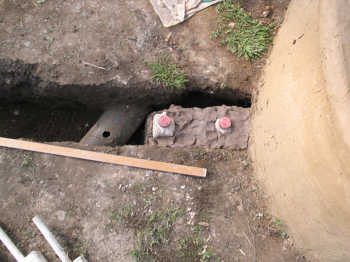
We protected the thermocouples by inserting them in plastic pipes (the pipe closest to the furnace was a copper tube) which were mounted in plastic milk bottles filled with plaster. The thermocouple wires ran underground, in plastic pipes, to the readers positioned several metres away.
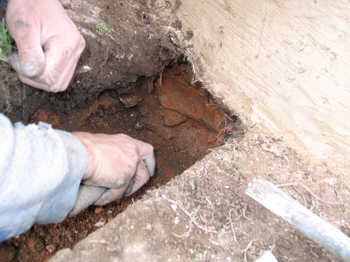
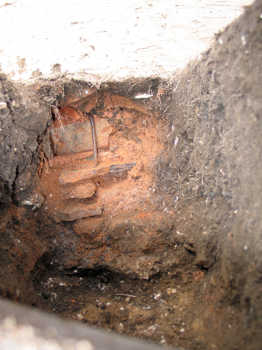
We had the opportunity to examine the outer surface of the fire chamber wall. The daub bonding the tiles has been fired, and shows orange in the photographs.
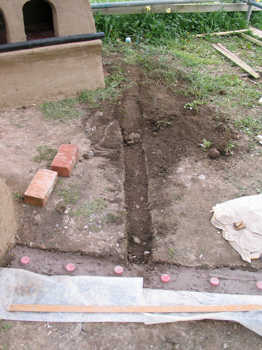
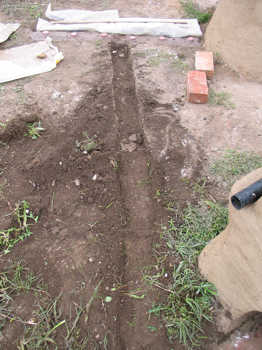
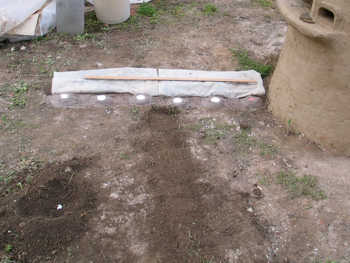
The top of the clay and the bottletops were covered in soil to protect them and to give a uniform working surface.
Compare the following photographs with those of the trench at the end of the three-week firing on this page
|
|
|
|
|
|
|
|
|
|
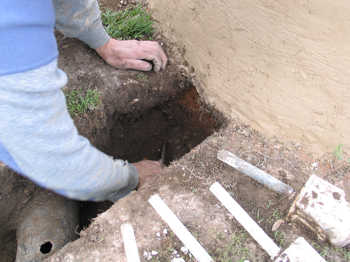
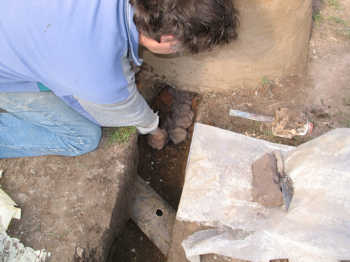
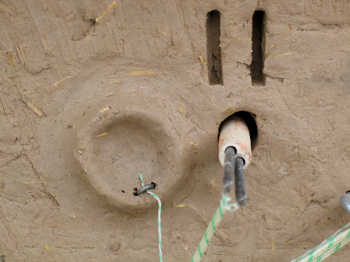
The hole in the pipe seen in the trench was the result of siting one of the thermocouples for the previous furnace exactly in the centre of the pipe. We accomplished this without knowing the pipe was there. Luckily, the pipe was disused!
|
|
|
|
|
|
|
|
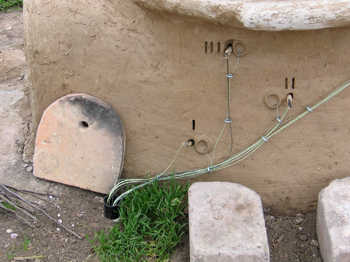
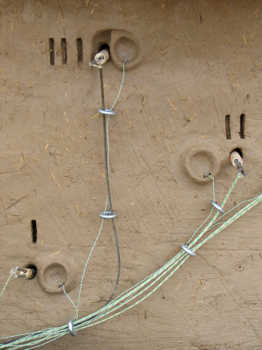
The wires for the furnace wall temperature measurements (also piped underground) were guided around the furnace wall using vine eyes, and the cold face thermocouples were fixed to the surface with a thin smear of daub. They were each given a small protective ring of daub.
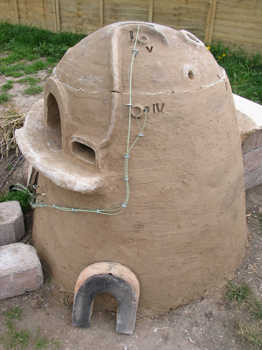
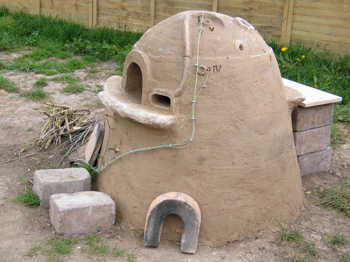
The curved ridge of daub was added to shelter the thermocouples at positions IV and V from the waste gases from the gathering hole. These features also gave extra character to the furnace!
|
|
|
|
|
|
"If you build it, they will come."