 Home
Gallery
Contact
Events & Projects
Projects: 2019 On
Film & TV
Archive & Links
 Home
Gallery
Contact
Events & Projects
Projects: 2019 On
Film & TV
Archive & Links
|

|
2021 Furnace ('Phoenix') and Lehr at Quarley - Repairs to Phoenix after Firing One (August 2021)
Projects: 2019 Onwards
Woodshed Build
The Woodpile
IFoG Furnace Removal
Firepit Reconstruction
Furnace Superstructure Build
Phoenix Firing One
Repairs after Firing One
Phoenix Firing Two
Repairs after Firing Two
|
Phoenix Firing One Repairs
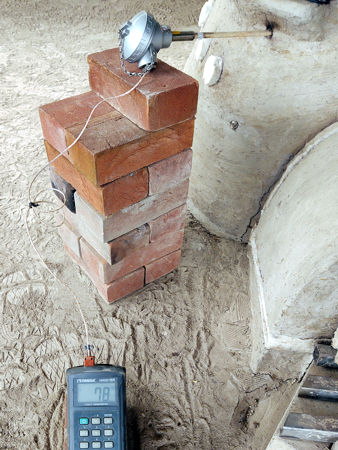
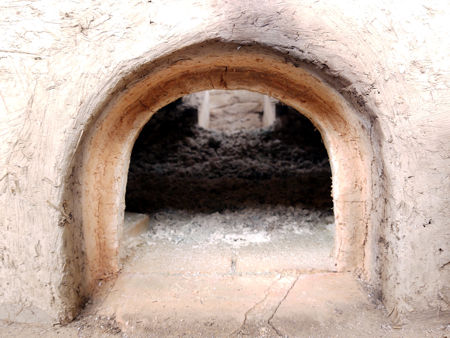
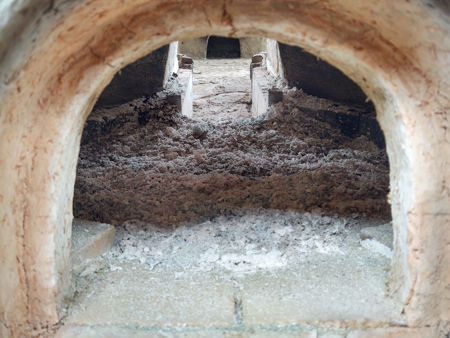
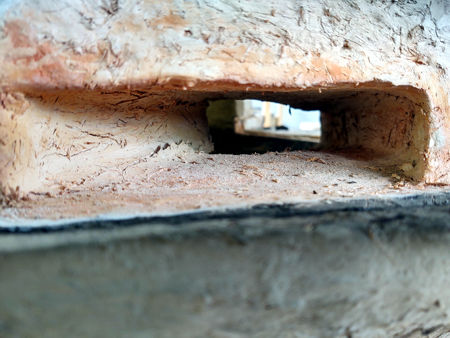
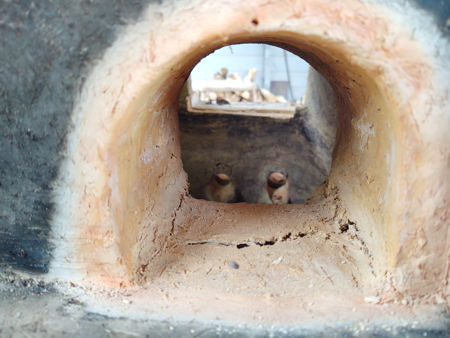
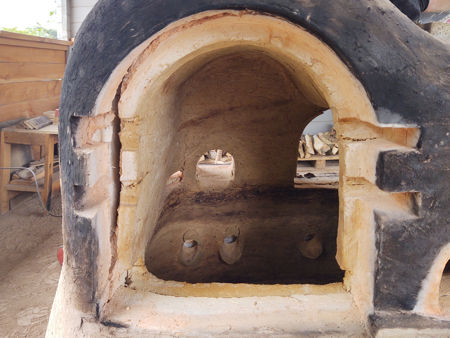
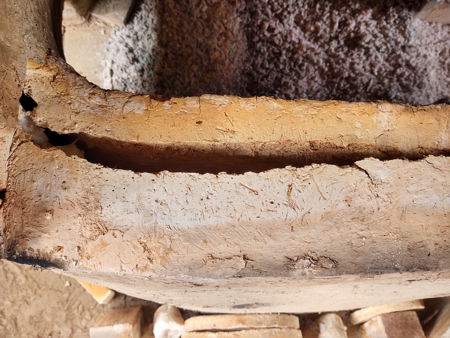
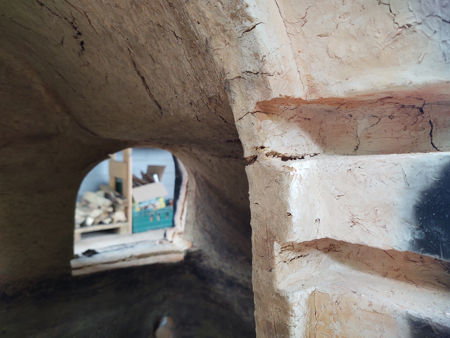
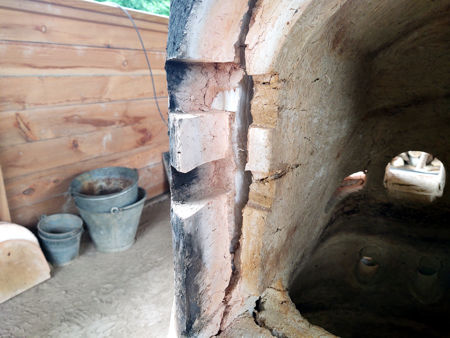
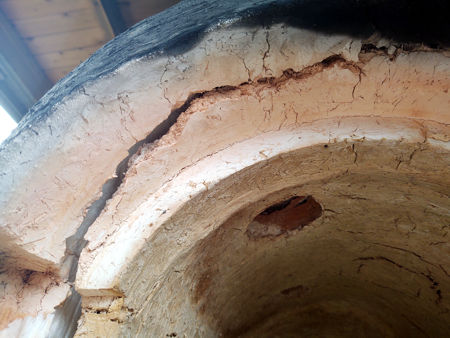
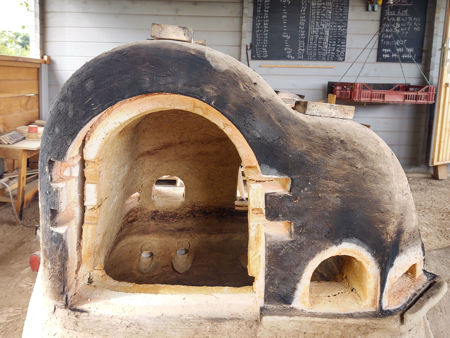
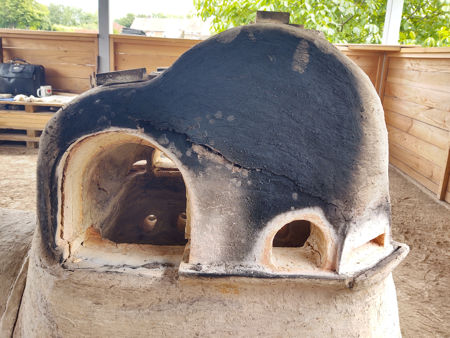
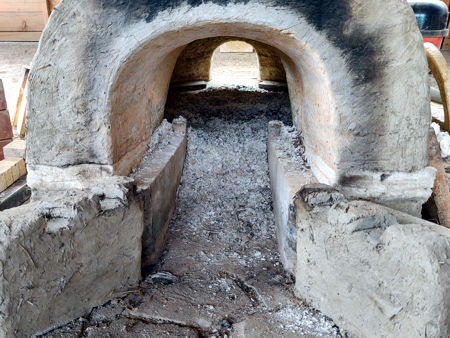
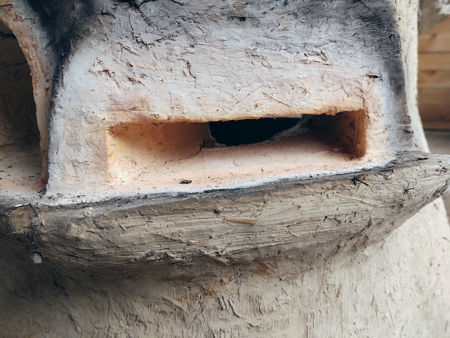
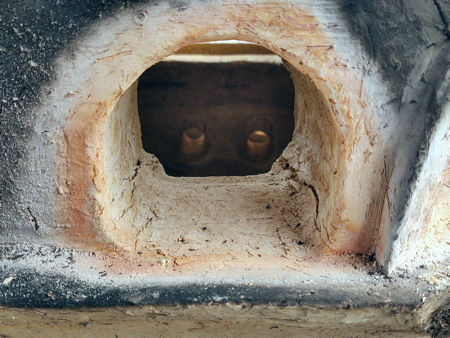
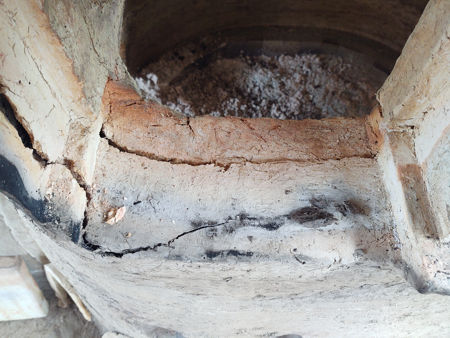
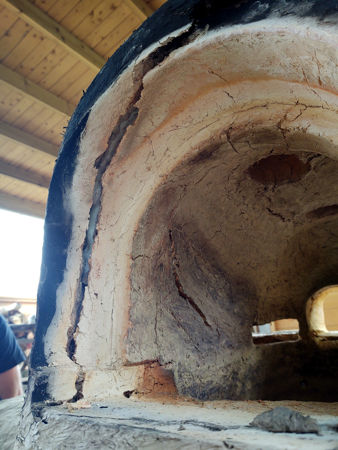
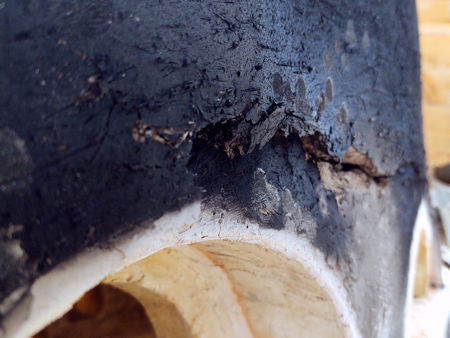
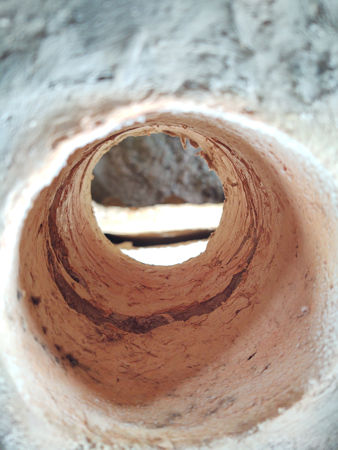
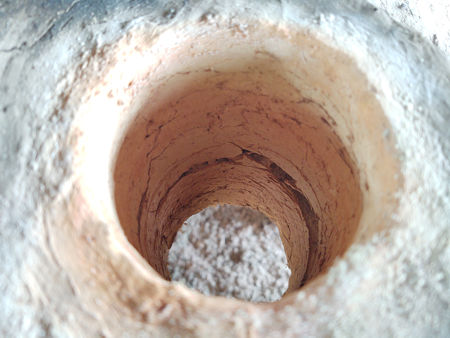
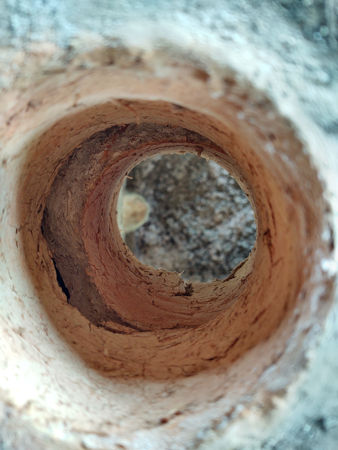
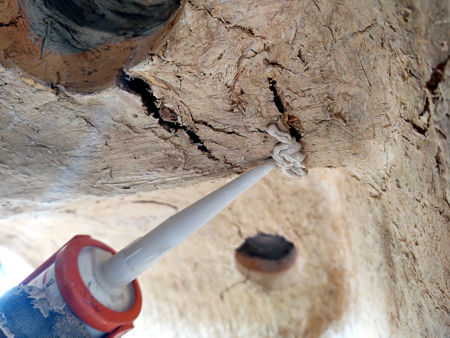
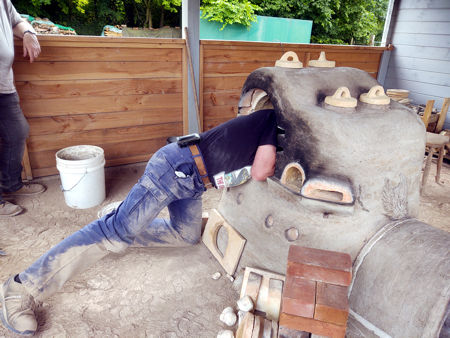
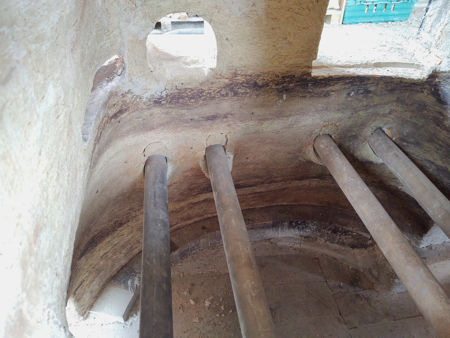
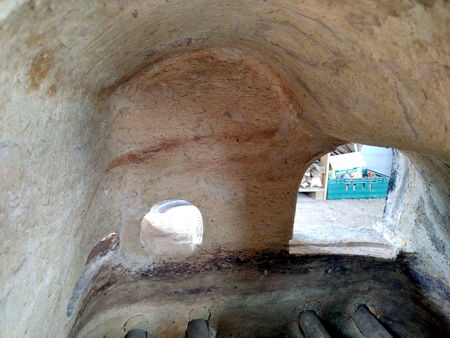
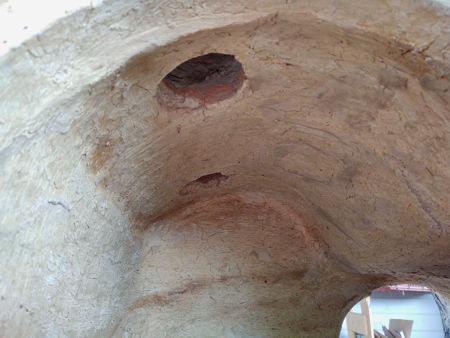
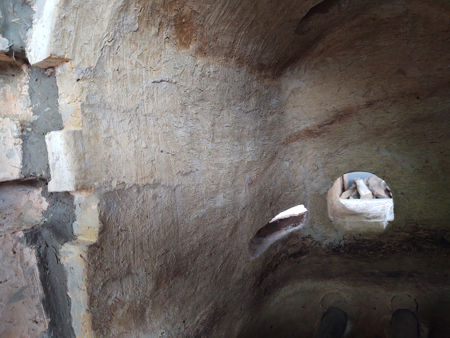
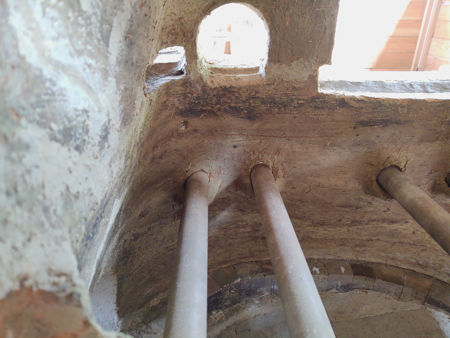
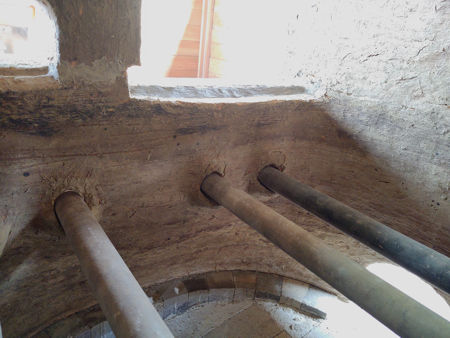
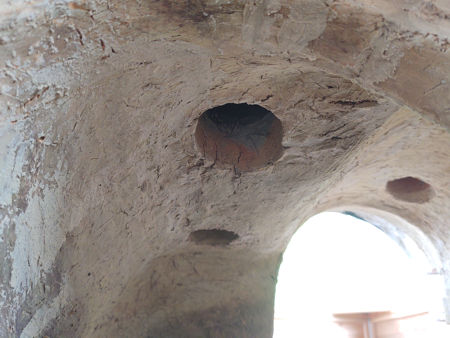
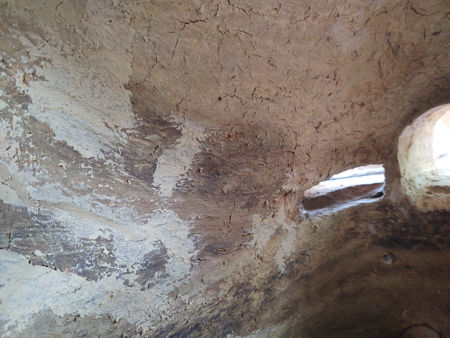
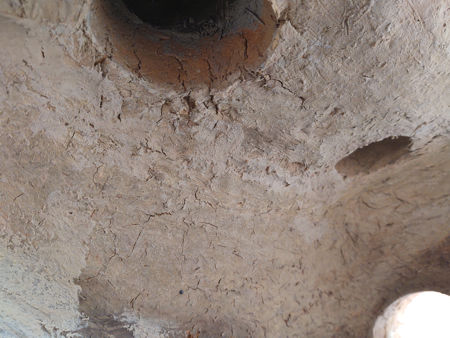
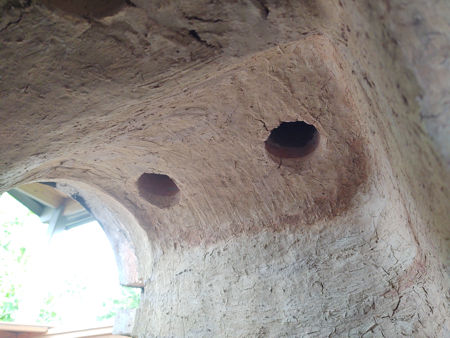
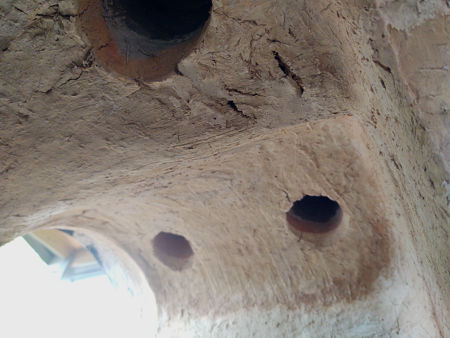
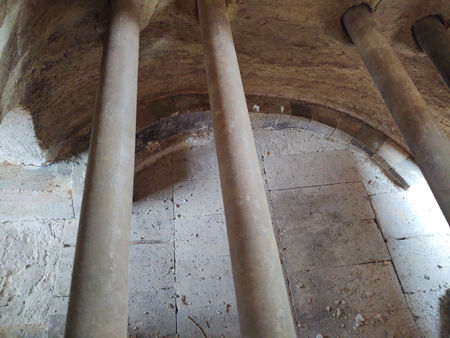
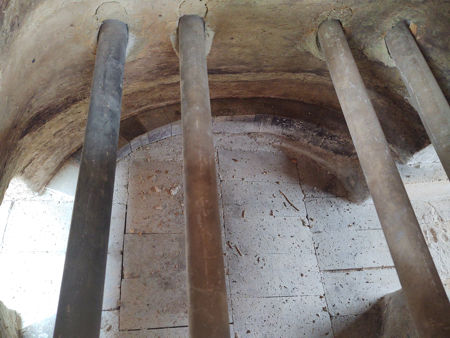
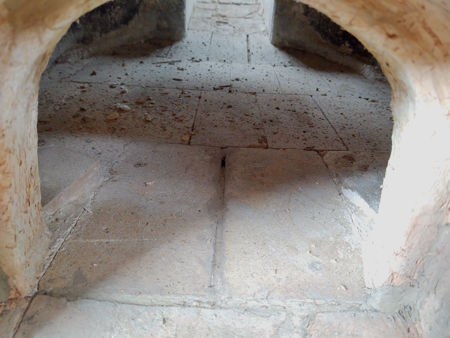
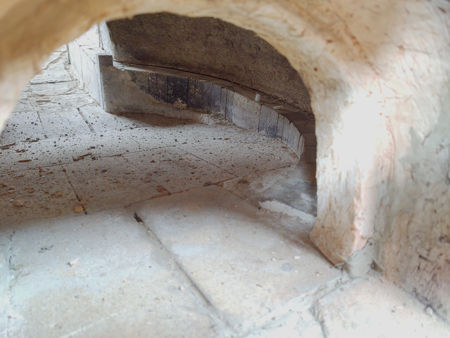
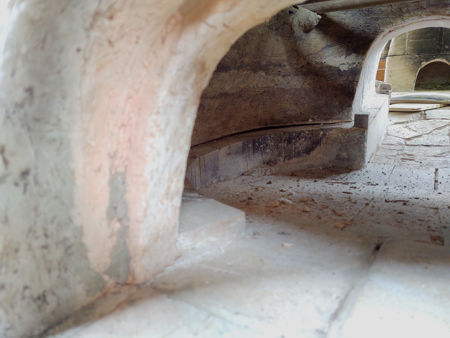
The next morning we were able to assess the consequences of the firing. The firebricks were still hot and the furnace was at 78°C. The inner wall had shrunk in several directions (downwards, inwards at both sides and at the front and back), and had pulled away from the outer wall, leaving large gaps where the two walls had been joined (such as at the gathering holes, etc.). It looked worse than it really was, as although there were some small and larger cracks in the daub, particularly near the base, the inner wall had not cracked all of the way through. Some cracks appeared in the outer walls, but were not serious. In fact, many of them had been expected, particularly at the top of the furnace, where the wall had been subject to some rather intermittent building. The differential shrinkages of the inner and outer walls led to the opening of gaps in the top hole sections and the creation of steps in the gathering holes. One advantage of having an inner and outer wall separated by a layer of insulation is that no crack will extend from the outer surface (coldface), to the inner hotface, so the integrity of the furnace would not be affected. To repair the cracks in the inner wall, we used a high temperature sealant able to withstand 1300°C (it also made a good cement - we used it to repair some broken collars), and a high temperature filler able to withstand 1200°C. We used daub to repair the cracks in the outer wall, and a combination of daub and high temperature filler to repair the cracks between the walls. |
|
|
|
|
|
|
|
|
|
|
|
|
|
|
|
|
|
|
|
|
|
|
|
|
|
|
|
|
|
|
|
|
|
|
|
|
|
|
|
|
|
|
|
|
|
|
|
|
|
|
|
|
|
|
|
|
|
|
|
Preparations for Firing Two
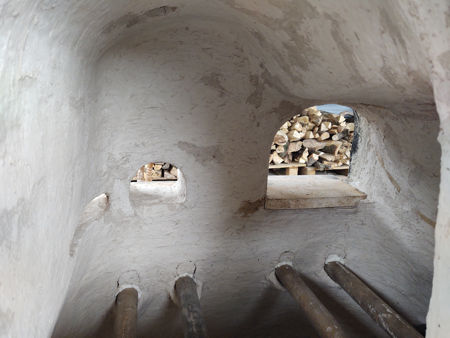
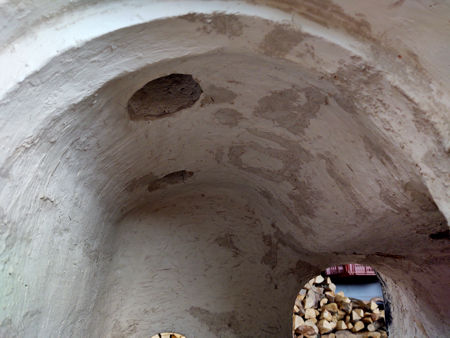
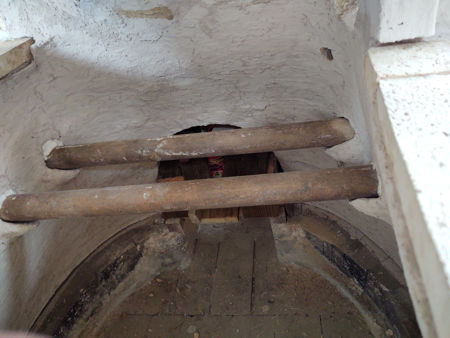
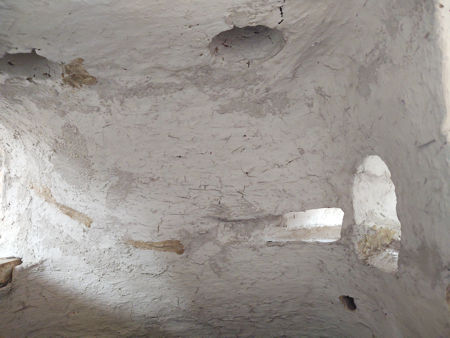
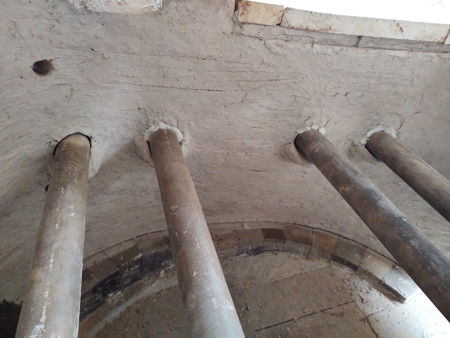
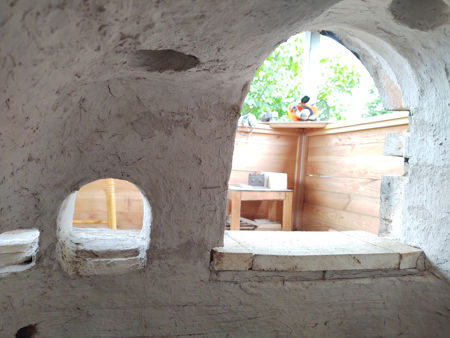
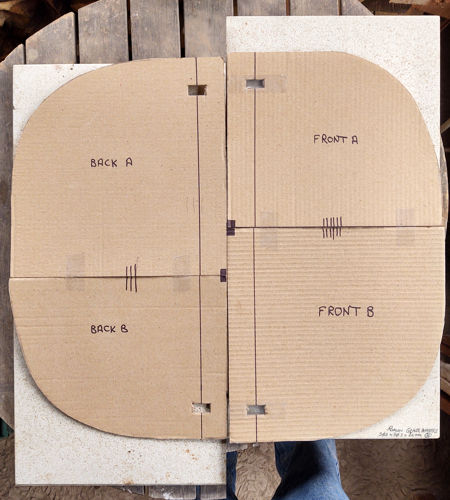
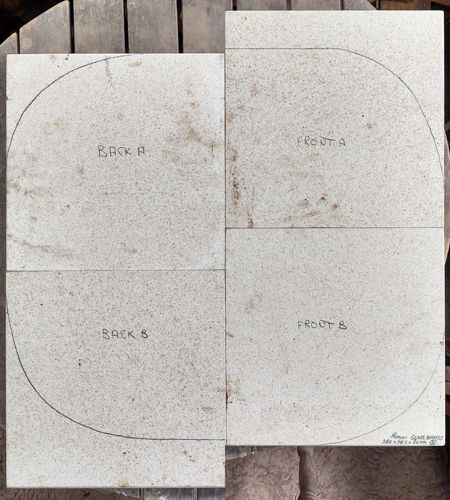
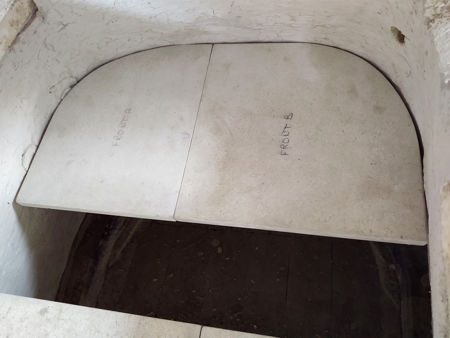
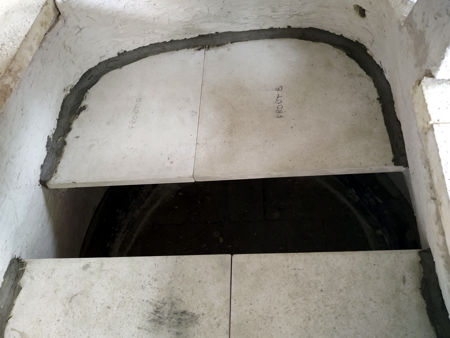
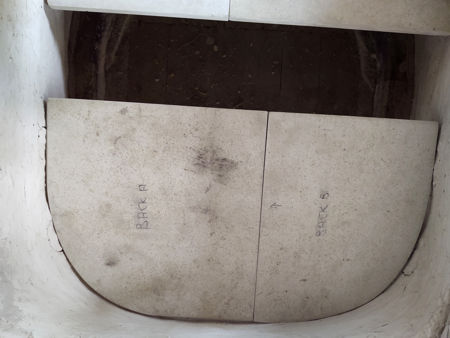
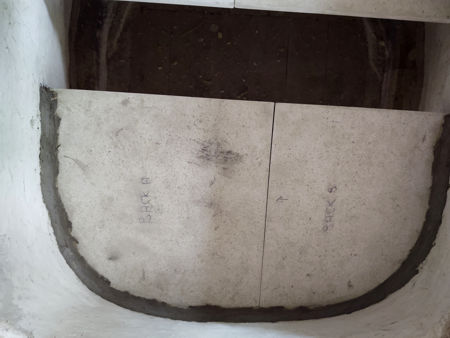
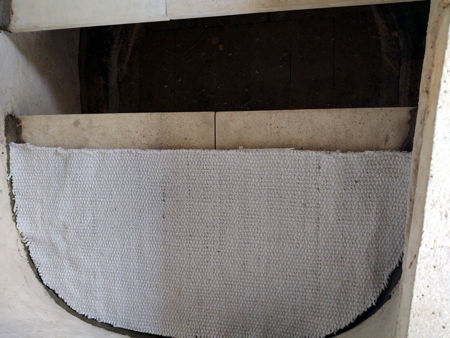
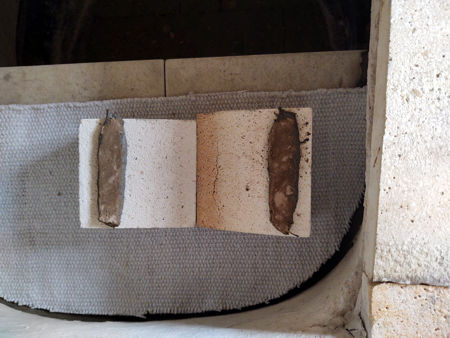
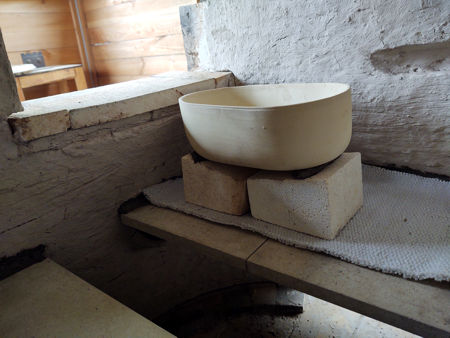
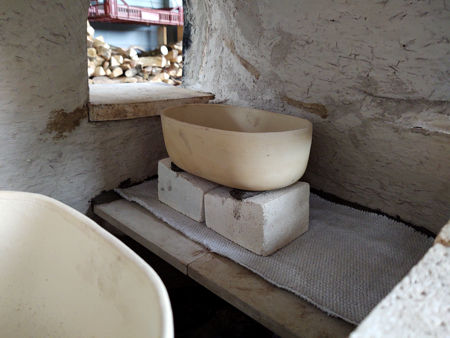
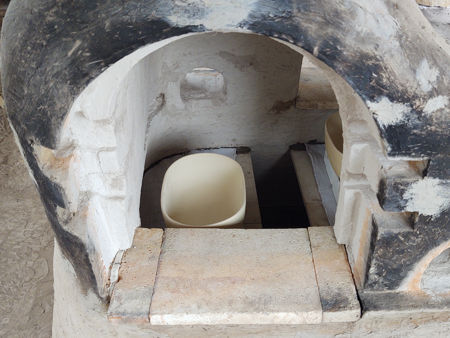
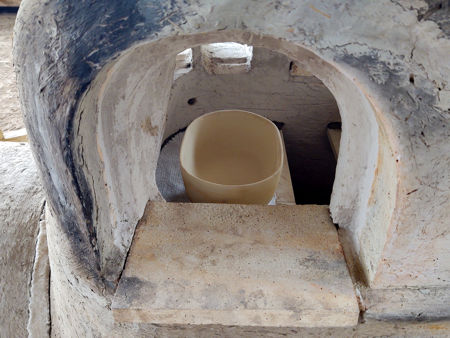
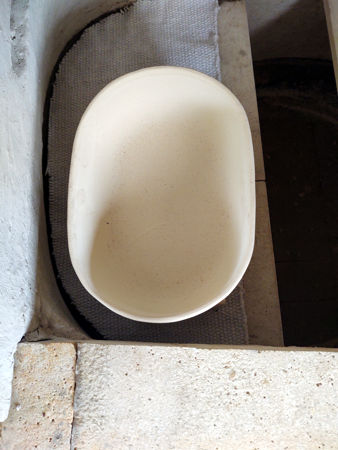
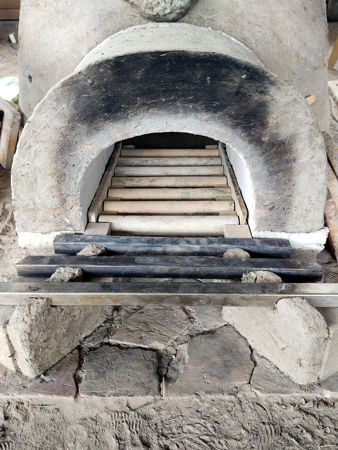
After filling the cracks, we coated the entire hotface (including the tunnel hotface and the thicknesses of the gathering and warming holes) with a zircon silicate slip which dried hard and was able to withstand 1750°C. This would protect the hotface from attack both from the glass and from the furnace atmosphere. We also coated the backs of the collars and stoppers. In the photographs, the grey lines standing out from the white zircon silicate coating are the areas that we filled. We filled the steps in the gathering hole bases with ceramic fibre blanket, over which we placed the sillimanite tiles to form the floor. To give the ceramic fibre a hard shell, we painted it with zircon silicate slip. We replaced the shelf supports and fitted the shelves. The shelves were made from 16mm thick kiln batts which we cut to shape following the cardboard templates we had made. After fitting the shelves, we sealed them against the wall with daub. We also put a layer of ceramic fibre cloth on top of the shelves to help protect them. For the main pots, we used oval pots which held about 4 kg of glass, and to set them at the correct height we used old HTI arch bricks together with some daub 'sausages'. Finally, we put spacers made from fire brick offcuts each side of the firebars in the stoke hole. They would stop the bars from moving too much. |
|
|
|
|
|
|
|
|
|
|
|
|
|
|
|
|
|
|
|
|
|
|
|
|
|
|
|
|
|
Home Gallery Contact Events & Projects Projects: 2019 Onwards Film & TV Archive & Links