 Home
Gallery
Contact
Events & Projects
Projects: 2019 On
Film & TV
Archive & Links
 Home
Gallery
Contact
Events & Projects
Projects: 2019 On
Film & TV
Archive & Links
|

|
2019 IFoG Furnace and Lehr at Stourbridge - Furnace Build
Projects: 2019 Onwards
Daub Creation
Furnace Build
Lehr Build
Furnace Disassembly & Reassembly
Testing Furnace for Size
Lehr Disassembly & Reassembly
Collars, etc.
Assembly at Stourbridge
Glassblowing at Stourbridge
Disassembly at Stourbridge
|
Furnace Build
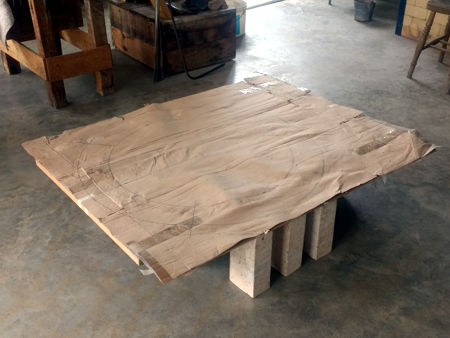
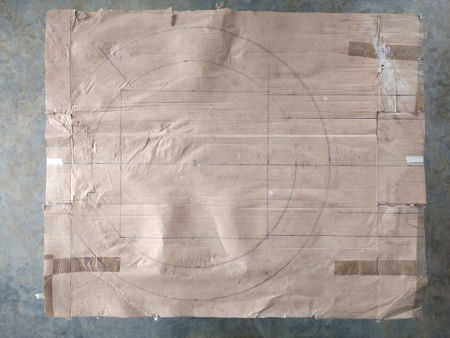
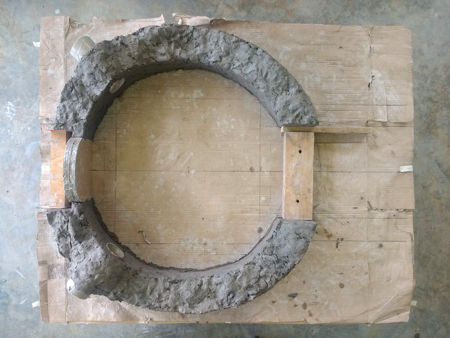
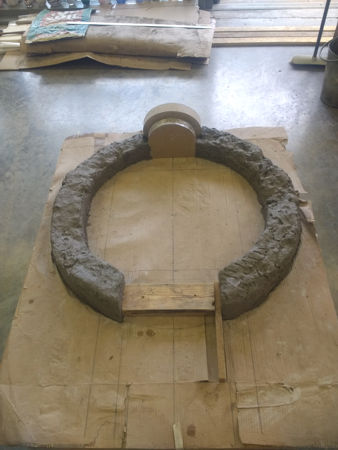
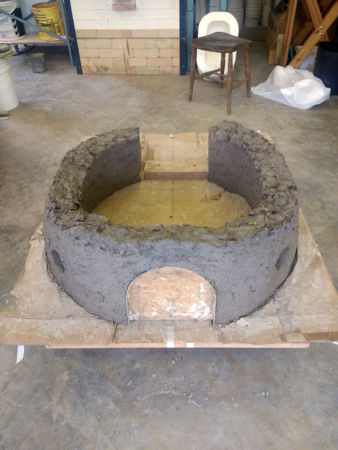
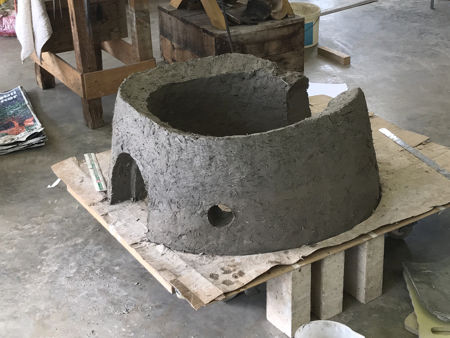
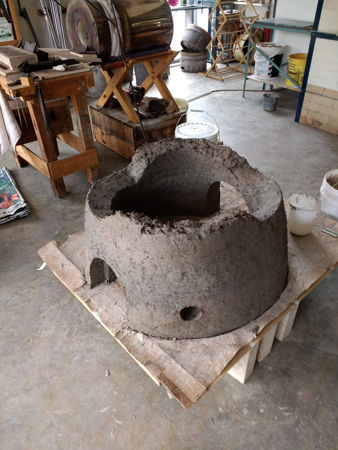
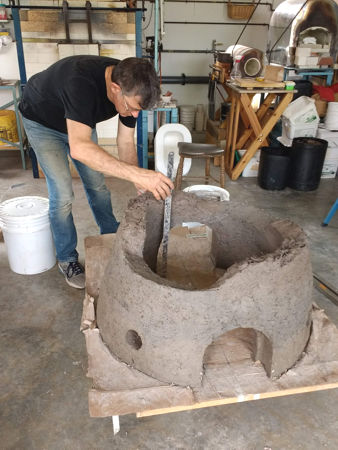
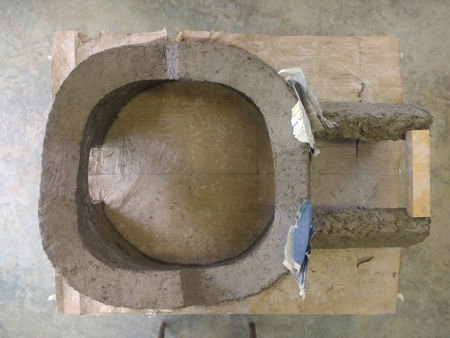
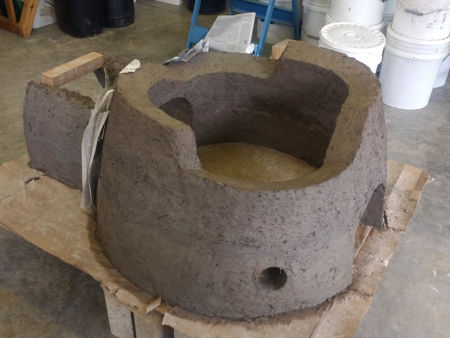
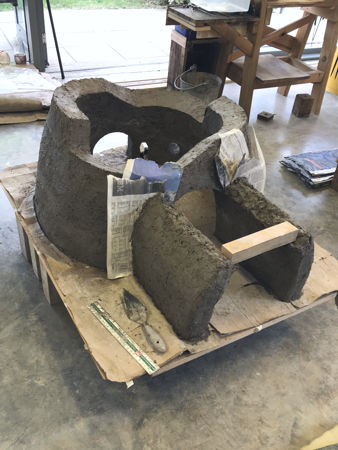
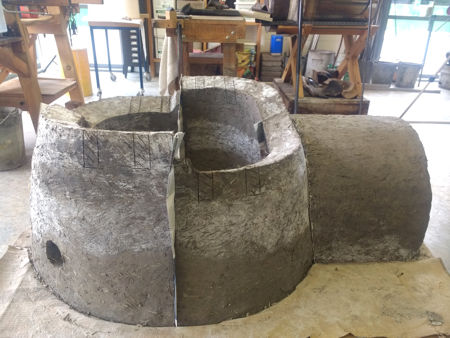
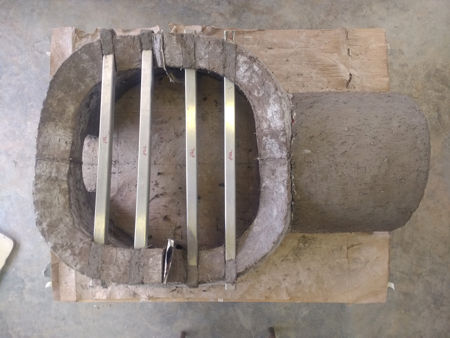
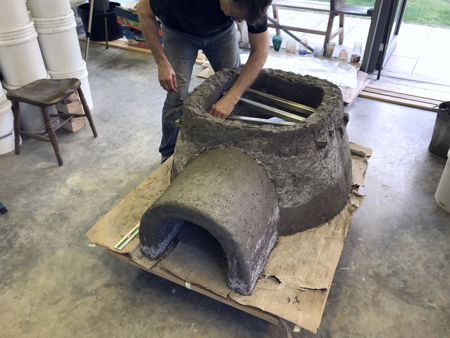
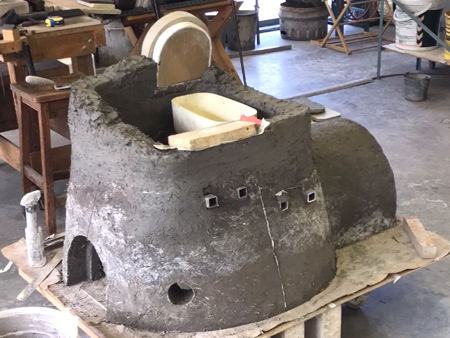
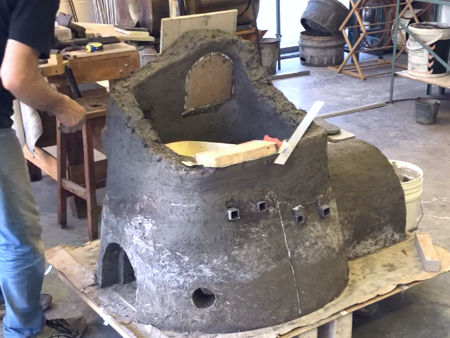
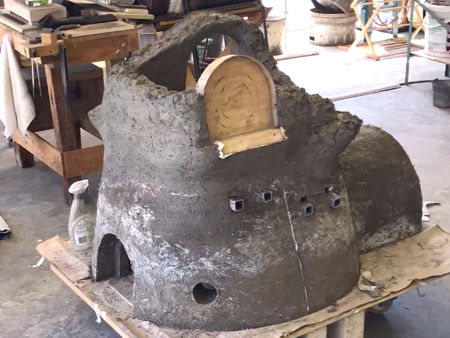
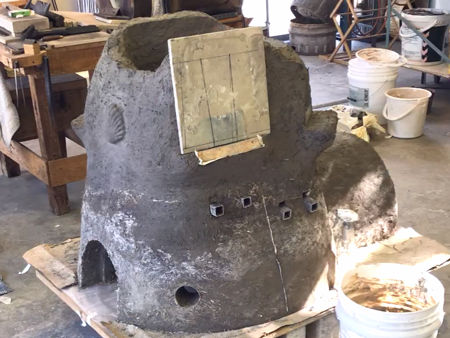
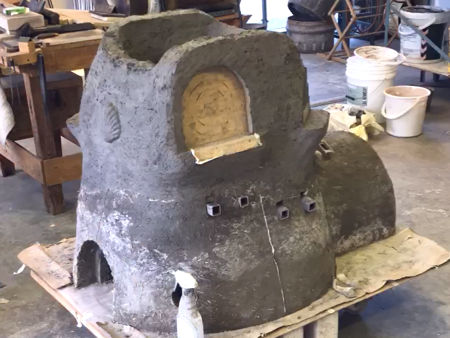
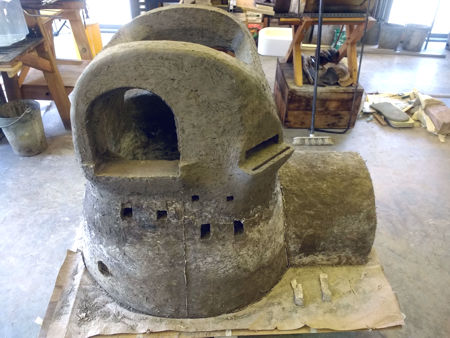
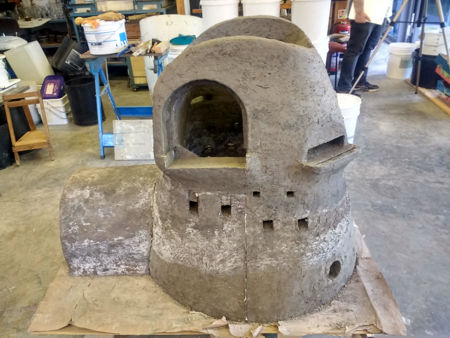
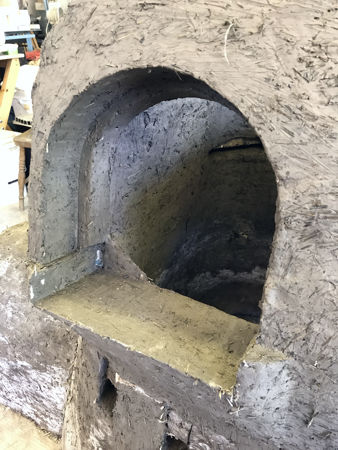
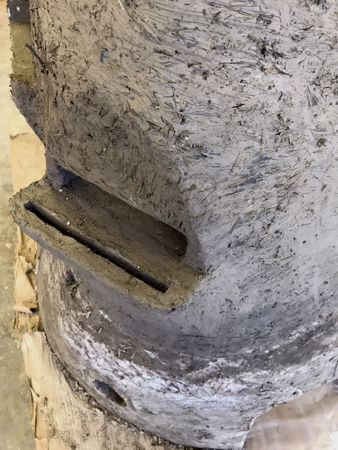
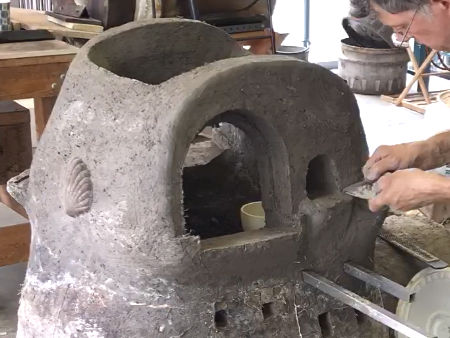
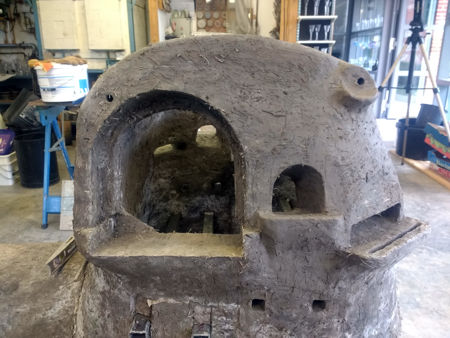
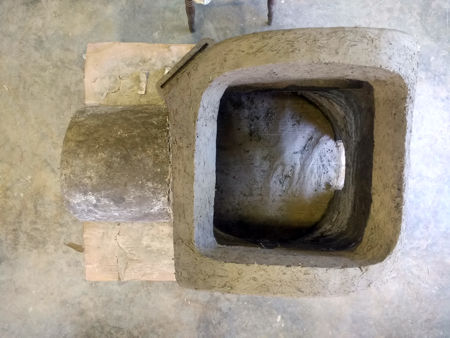
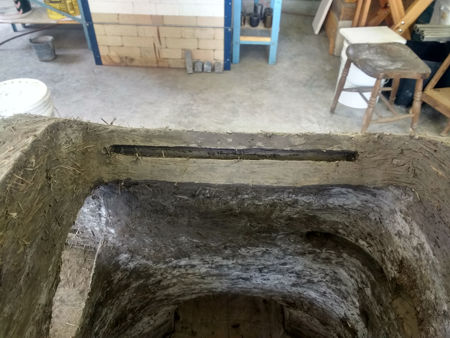
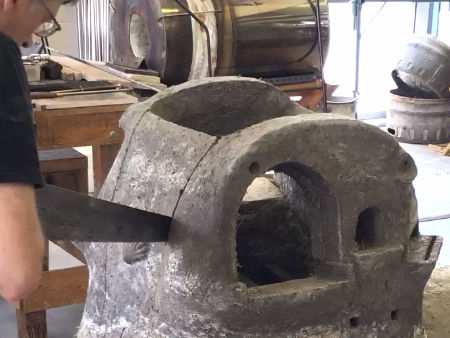
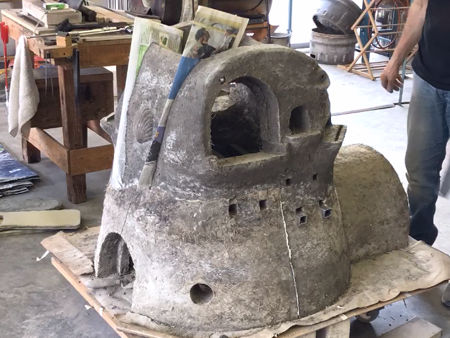
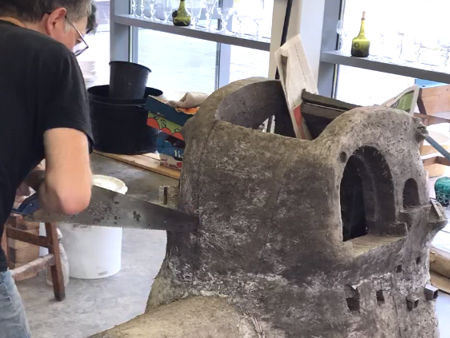
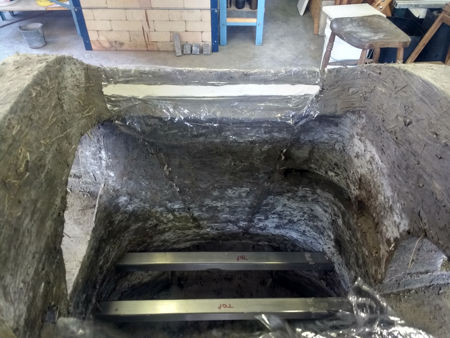
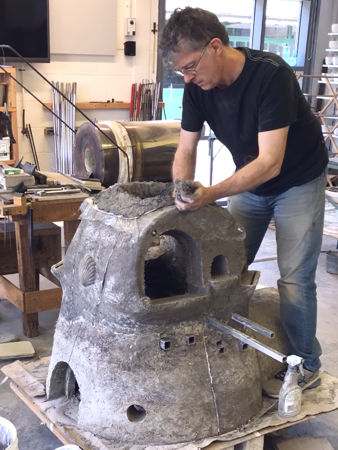
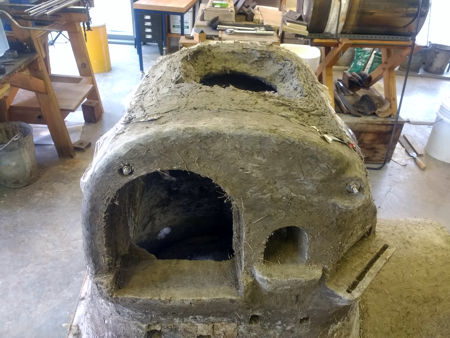
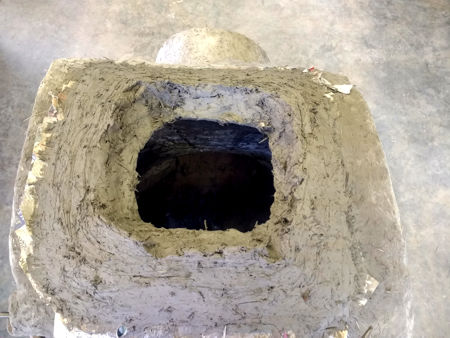
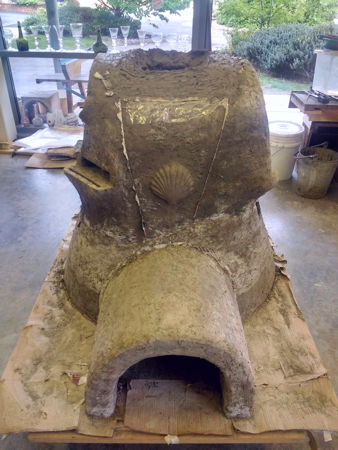
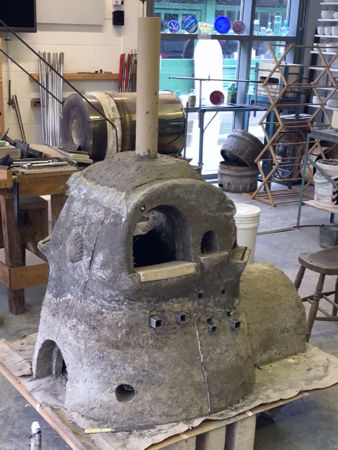
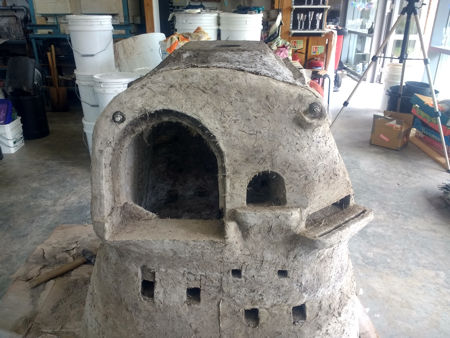
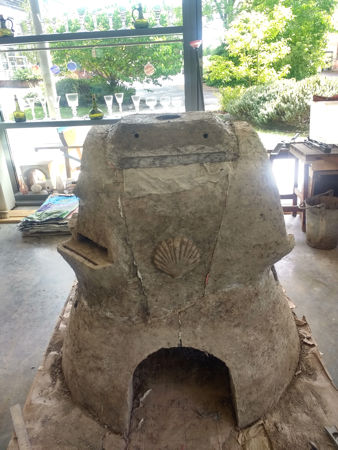
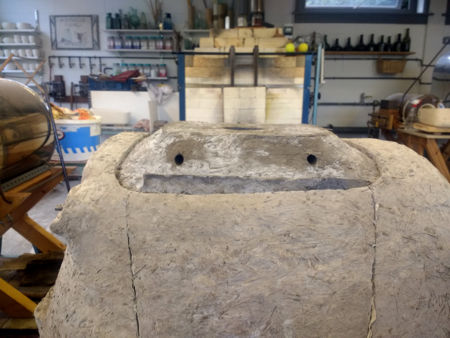
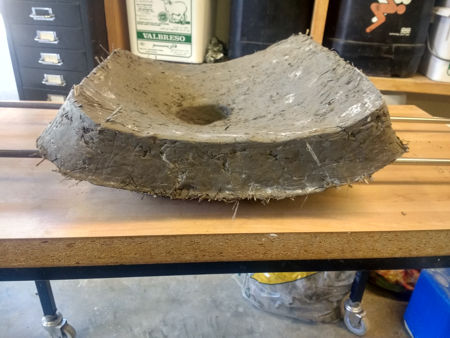
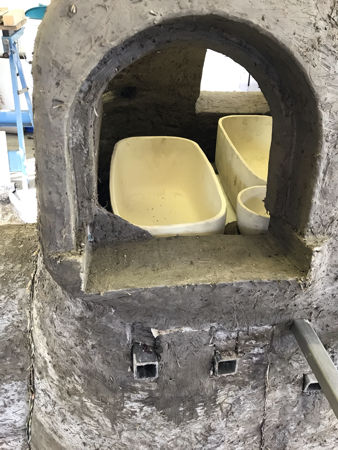
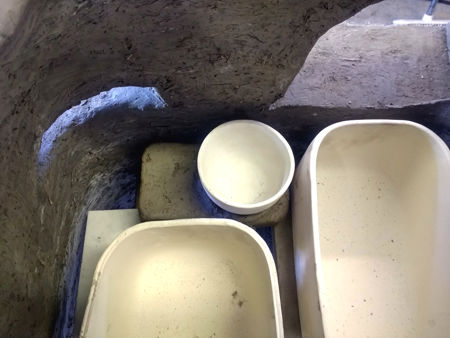
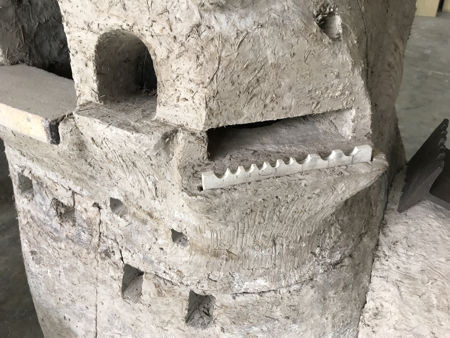
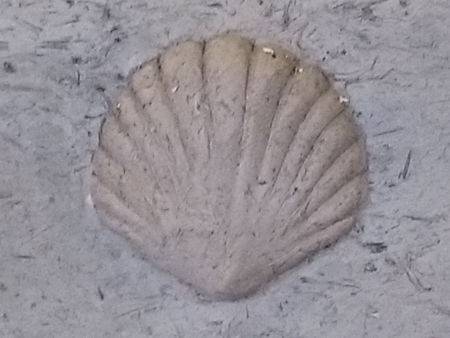
In designing the furnace, we aimed for two people to be able to work comfortably on opposite sides without getting in each other's way. To this end, we offset the main gathering hole to the left and the small gathering hole and the pipe-warming hole to the right. This enabled us to dedicate one large pot and one small pot for each person, and for each person to fully immerse their work when reheating. As all of the wood-fired furnaces we have seen have cracked on drying and firing, we wanted to avoid this problem. Our solution was to build the furnace in the workshop on top of a layer of cardboard, under which was a plastic sheet. This allowed the daub to move as it dried and shrank, avoiding cracking. Starting with the circular ground plan sketched on the cardboard, we built the sides up with a slight inward lean, finally turning into more of a square cross-section at the height of the pot shelf supports. Most of the holes were formed around wooden forms covered in clingfilm. The diameter at the base of the furnace started out at 34" and the finished height was just over 34", but these decreased on drying, with the diameter shrinking to about 33" and the height shrinking to about 32". The stoke hole tunnel was about 12" long. Wall thickness at the base of the furnace was about 3¾", reducing to just under 3" at the top of the melting chamber. To regulate the amount of drying we covered parts of the furnace at night with plastic sheets, and sprayed it with water to slow down the drying process. Before we moved on to melting chamber height we cut the firing chamber into four sections. It had dried to leather hard, which allowed us to saw it. We put newspaper between the cuts to avoid any re-sticking. We did this for all of the edges of the parts which had to be separated, except for the roof, where we also used clingfilm. Although we were trying to allow the furnace to dry evenly, the gaps created by vertically-cutting the lower part of the furnace into four sections gradually opened at their lower areas due to inequalities in the drying process (the sections above were built later, therefore were damper and stopped the even opening-up of the cuts). We were able to minimise this with some careful brute force. The pot shelf support bars were reinserted each day to make sure they still lined up and removed each night to make sure that the holes did not shrink around them, which may have led to cracking. When it was sufficiently dry, the stoke hole tunnel was moved away from the furnace to allow for better drying at the butt-joint between it and the furnace wall. It had also shrunk more at the apex than at the base. To help to hold the furnace together, we inserted two stainless steel tie rods from gathering hole side to gathering hole side. Holes were drilled all the way through the thickness of the walls, and this isolation protected the tie rods very well from the excessive heat of the furnace. We also tried to protect the nuts and washers from the worst excesses of the heat by either making them flush with the wall or by building a small protective ridge around them. We made the small gathering holes and pipe-warming holes by cutting through the still-damp melting chamber walls, and built their shelves - first keying in the fresh daub by roughing the areas on the walls, then pushing the new daub into the walls using a trowel. This ensured that they would stick to the walls and become an integral part of the furnace. When the melting chamber had dried to leather hard we sawed it into four sections. We made the cuts slope inwards and diagonally downwards so that the two main sections would not fall outwards and the two trapezoidal sections would not fall inwards when placed in position. The tie-rods locked these four sections in position. Before building the roof, we filled the slots for the tie rods with plasticene and covered them with clingfilm. The roof shrank to be too small for the hole at the top of the furnace, so we placed it on ceramic fibre strips pinned in place with panel pins, which acted as gaskets (this can be seen on the photos taken at Stourbridge). A one inch layer of ceramic fibre was also used as an inner layer below the roof, and attached to the roof using stainless steel and nichrome wire. This was very successful, and the insulation effect was noticeable. The hole in the roof was made using a three inch diameter cardboard tube. Although we had included a 10% shrinkage in the design, the main gathering holes had to be enlarged several times as they dried to allow the pre-fired collars and stoppers to fit. Smaller adjustments also had to be made to the small gathering holes and the pipe-warming holes. The final job was to drill holes in each section of the furnace to locate two metal bars which we could use to pick up and manoeuvre each piece. Although this was almost unnecessary before the furnace had been used, it became important when the furnace was moved after use as the hay had burnt away during use and the sections were partly brittle (see this page and this page for illustrations). We also drilled a hole for a thermocouple below the pipe-warming hole nearest the stoke hole. The two daub shells were originally added as decoration, but they proved to be useful as hand-holds when assembling the furnace. |
|
|
|
|
|
|
|
|
|
|
|
|
|
|
|
|
|
|
|
|
|
|
|
|
|
|
|
|
|
|
|
|
|
|
|
|
|
|
|
|
|
|
|
|
|
|
|
|
|
|
|
|
|
|
|
|
Home Gallery Contact Events & Projects Projects: 2019 Onwards Film & TV Archive & Links