 Home
Gallery
Contact
Events & Projects
Projects: 2019 On
Film & TV
Archive & Links
 Home
Gallery
Contact
Events & Projects
Projects: 2019 On
Film & TV
Archive & Links
|

|
2019 IFoG Furnace and Lehr at Stourbridge - Lehr Build
Projects: 2019 Onwards
Daub Creation
Furnace Build
Lehr Build
Furnace Disassembly & Reassembly
Testing Furnace for Size
Lehr Disassembly & Reassembly
Collars, etc.
Assembly at Stourbridge
Glassblowing at Stourbridge
Disassembly at Stourbridge
|
Lehr Build
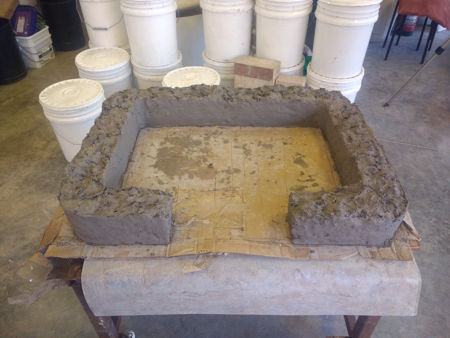
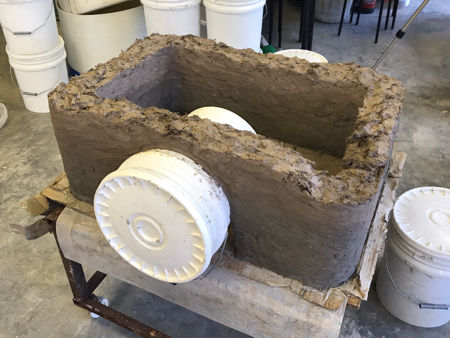
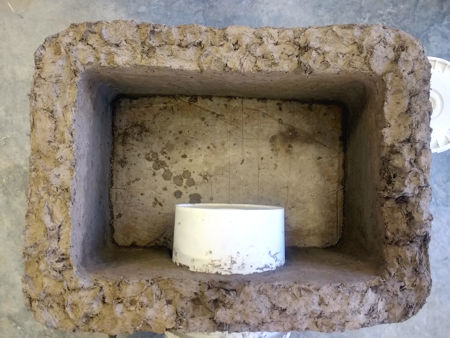
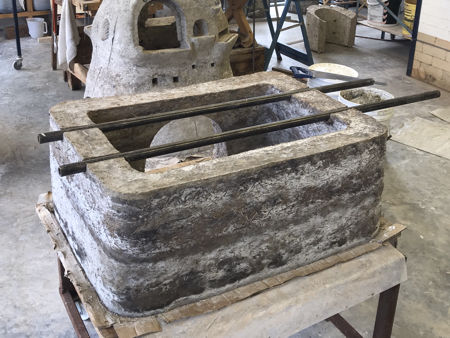
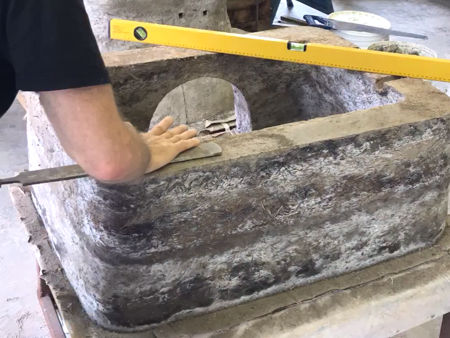
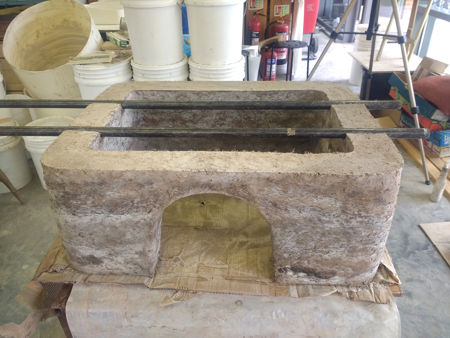
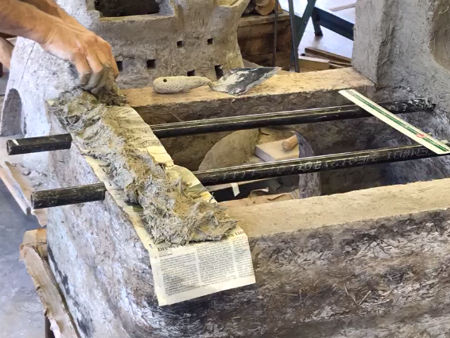
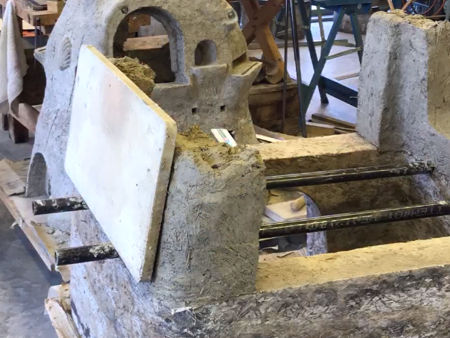
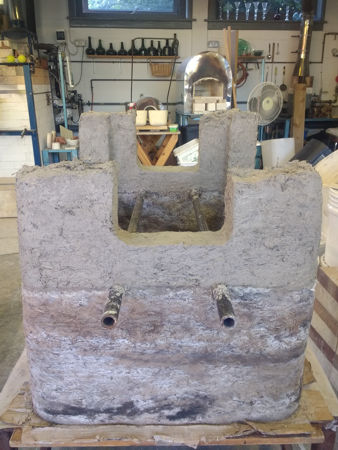
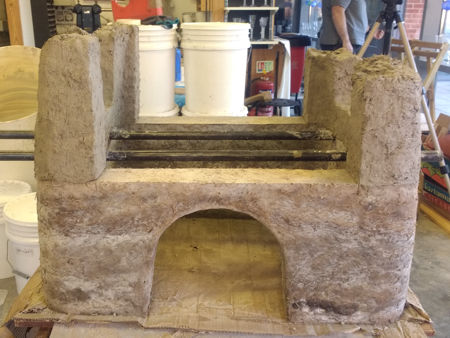
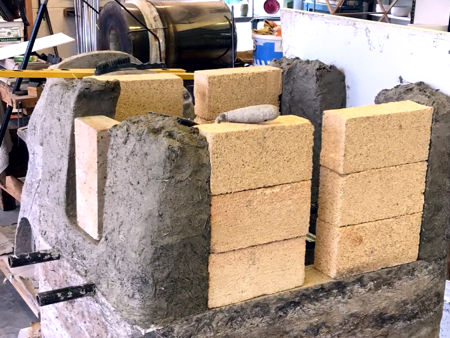
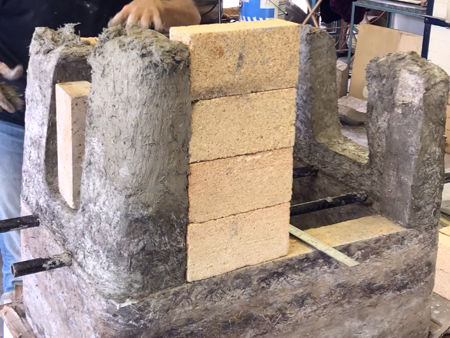
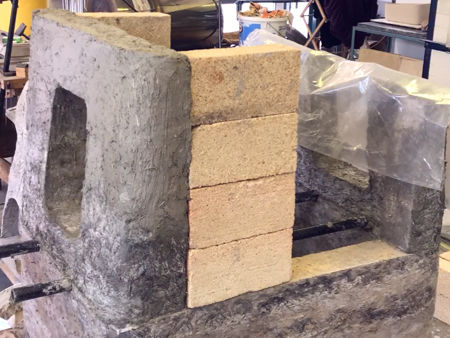
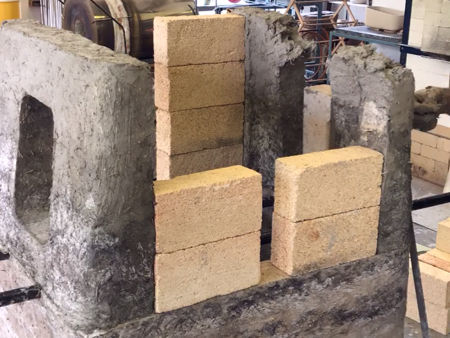
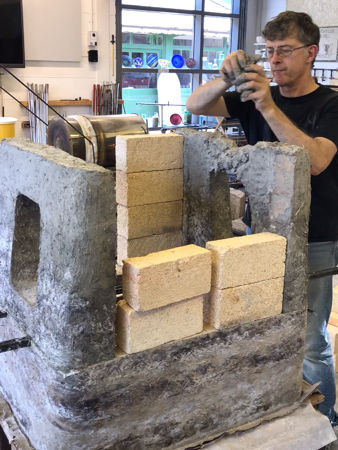
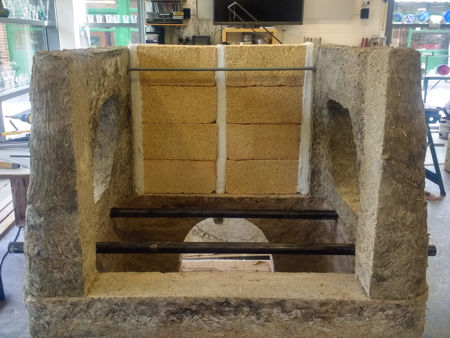
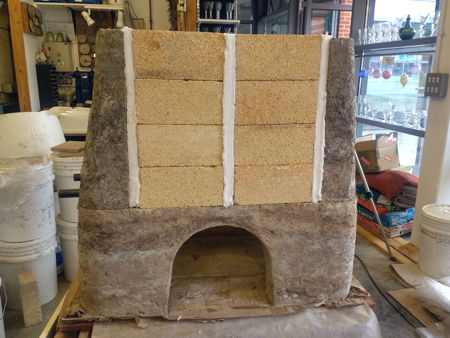
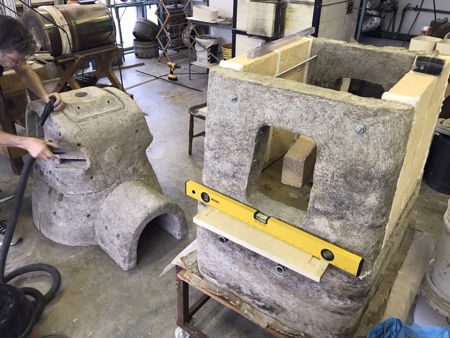
Building the lehr was fairly straightforward. It was built - mainly using daub - as a rectangle 34" long x 25" wide x 34" tall, with one of the tubs being used for the firebox hole. It was built in two halves, with the bottom half worked on until the top was level and horizontal. The two end walls were separated from the firebox wall below them with newspaper. On drying, the firebox shrank to about 32" long and 24" wide. All of the daub shrank on drying, but the integrity of the build held up - it all fitted together as planned, particularly because the two end walls were independent of the firebox structure and could move around on top of them. We made the two side walls using reclaimed expanded vermiculite bricks (eight per side and very good low temperature insulation) and some lengths of one inch thick 1400°C grade dense ceramic fibre blanket. Two tie rods were inserted at the top from end wall to end wall, and the combination of these and the sandwich of end wall / fibre / brick / fibre / brick / fibre / end wall made for very stable side walls. In retrospect, two more tie rods at the bottom of the walls would be even better. The roof was built from second hand ceramic kiln batts supporting a three inch layer of expanded vermiculite bricks. The bottom shelves (also reclaimed kiln batts) were supported on two heavy-gauge one inch outside diameter steel tubes (Schedule 80) let into the top of the firebox end walls. The bottom shelf had a double layer with a small gap in between so it was insulated from the heat of the fire underneath. The doors were also built from expanded vermiculite bricks (three for each door) held together with three tie rods (one to eventually hold a handle). The firebox was cut into six pieces using angled cuts and transportation holes were drilled into them to insert two metal bars. This was almost unnecessary as the sections were light-enough to be picked up by one person. Photographs of these final touches, the finished roof, the shelving and the doors are on the lehr reassembly pages: here and here. We used two thermocouples, one at the top of each end wall. This proved to not be the best position as the heat on opening the doors eventually melted the solder attaching the compensating cable. They need to be moved to the top left and right of the back wall. |
|
|
|
|
|
|
|
|
|
|
|
|
|
|
|
|
|
|
|
|
|
|
Home Gallery Contact Events & Projects Projects: 2019 Onwards Film & TV Archive & Links