 Home
Gallery
Contact
Events & Projects
Projects: 2019 On
Film & TV
Archive & Links
 Home
Gallery
Contact
Events & Projects
Projects: 2019 On
Film & TV
Archive & Links
|

|
2020 Furnace and Lehr at Quarley - Firing Four - Blowing - Right-hand Side of Furnace
Projects: 2019 Onwards
Shelter Build
Wood Gathering and Processing
General Preparation
Firepit Construction
Furnace Installation
Lehr Installation
Floodproofing
Firings One and Two
Firing Three
Firing Four
Firing Five
Firing Six
------------------------------------------------
Lighting and Raking Out Filling the Pots Pots and Breakages Furnace Performance Blowing - Left Side Blowing - Right Side
|
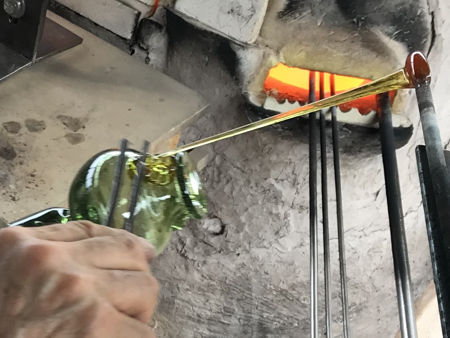
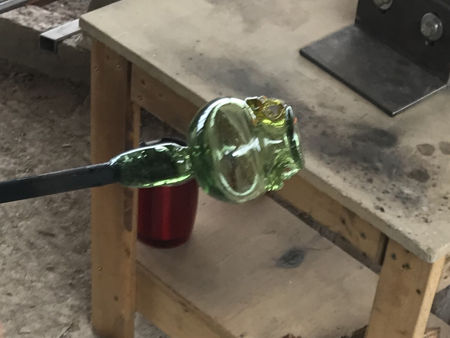
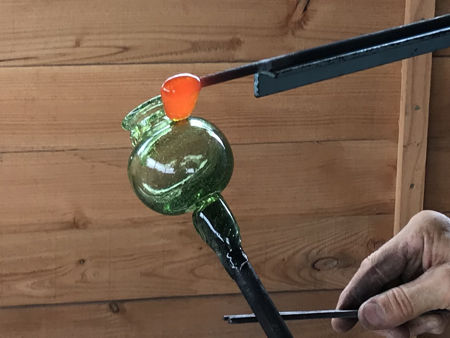
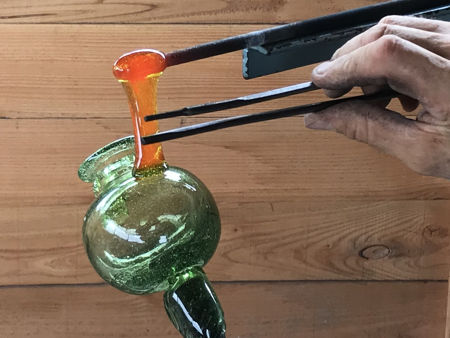
Blowing - Right-hand Side
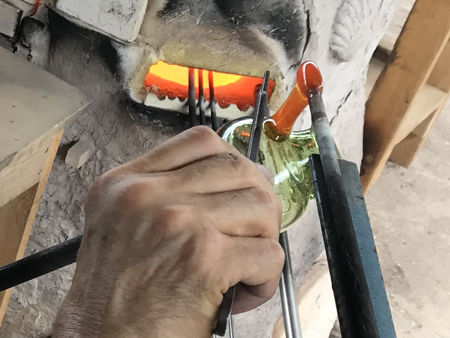
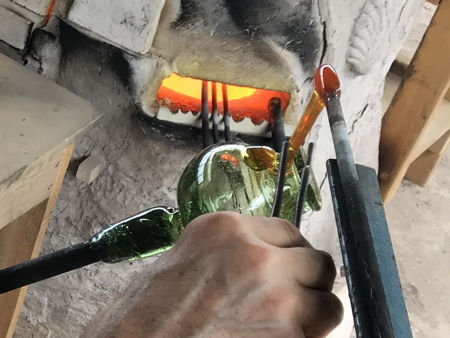
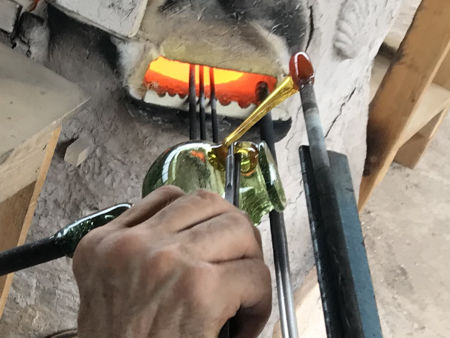
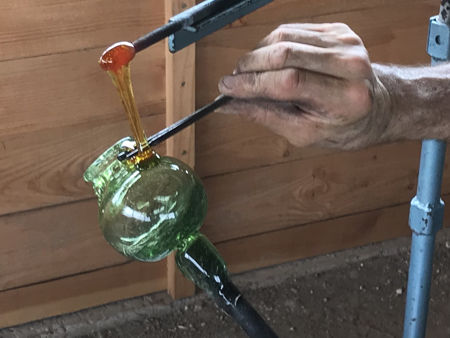
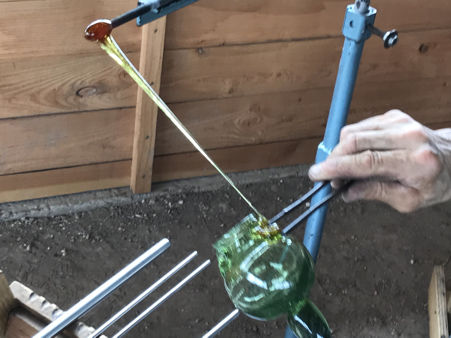
Oil Flask Attaching a handle: The glass is stuck to the shoulder, pushed up to the neck, then folded back using the tweezers and finally cast off. |
|
|
|
|
|
|
|
|
|
|
|
|
|
|
|
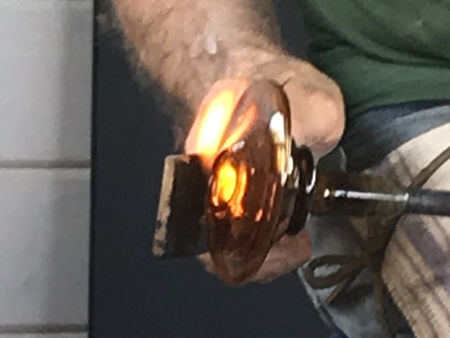
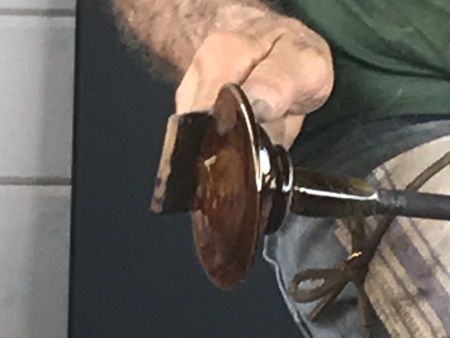
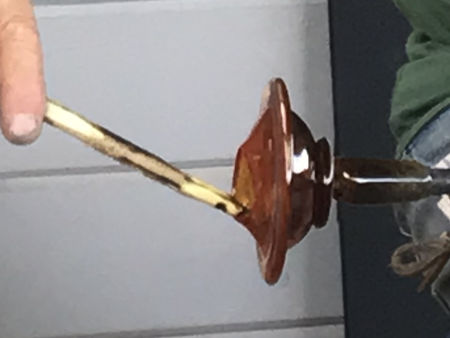
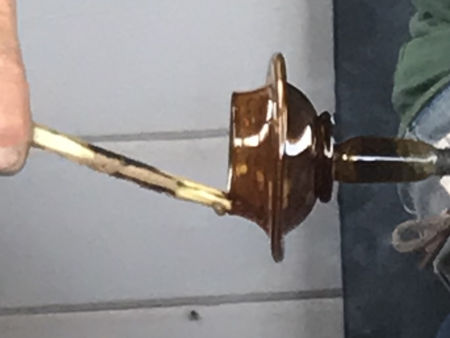
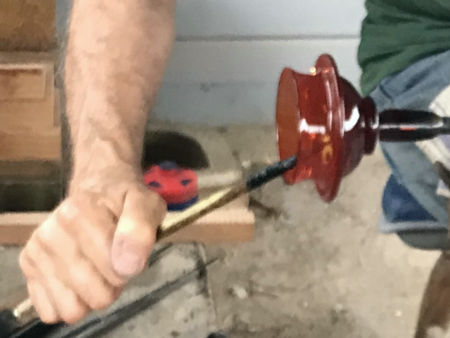
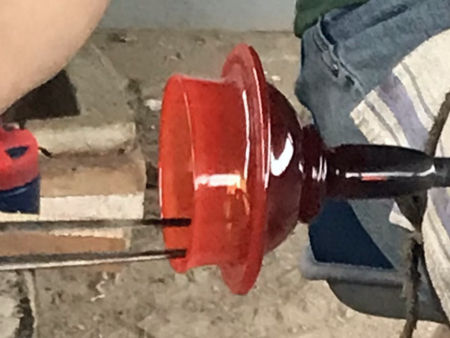
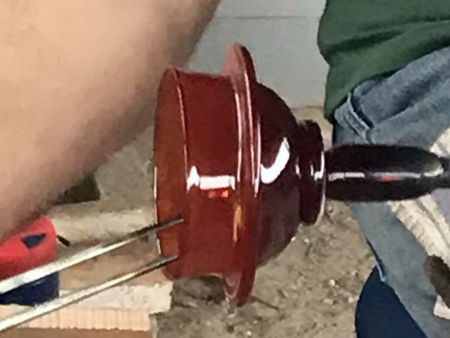
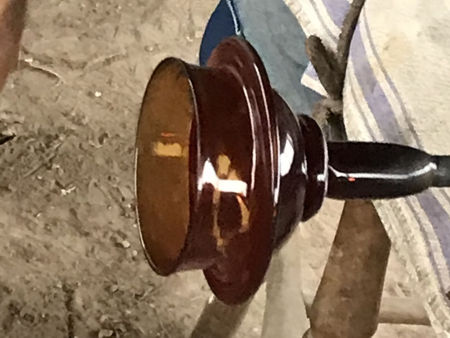
Patella
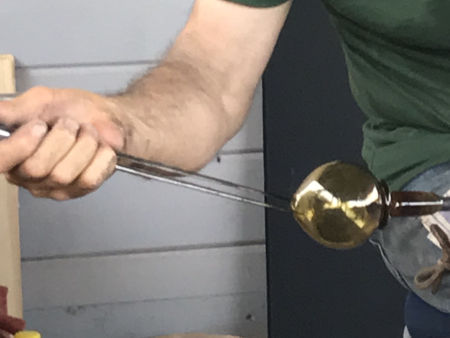
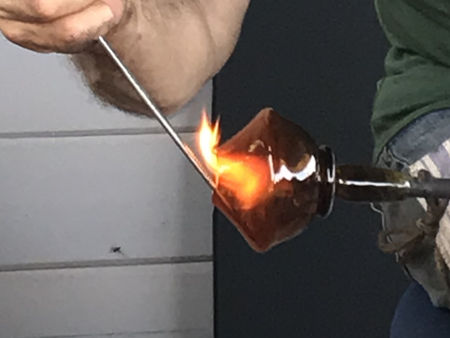
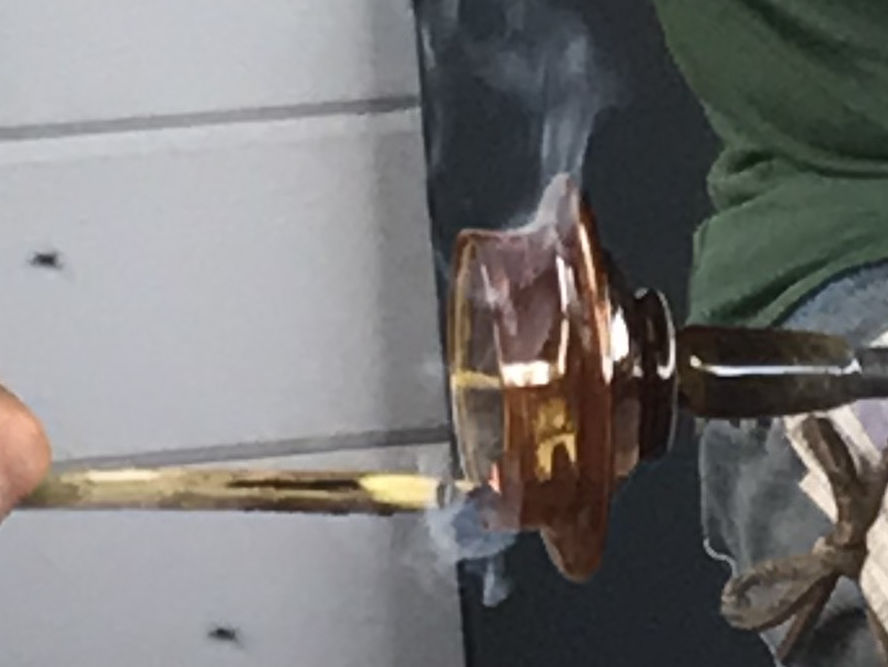
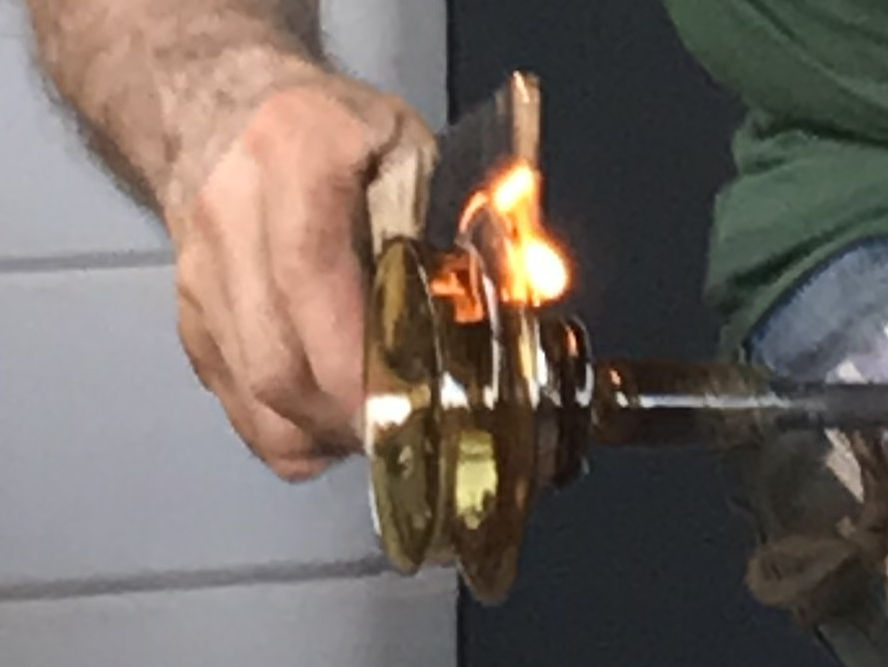
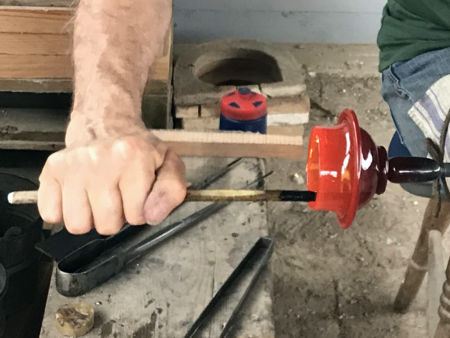
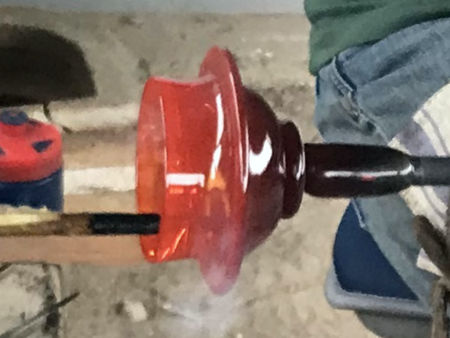
Putting the fold in the wall: The jacks create the sharp bulge in the wall and the wooden board presses both halves together. Opening out the bowl: This is done with a wooden stick. It is kinder to the glass than the metal jacks: it does not mark the glass and it cools the glass more slowly. The flames are from the burning beeswax used to lubricate the jacks and from the burning wood. |
|
|
|
|
|
|
|
|
|
|
|
|

|
|
|
|
|
|
|
|
|
|
|
|
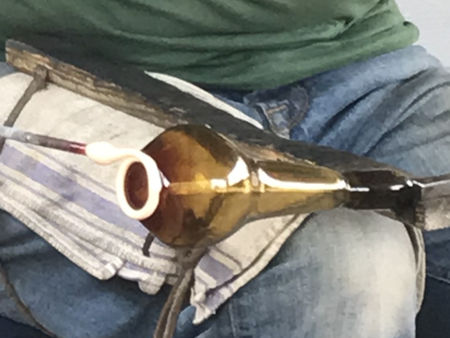
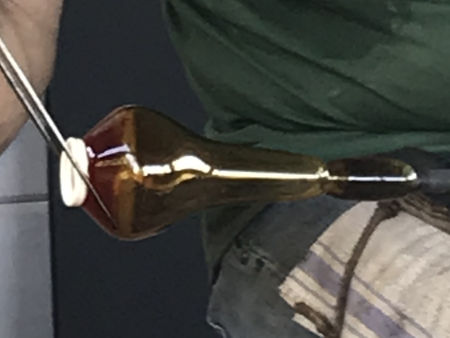
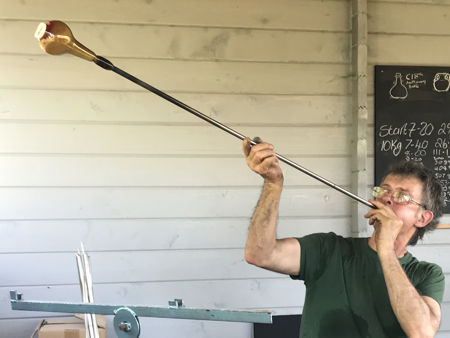
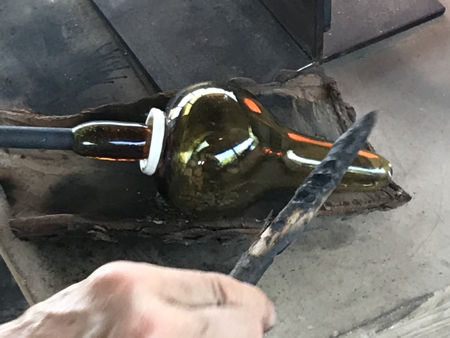
Small Two-handled Bottle
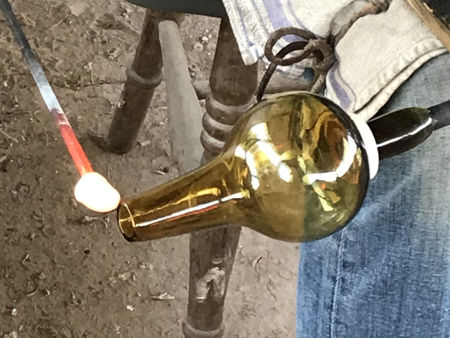
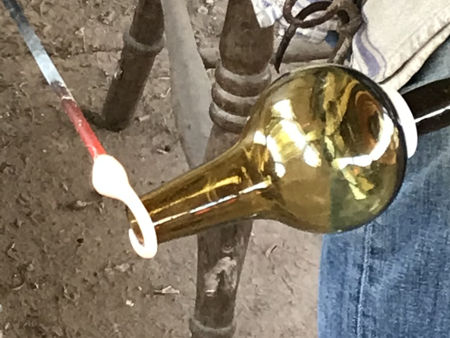
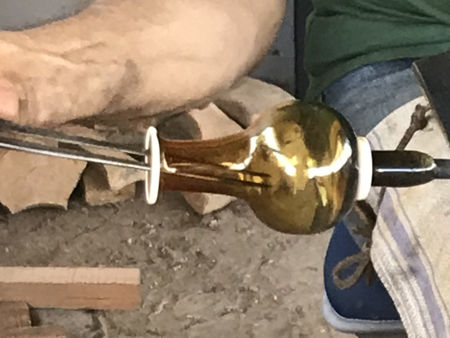
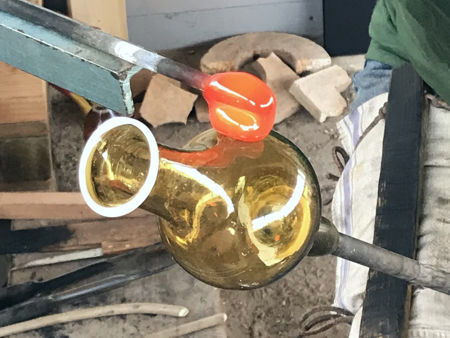
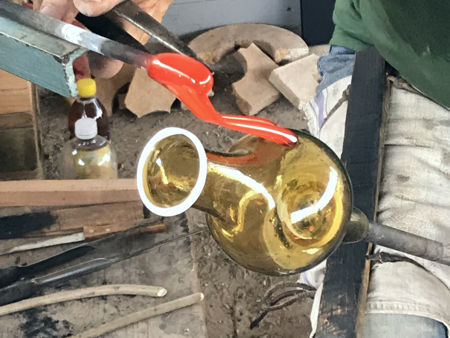
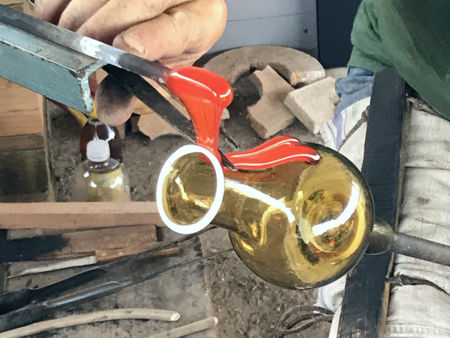
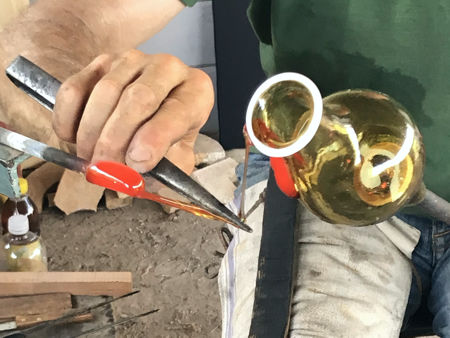
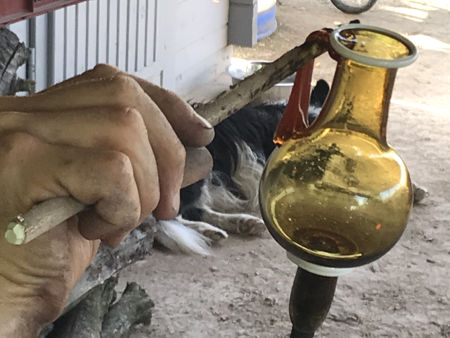
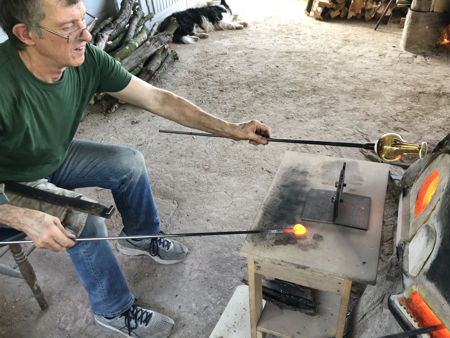
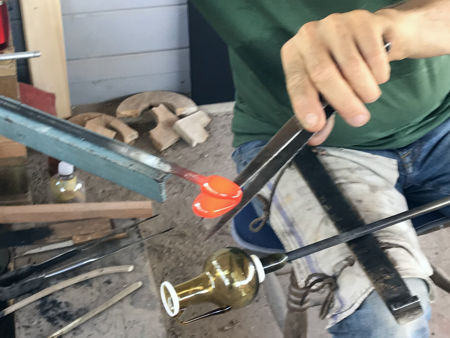
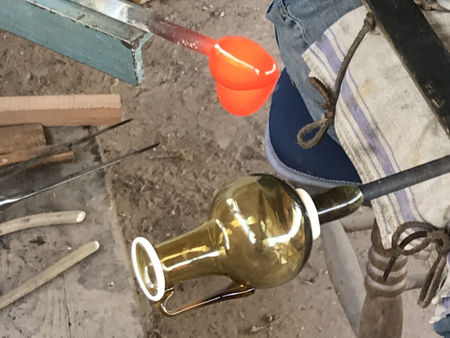
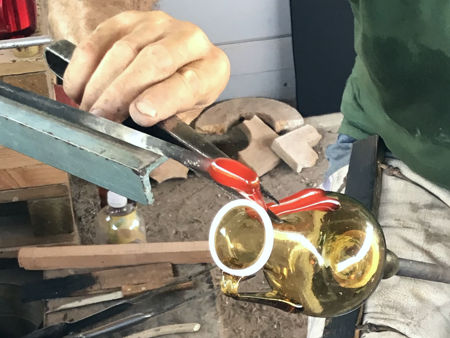
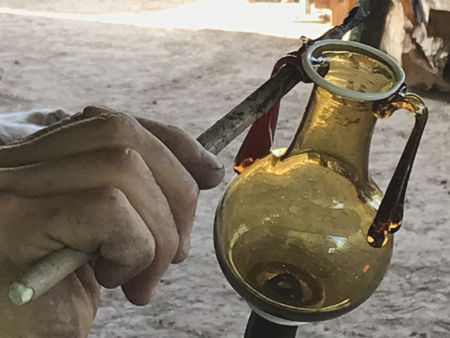
Foot and Rim: White glass is trailed on and shaped to make the foot. The bottle is blown out and puntied. The rim trail (lip-wrap) is added and the rim is opened out. Handles: The glass is shaped with pincers to create the ribs (see photos of second handle). It is then pressed against the shoulder, stretched, stuck under the rim, and cast off. Finally, it is shaped with a stick. |
|
|
|
|
|
|
|
|
|
|
|
|
|
|
|
|
|
|
|
|
|
|
|
|
|
|
|
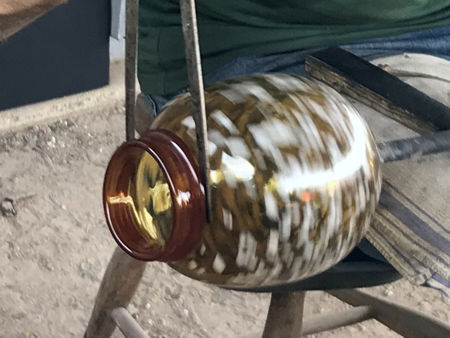
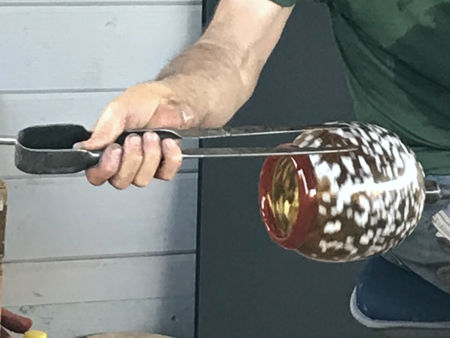
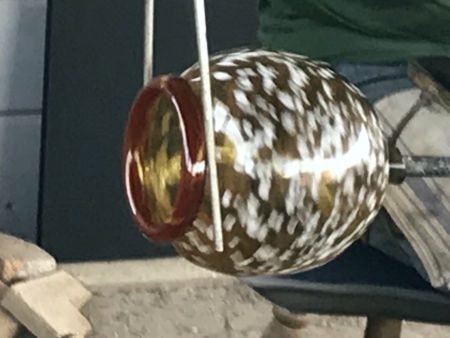
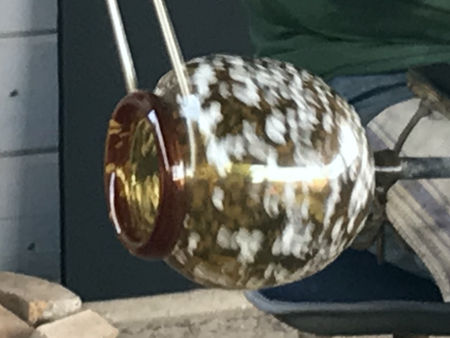
Storage Jar
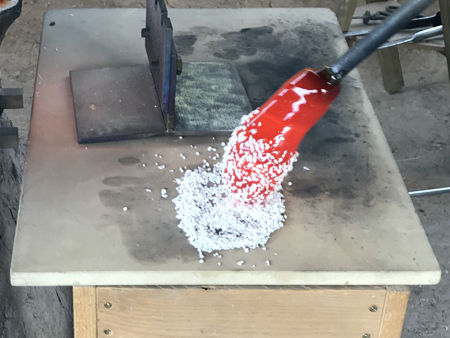
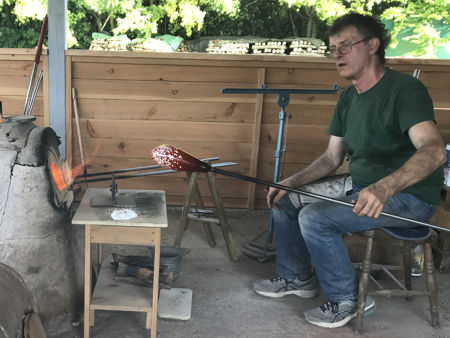
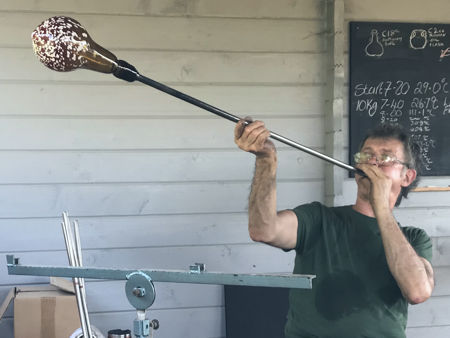
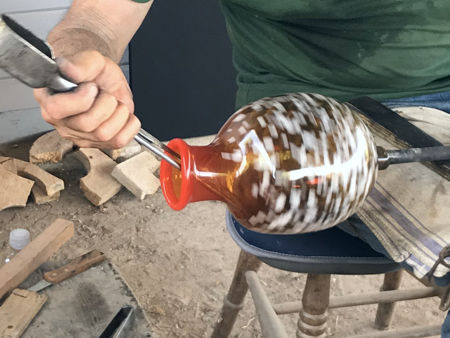
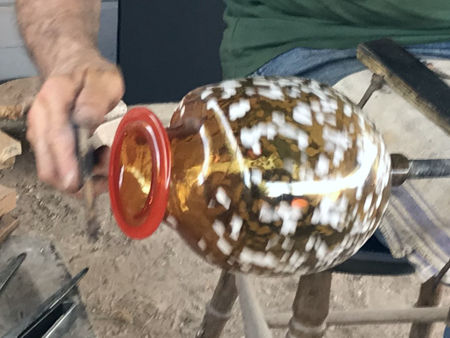
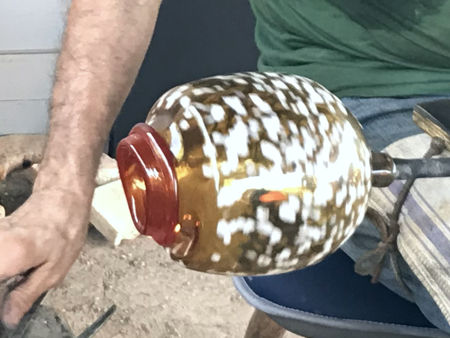
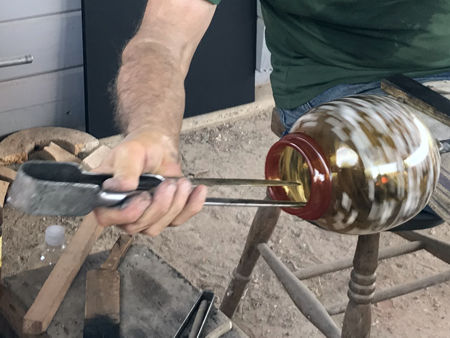
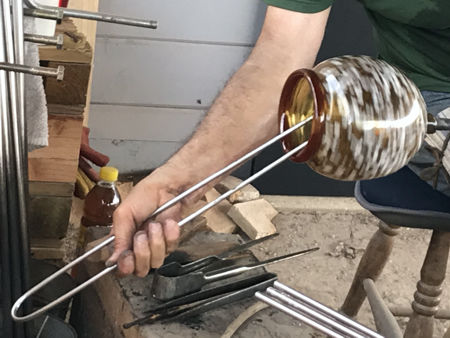
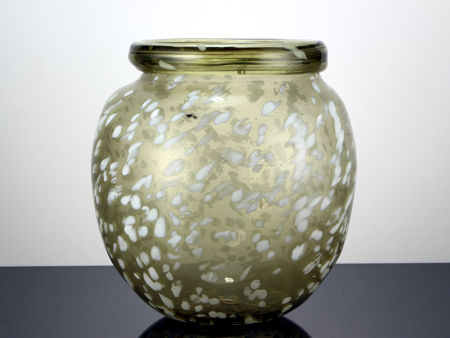
Decoration: The molten glass is rolled over small chips of white glass, causing some of them to heat up and tack to the molten glass. All of it is reheated until the chips have melted and been marvered into the main glass body. Folding the Rim: After blowing, shaping and puntying, the rim is folded three times: once inwards and twice outwards using a combination of metal tools and a small wooden board. This is a good example of how the heat can disguise the true colour of the glass. See this page for a similar jar made during Firing Five, and this page for one made during Phoenix Firing Two. |
|
|
|
|
|
|
|
|
|
|
|
|
|
|
|
|
|
|
|
|
|
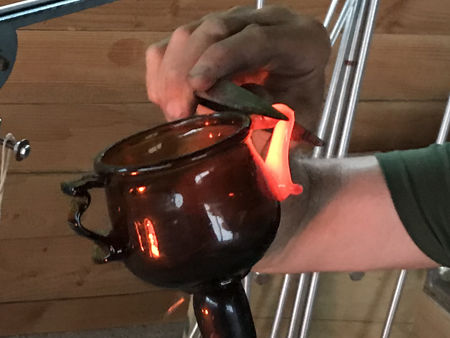
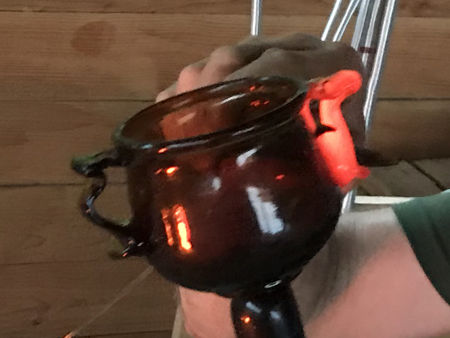
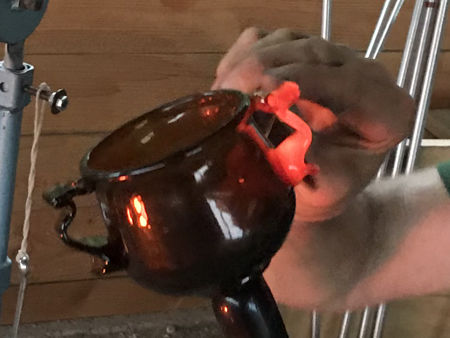
Two-handled Beaker
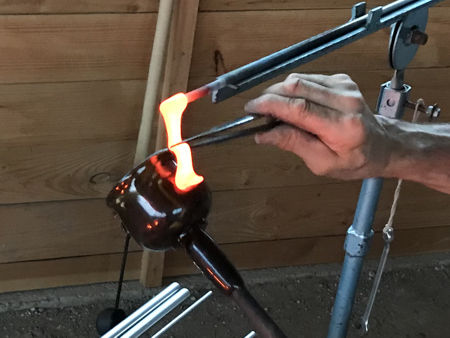
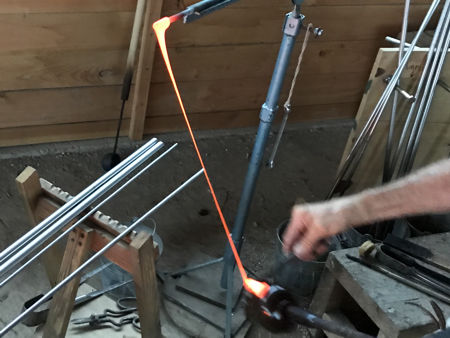
Handle: Using the pincers, the glass is attached at the lower attachment and the lower grip is squeezed. The glass is stretched up and stuck onto the rim. The thumbpiece is pulled out and squeezed, followed by pulling out the mid-section to give the handle its final shape. |
|
|
|
|
|
|
|
|
|
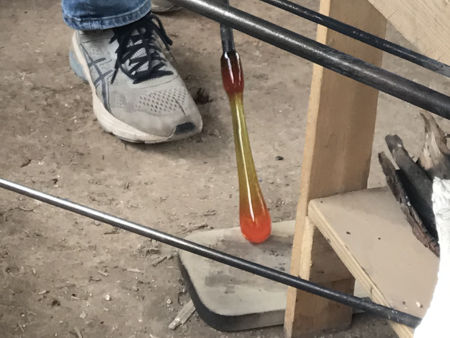
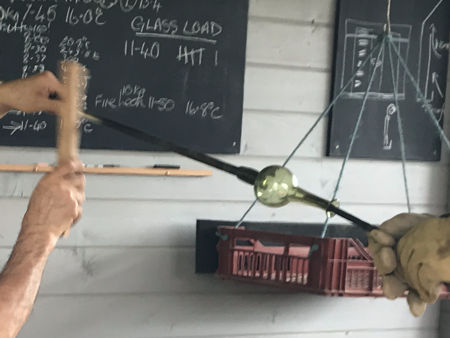
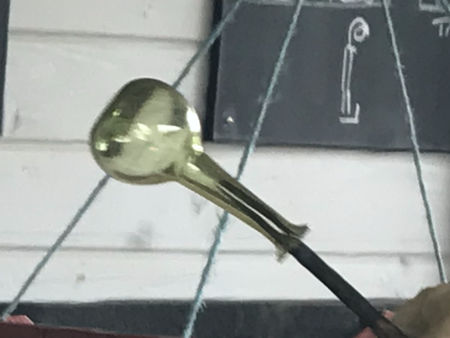
Tall-necked Phial
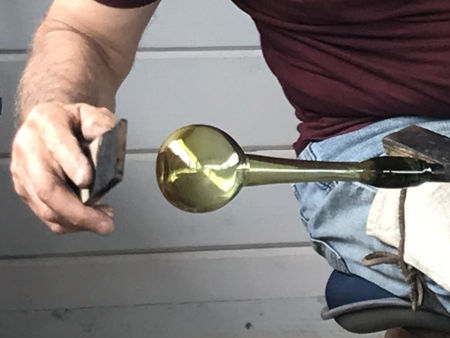
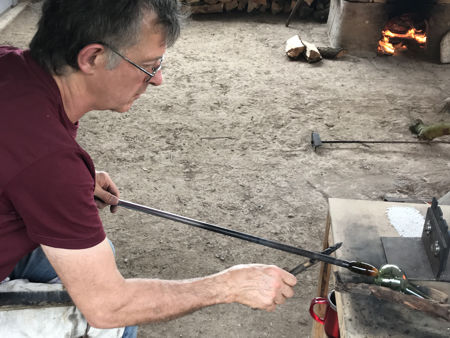
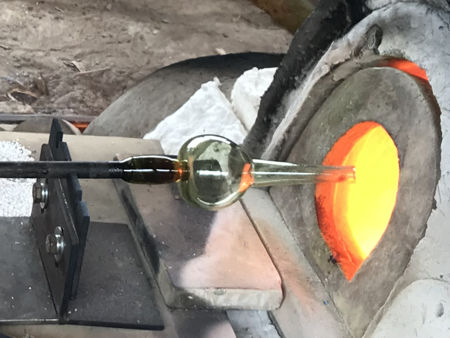
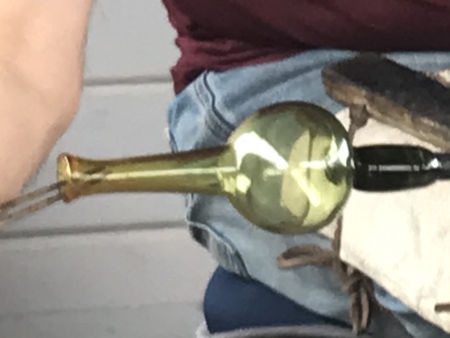
The base of the elongated bubble is cooled by using the floor marver whilst inflating the body. The base is flattened and the phial puntied. It is carefully reheated before using the jacks to flare the rim. The completed phial is cracked off onto a stick to be taken to the lehr for annealing. For a similar vessel, the Piriform Bottle, see this page from Phoenix Firing Two. |
|
|
|
|
|
|
|
|
|
|
|
|
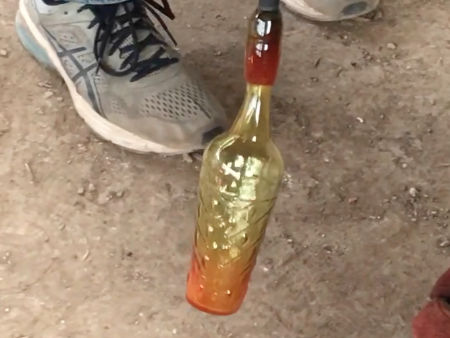
Lotus Beaker
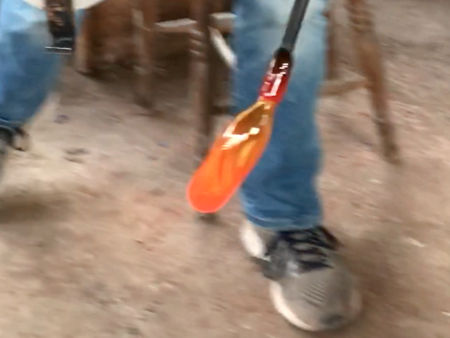
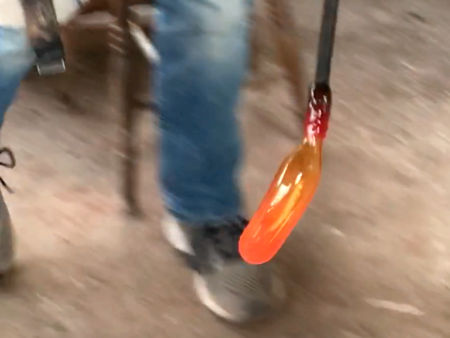
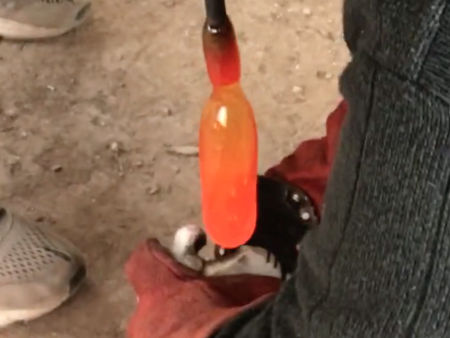
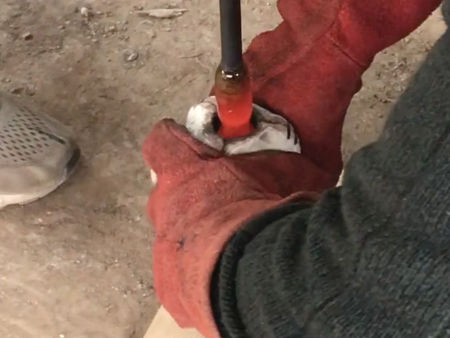
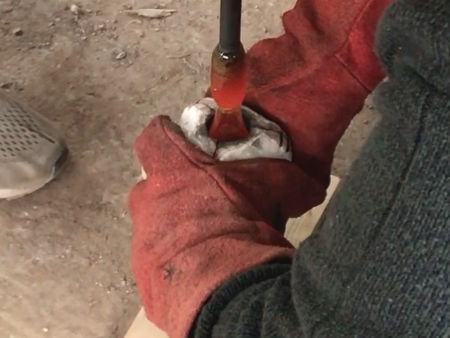
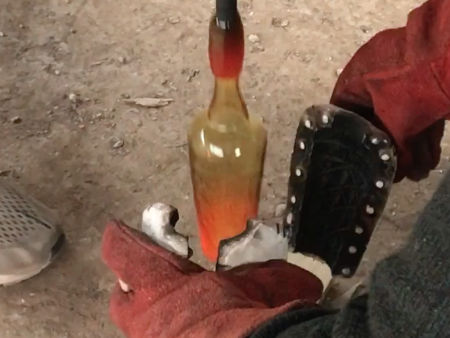
The very hot parison is quickly brought to the open mould. The mould is ceramic, has three sides and a base, and is coated on the inner surfaces with carbon. This acts as a release agent. The parison is lowered into the mould, the sides are held shut very tightly and the parison is inflated quickly and firmly as the blowing iron is pulled upwards. After a few seconds the mould is opened and the beaker is removed. Back at the furnace the base is checked for flatness and after a quick reheat the beaker is cracked off and taken to the lehr. |
|
|
|
|
|
|
|
|
|
|
|
|
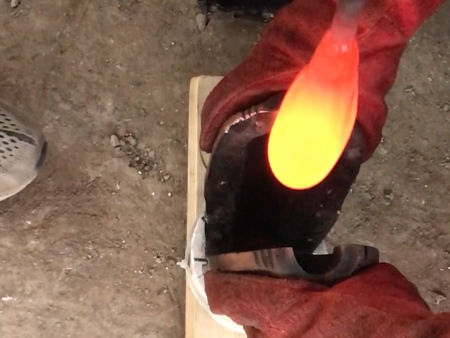
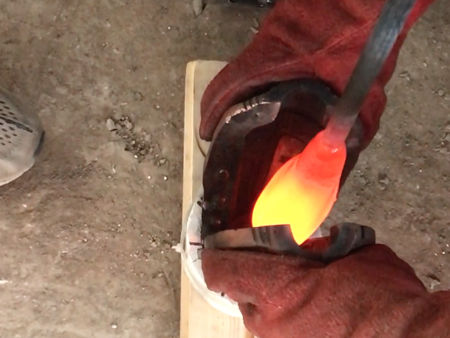
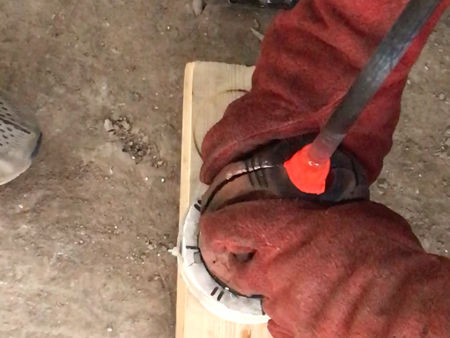
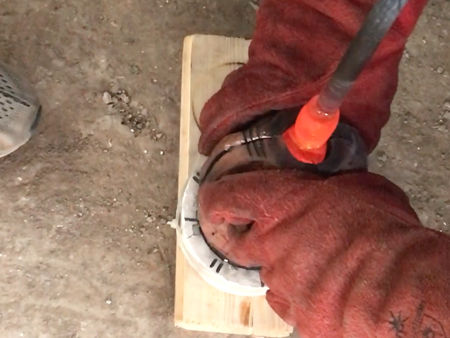
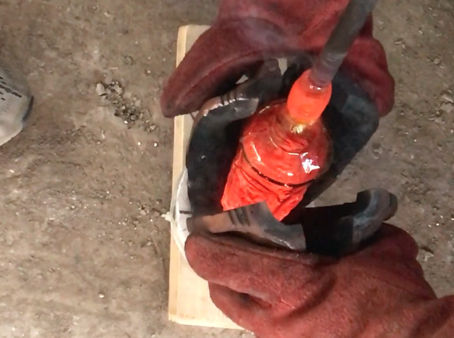
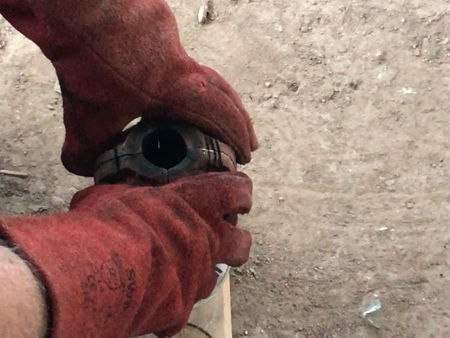
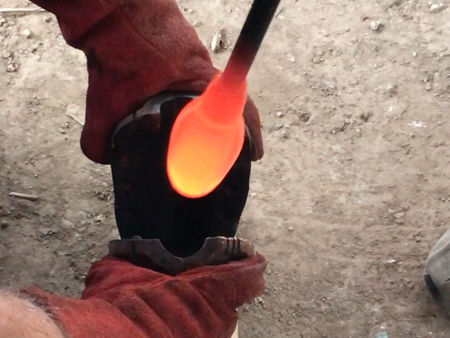
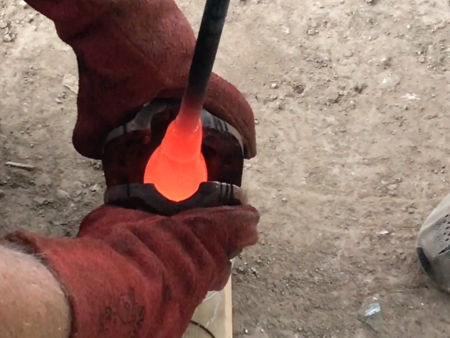
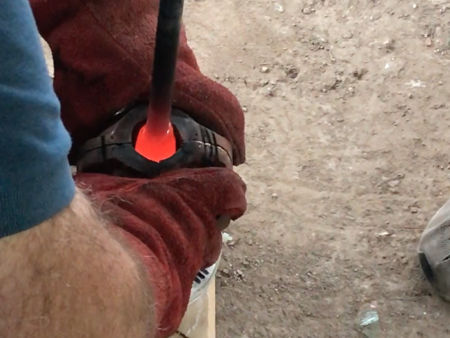
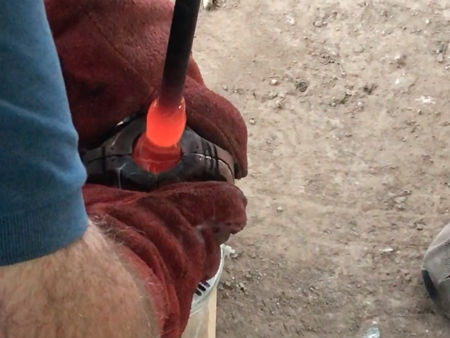
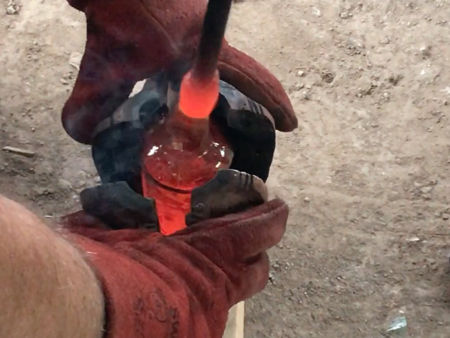
Myth Beaker
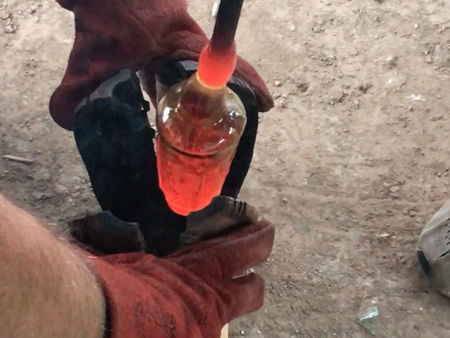
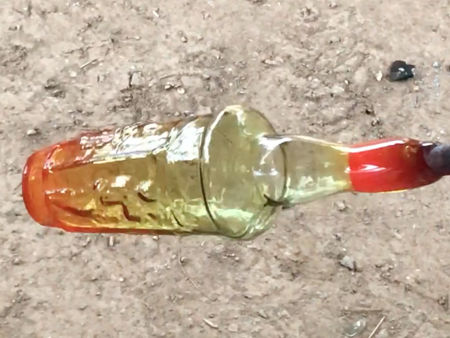
Here are two sequences of blowing a Myth Beaker, each from a different angle. This ceramic mould has four sides and a base. The sequence is the same as that of the Lotus Beaker (seen above), but each Myth Beaker requires more glass. |
|
|
|
|
|
|
|
|
|
|
|
|
|
|
|
|
|
|
|
|
|
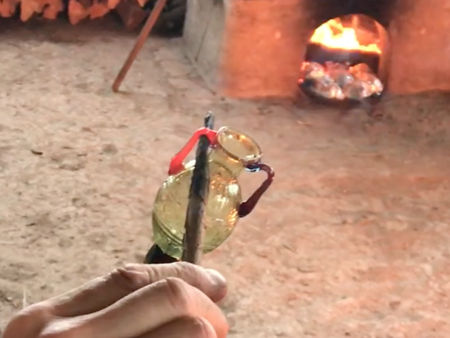
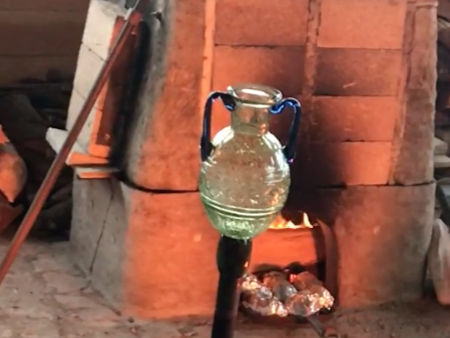
Small Mould-blown Bottle
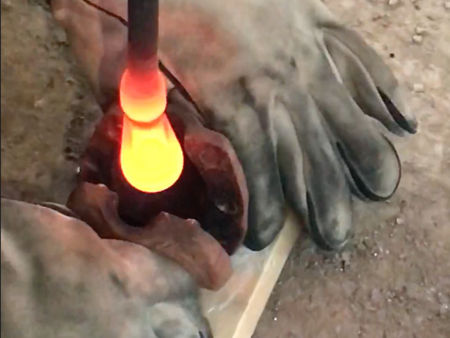
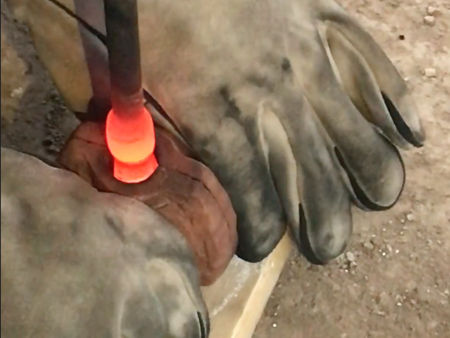
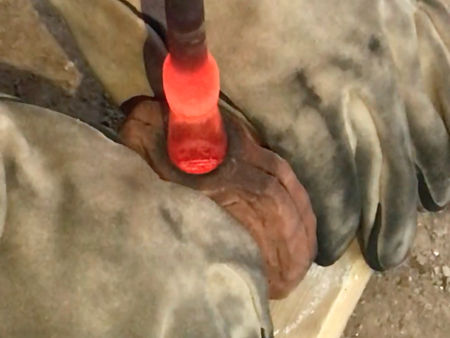
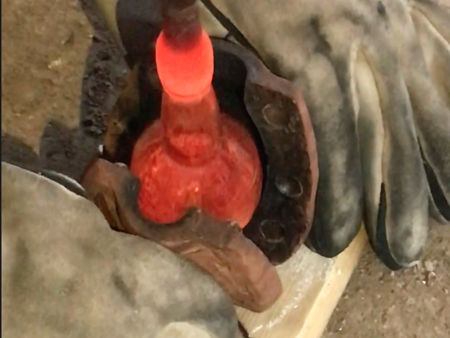
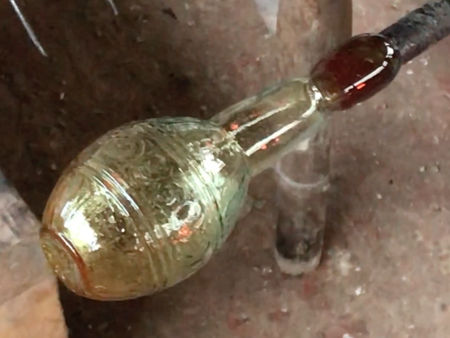
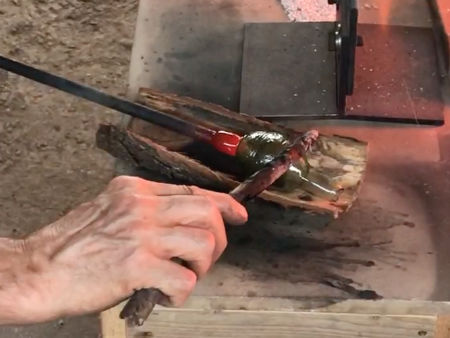
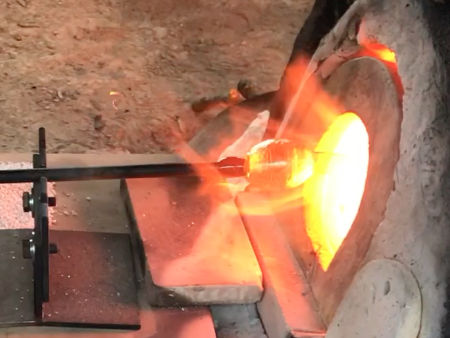
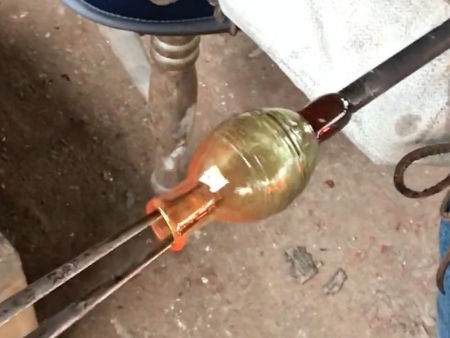
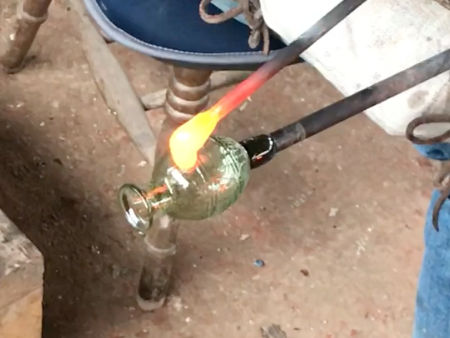
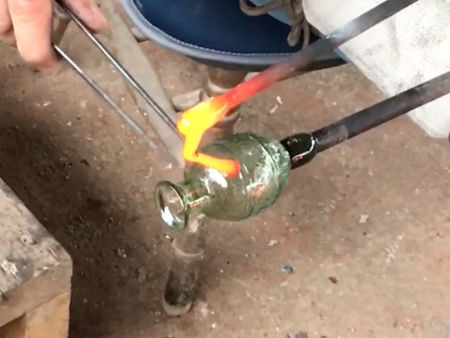
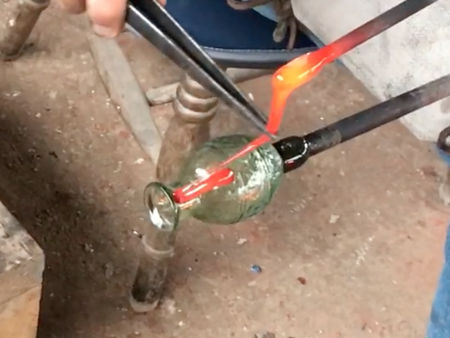
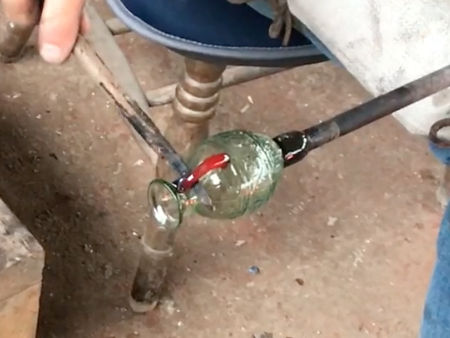
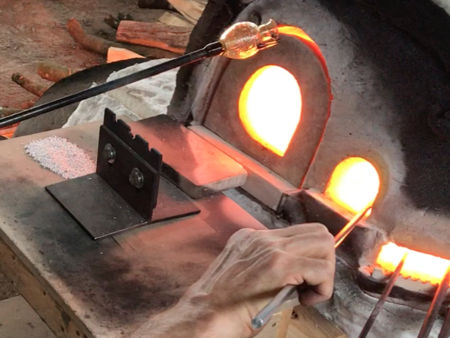
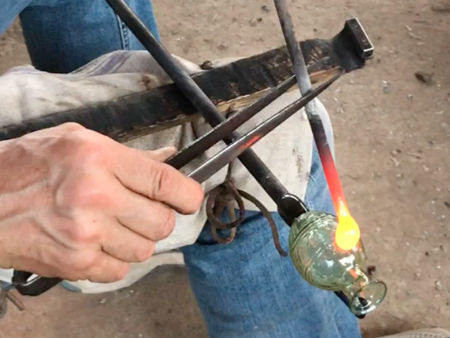
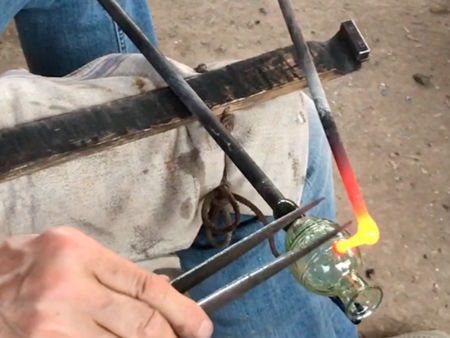
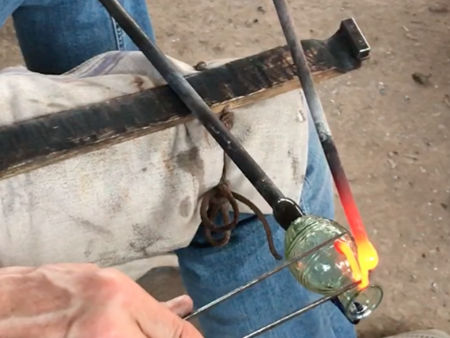
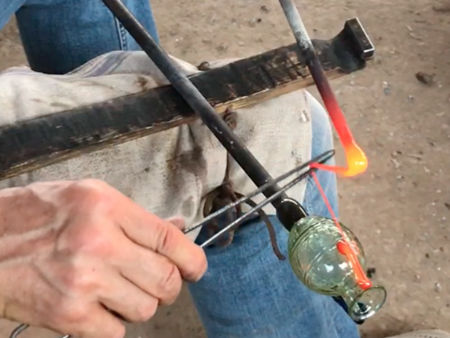
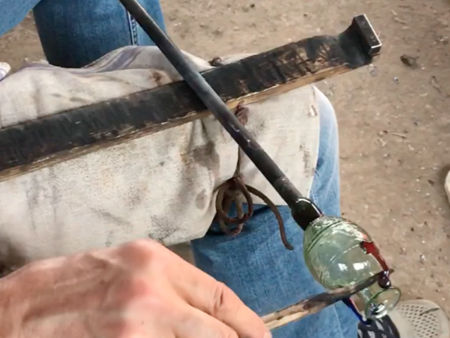
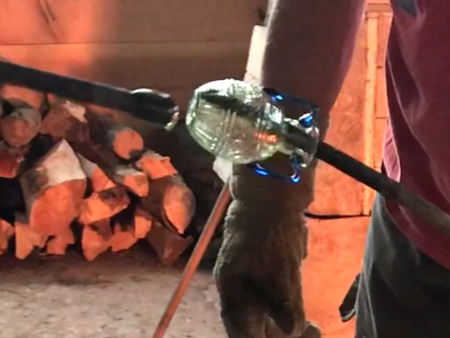
The blowing process is the same as for the beakers above, but with a much smaller gather of glass, although the glass is pulled upwards further away from the mould to make the neck of the bottle. After blowing, the bottle is puntied, the neck is reheated and the neck and lip shaped. Both handles are applied and shaped whilst resting the punty on the thighboard. After final shaping of the handles, the bottle is cracked off the punty and taken to the lehr. |
|
|
|
|
|
|
|
|
|
|
|
|
|
|
|
|
|
|
|
|
|
|
|
|
|
|
|
|
|
|
|
Home Gallery Contact Events & Projects Projects: 2019 Onwards Film & TV Archive & Links