 Home
Gallery
Contact
Events & Projects
Projects: 2019 On
Film & TV
Archive & Links
 Home
Gallery
Contact
Events & Projects
Projects: 2019 On
Film & TV
Archive & Links
|

|
2020 Furnace and Lehr at Quarley - Firing Five - Glassblowing
Projects: 2019 Onwards
Shelter Build
Wood Gathering and Processing
General Preparation
Firepit Construction
Furnace Installation
Lehr Installation
Floodproofing
Firings One and Two
Firing Three
Firing Four
Firing Five
Firing Six
------------------------------------------------
Furnace Performance and Lehr Pots and Breakages Glassblowing
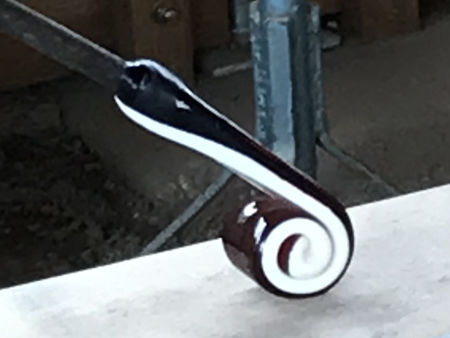
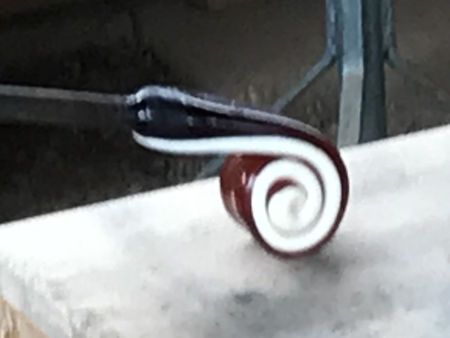
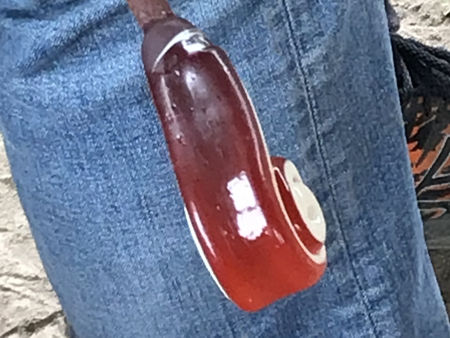
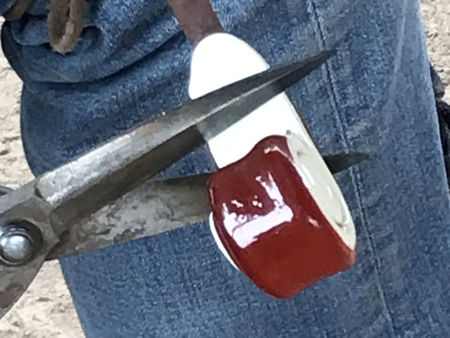
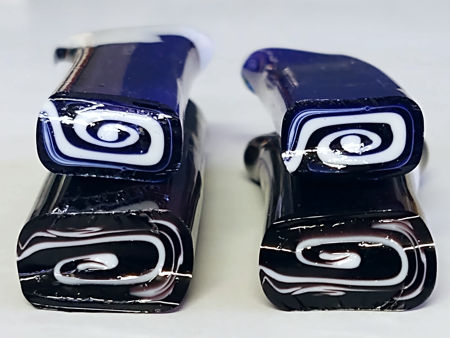
On this page we have included a couple of extra items (the last two on the page). The first one is a series of photos showing an experimental method of puntying: the Clay Punty technique. The second one is a method for making a short, bicoloured rectangular cane with a spiralled cross-section. We use these cross-sections for reproducing Roman ribbed bowls with this pattern. See this page on our archived 'Roman Glassmakers' website for more information on ribbed bowls.
|
Glassblowing
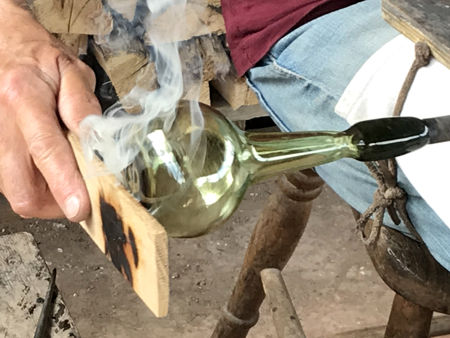
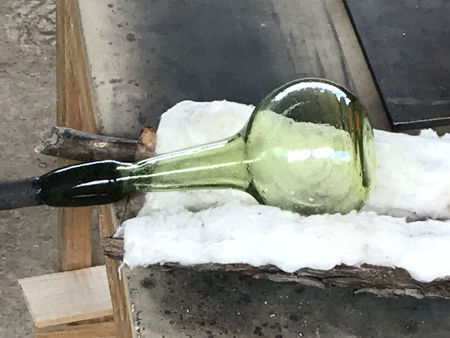
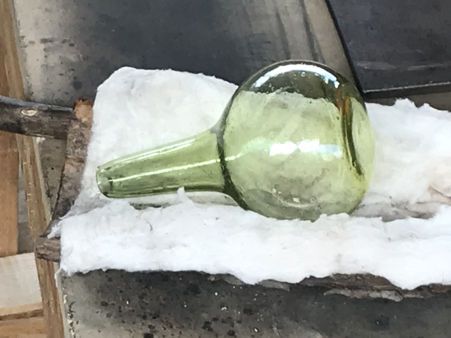
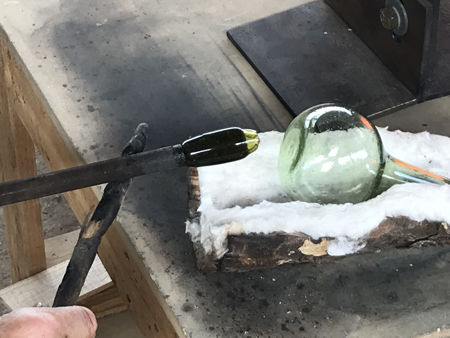
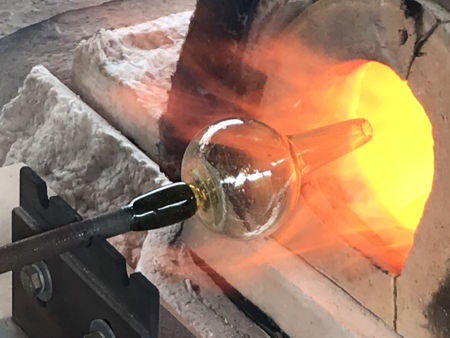
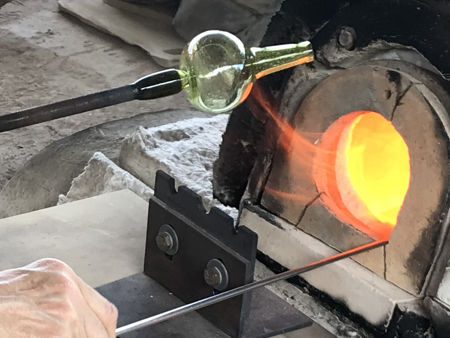
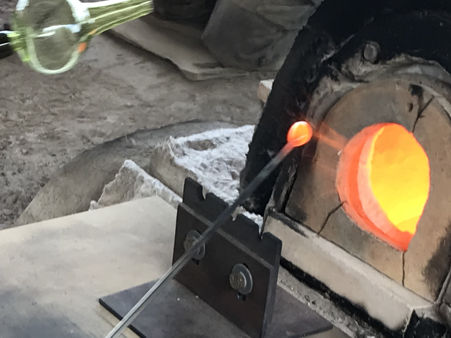
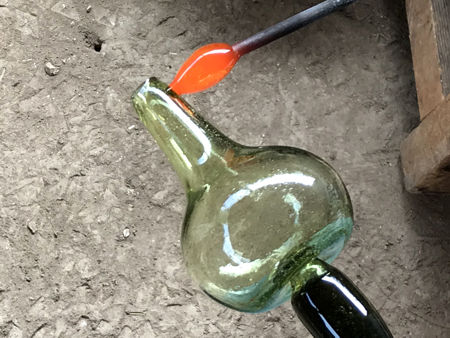
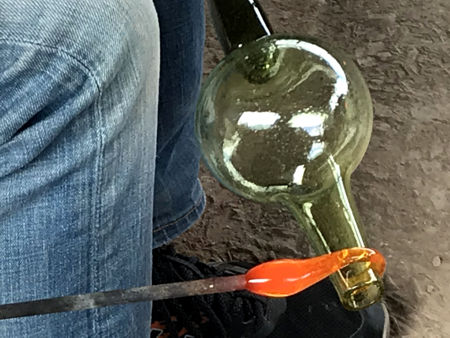
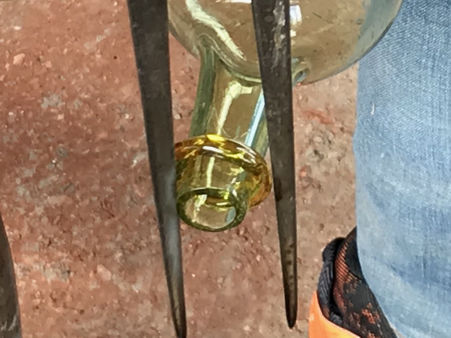
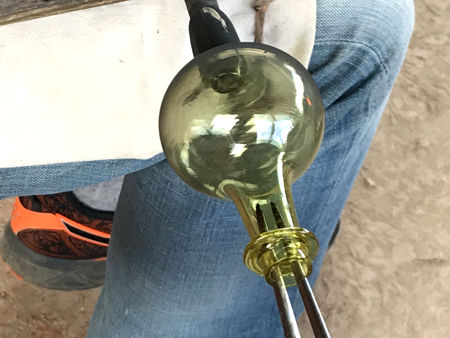
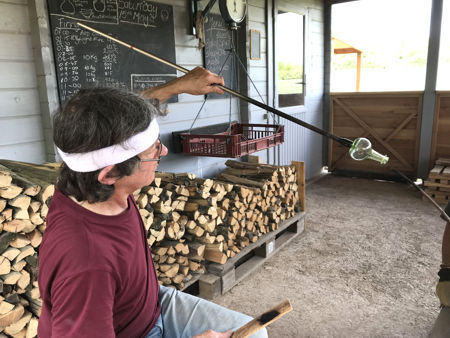
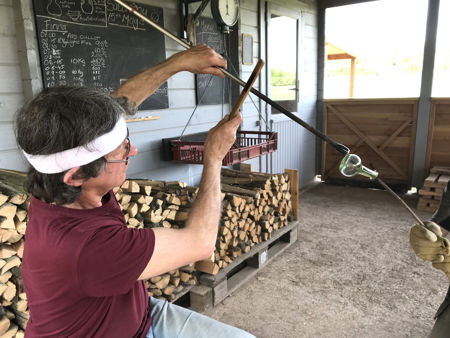
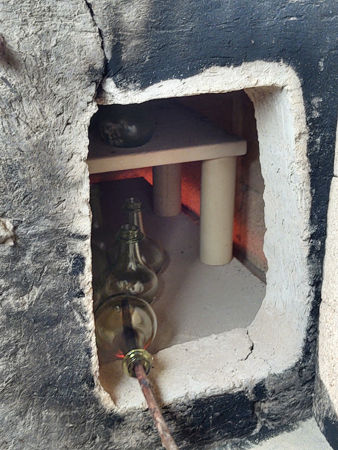
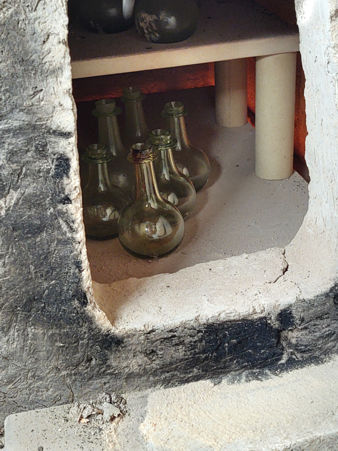
Apothecary Bottle Another series of photos showing this type of bottle being made. View these close-ups alongside the photos showing this bottle type being made on this page from Firing Four. |
|
|
|
|
|
|
|
|
|
|
|
|
| |
|
|
|
|
|
|
|
|
|
|
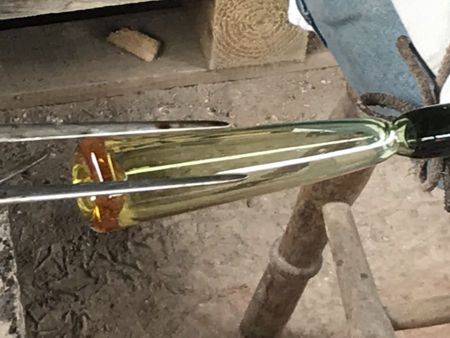
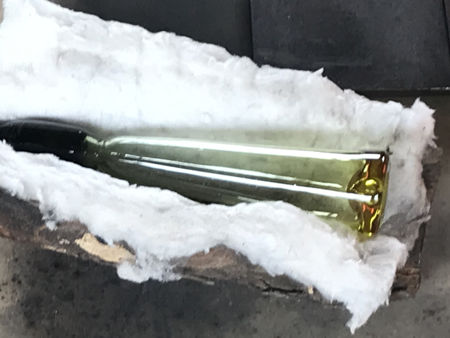
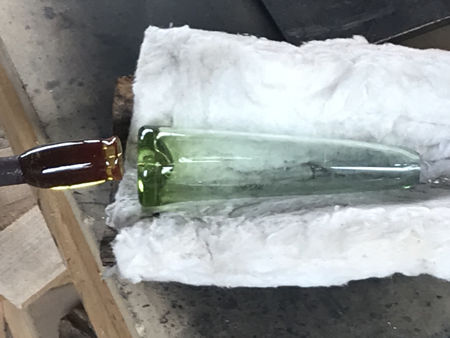
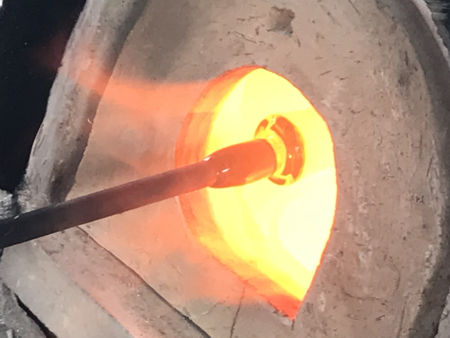
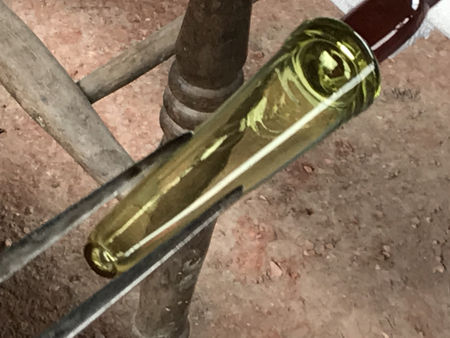
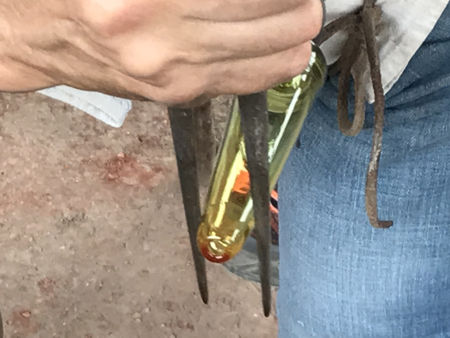
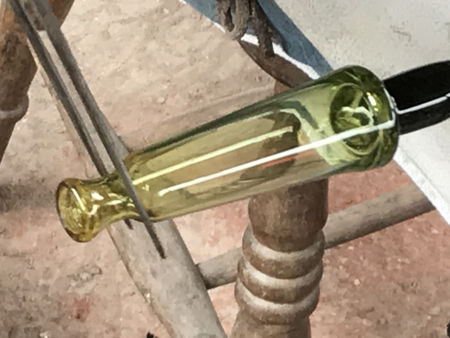
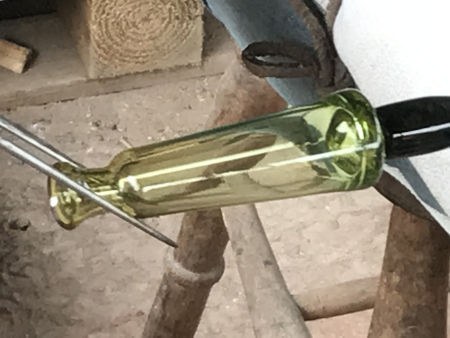
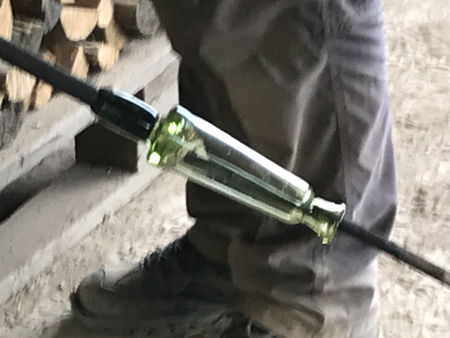
Conical Phial
The body is made from a small elongated bubble. After puntying and rehesting, the neck and rim are shaped by cutting in and flaring at the top of the body |
|
|
|
|
|
|
|
|
|
|
|
|
|
|
|
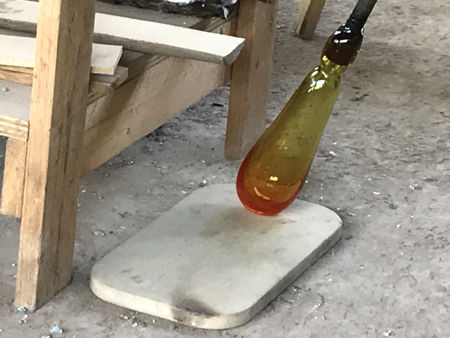
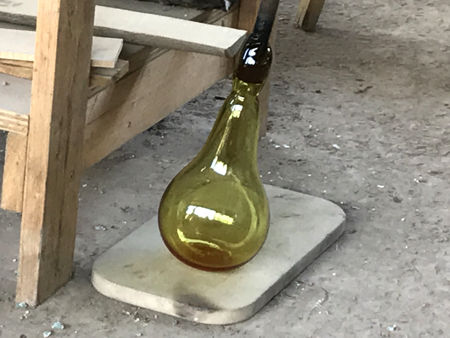
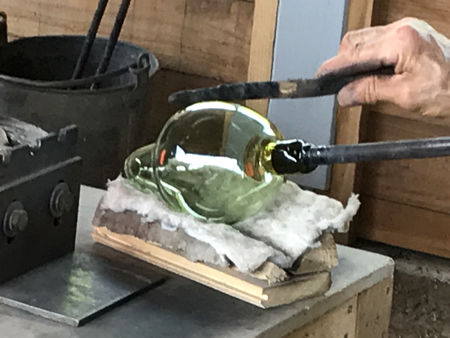
Storage Jar
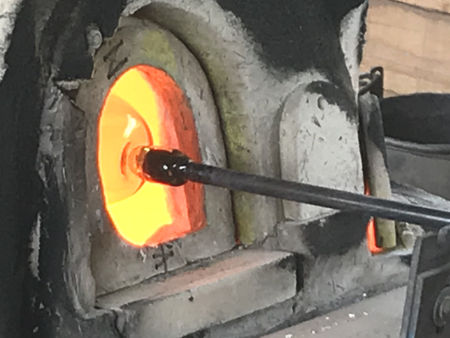
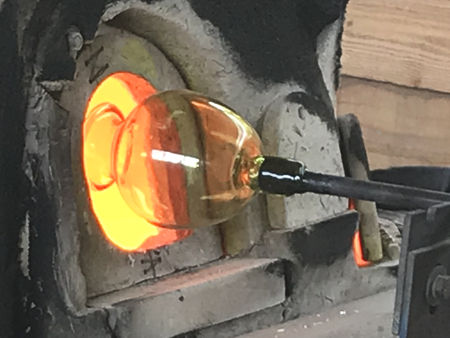
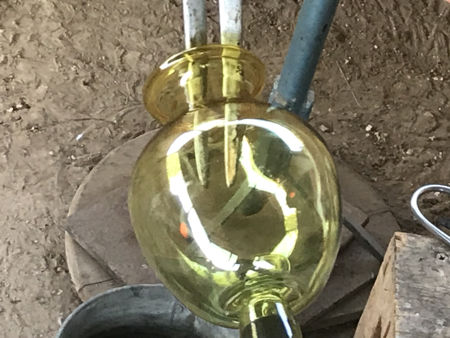
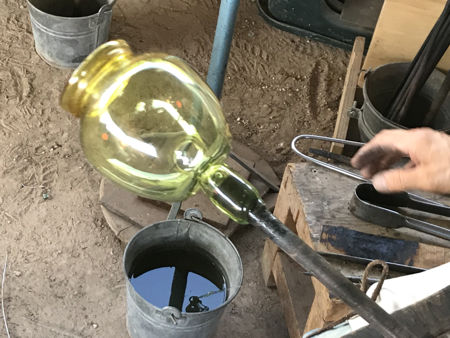
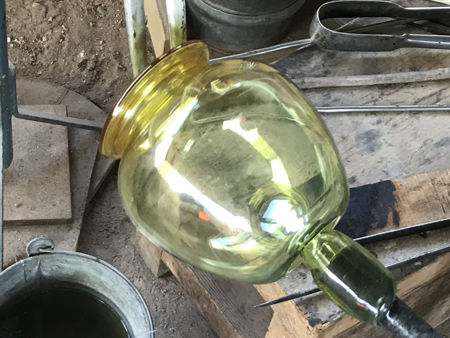
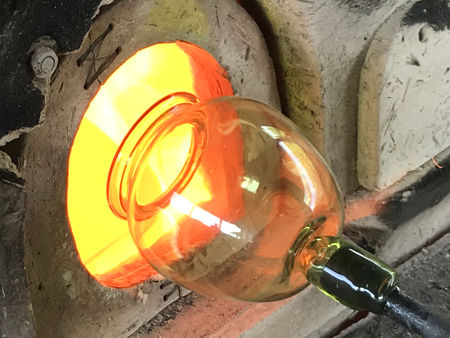
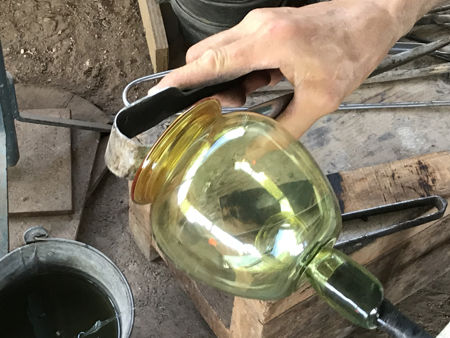
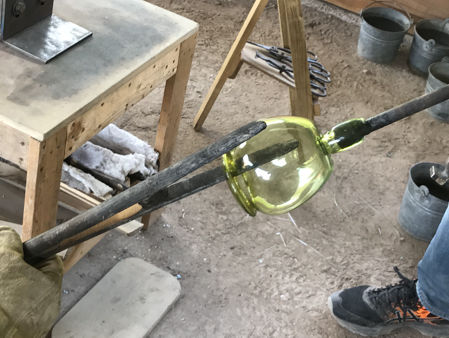
Making this jar is very similar to making the Storage Jar in Firing Four, but without the decoration. The rim is also folded three times: once inwards and twice outwards, but the third fold is taken further until it is horizantal, not vertical. See this page for a similar jar made during Firing Four. See this page for a similar jar made during Phoenix Firing Two. Note the use of the floor marver to cool the base, keeping it thicker than the walls of the jar. |
|
|
|
|
|
|
|
|
|
|
|
|
|
|
|
|
|
|
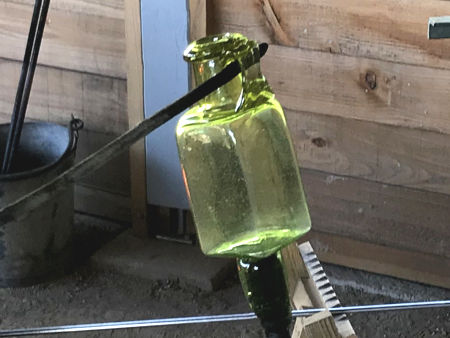
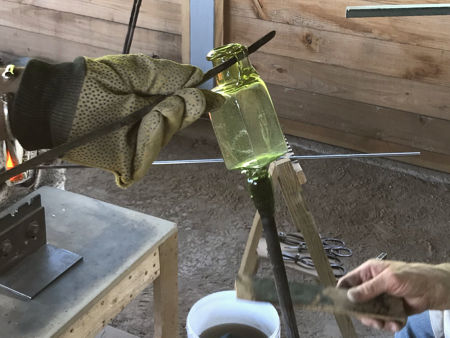
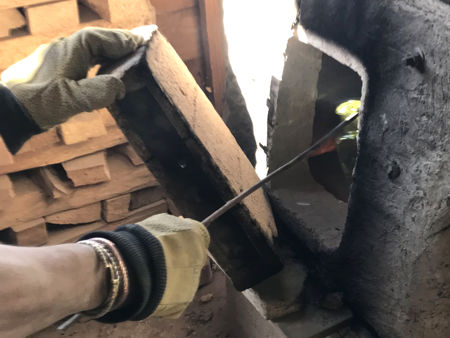
Square Bottle
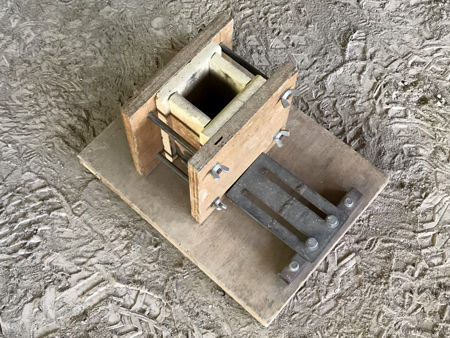
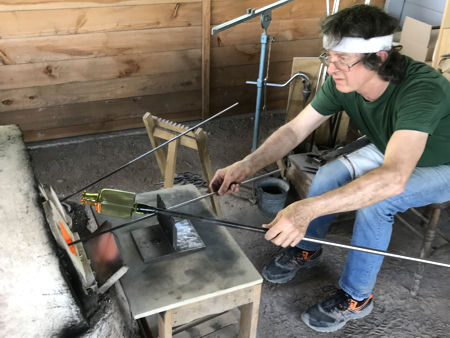
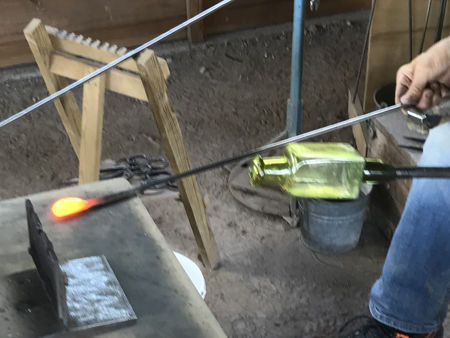
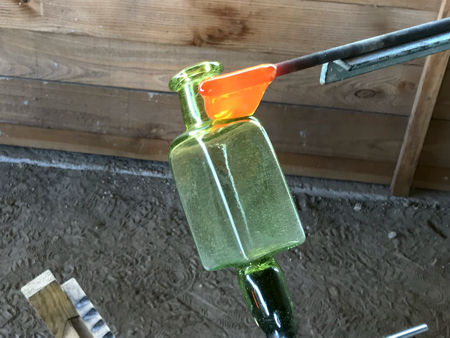
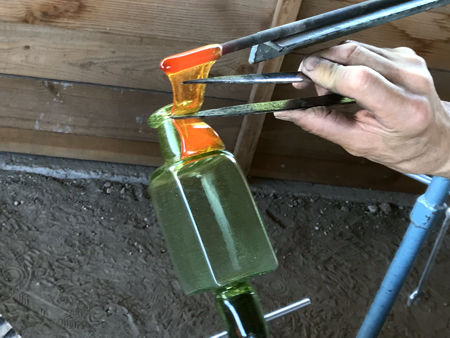
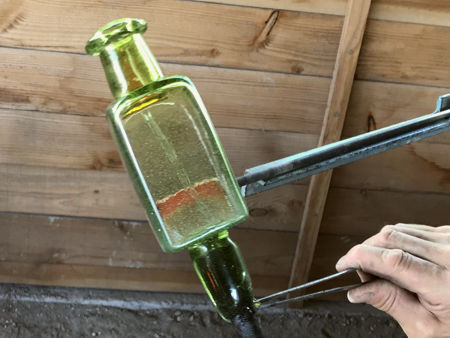
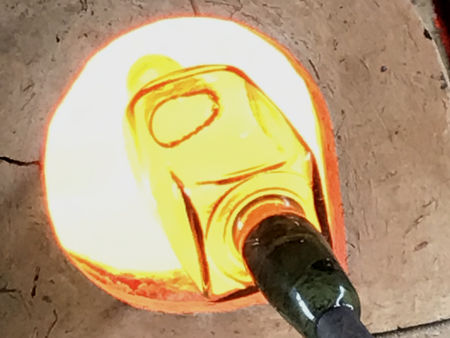
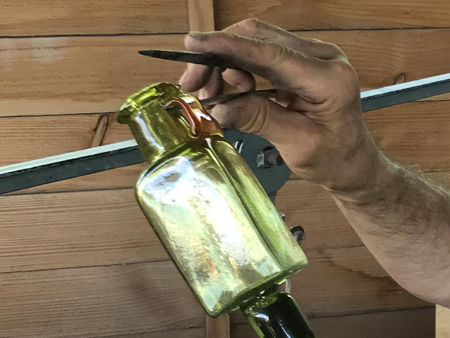
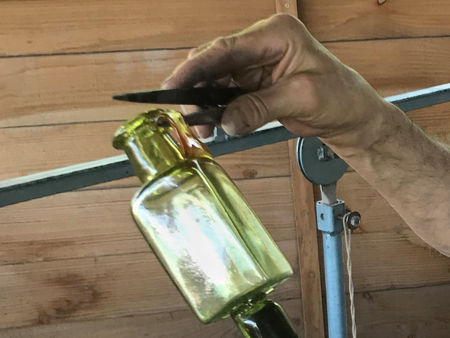
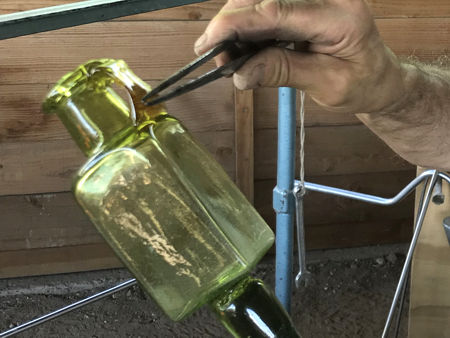
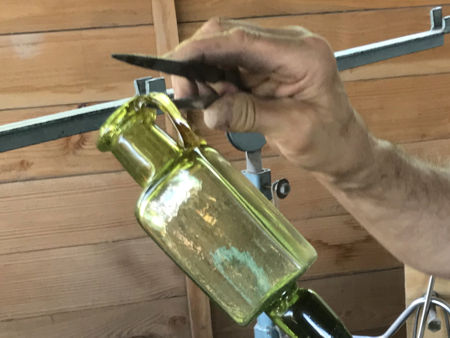
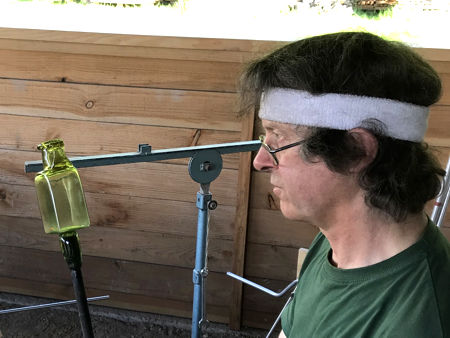
The mould is made from four sections of a ceramic kiln batt cut to shape and clamped together with two wooden backing plates held in place with bolts and wingnuts. It is held to the base with a removeable metal clamp which can be slackened to change the base mould for others of different patterns. Attaching a handle: The gather is shaped and flattened on the marver which allows a wide lower attachment. It is tucked under the rim and the bit iron is cast off. after reheating and shaping, it is ready to be put into the lehr. |
|
|
|
|
|
|
|
|
|
|
|
|
|
|
|
|
|
|
|
|
|
|
|
|
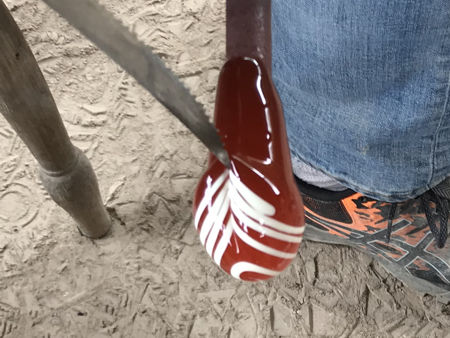
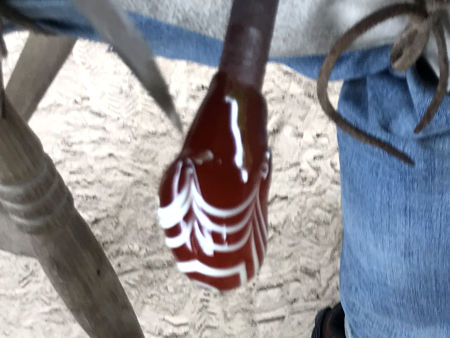
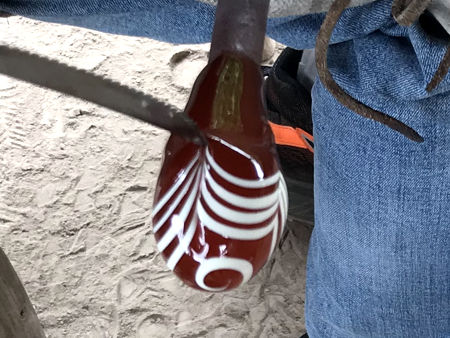
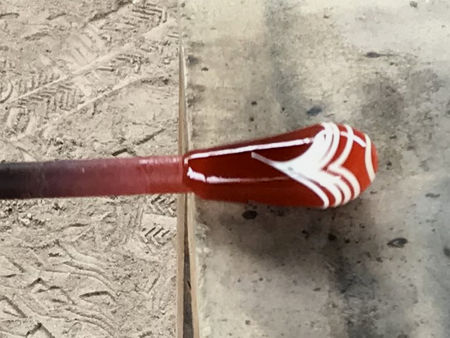
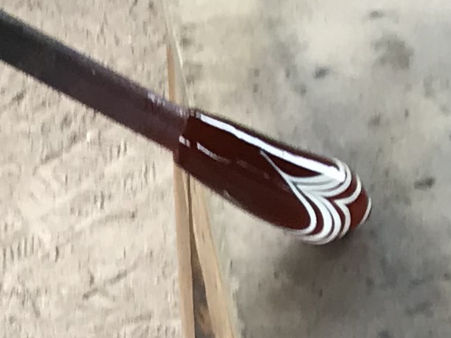
Festooned Bottle
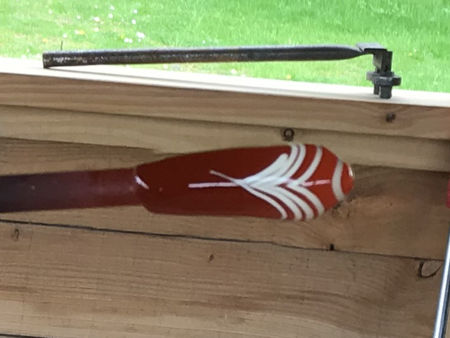
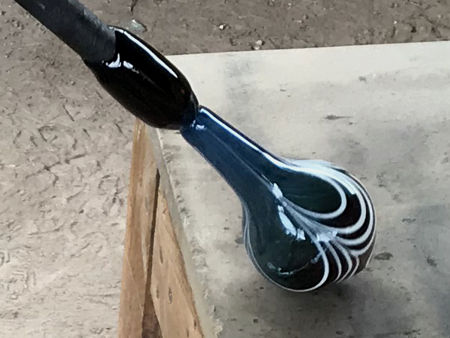
Adding the festoons: The white trail has to be of a glass composition that works at a higher temperature than the glass forming the body. If not, it will bleed into the body glass, lose its definition, and will expand too much when blown. The trail is formed before the glass is blown as it needs several reheats to achieve the pattern, and each drag of the knife or hook will distort the glass and pull it off-centre. Two festoons opposite each other are initially worked, then the two at right angles to the first pair, reheating and alternating to form the final festoons. The glass is reheated and reshaped before blowing. |
|
|
|
|
|
|
|
|
|
|
|
|
An Experiment
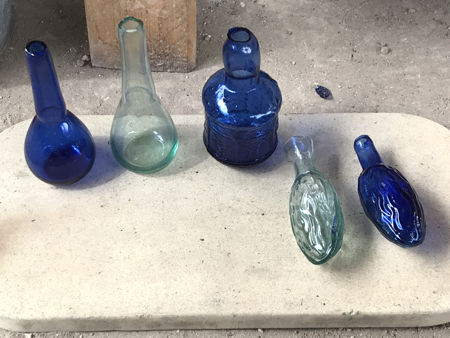
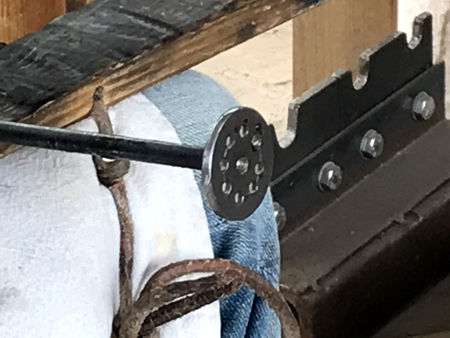
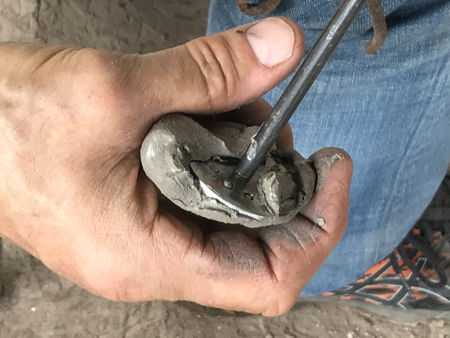
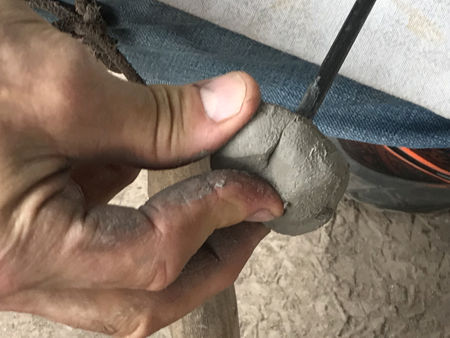
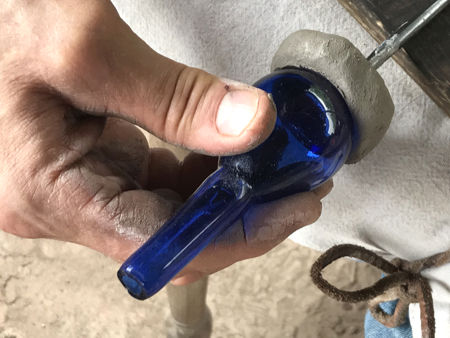
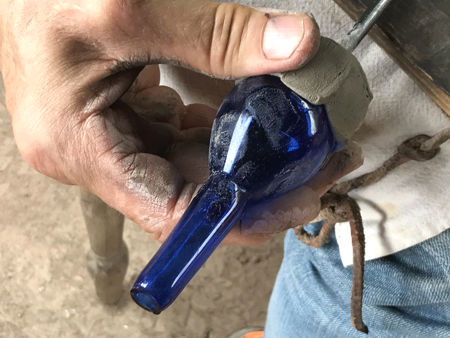
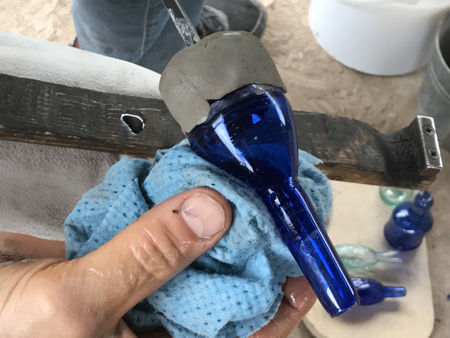
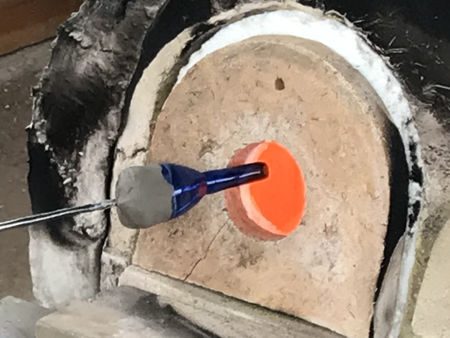
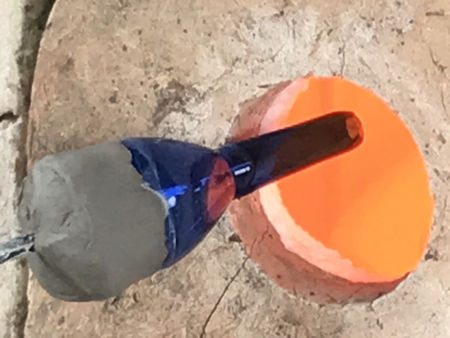
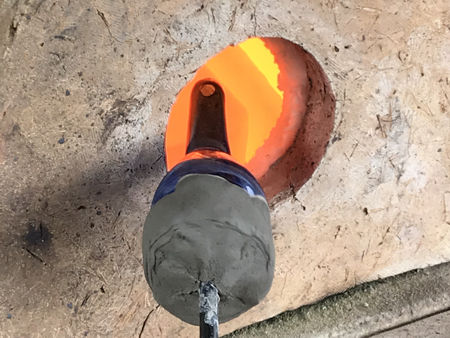
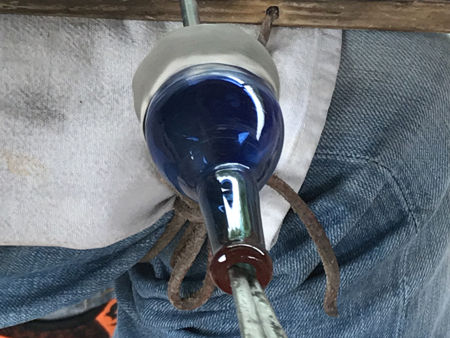
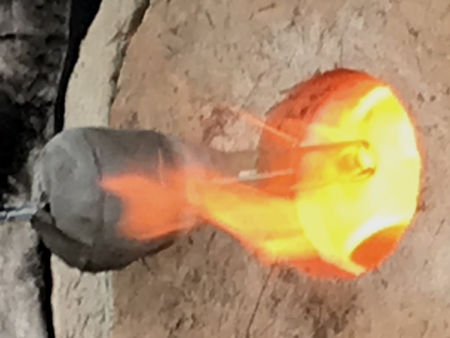
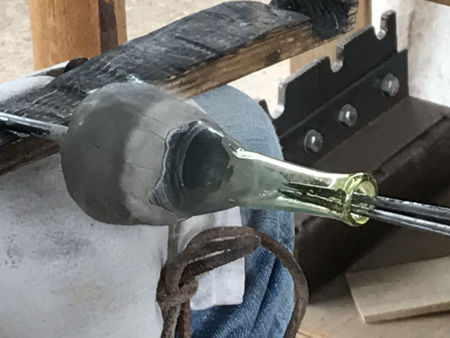
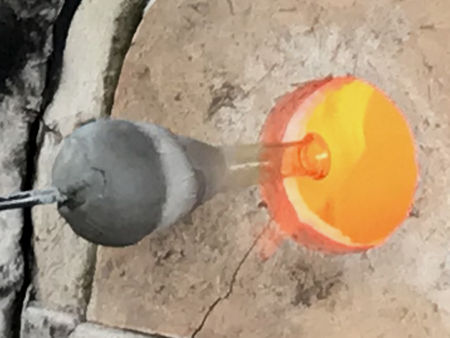
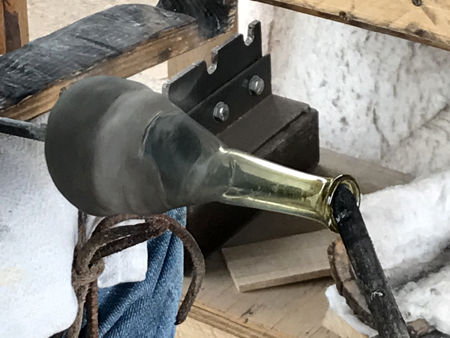
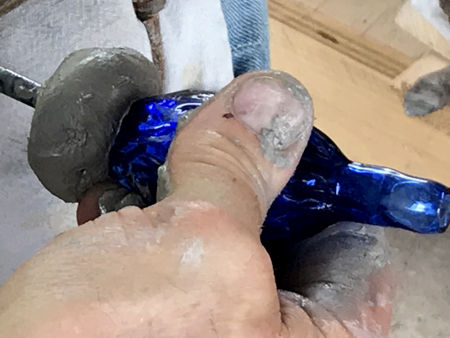
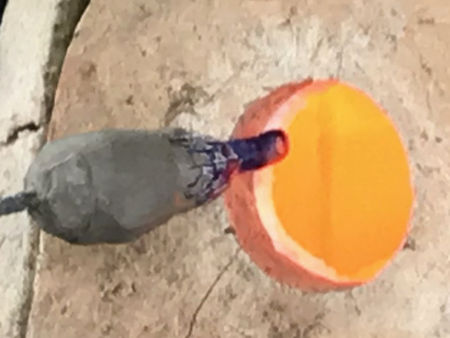
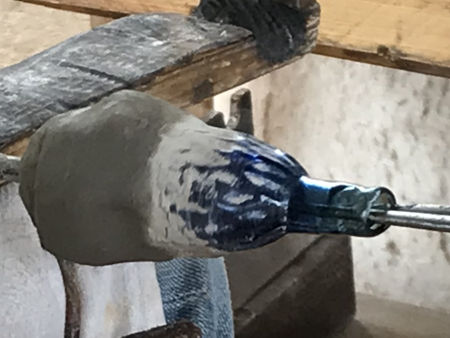
The Clay Punty The clay punty was an idea we came up with in the early 2000s, and is a way of attaching a small blown vessel to a punty rod without using glass. It does not leave a mark or scar, so is a suitable method for the simple, small early Roman blown vessels. These first attempts were largely successful, even though we were using a modern glory hole with a large opening which meant that heat radiation was a problem. We were also using vessels with much longer necks than the ones we use here. We left the completed vessels to cool naturally, then reannealed them. For this experiment, we made a collar with a 2" opening and proceeded as in the photographs: attaching wet clay to the punty disc, adding a small vessel, centering it and shaping the clay around its lower half, then introducing the vessel rim to the heat source. Although the process worked, the heat dried the clay, which meant that the vessel could work loose. To combat this, we will make other collars with smaller openings, and will experiment with directing the heat in such a way as to heat the rim of the vessel without drying the clay. |
|
|
|
|
|
|
|
|
|
|
|
|
|
|
|
|
|
|
|
|
|
|
|
|
|
|
|
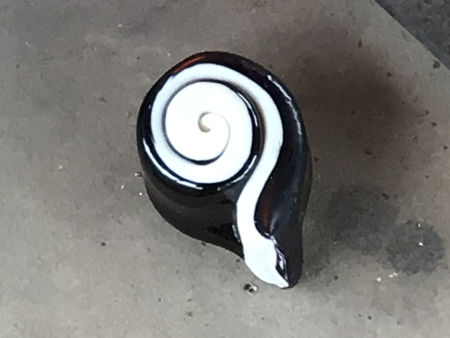
A Non-blowing Technique
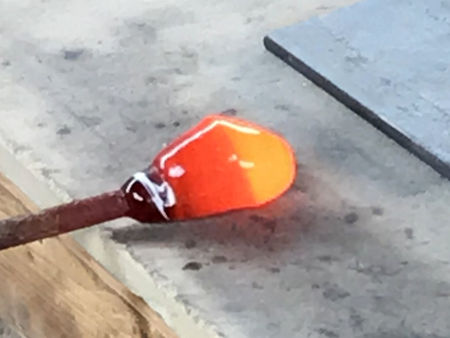
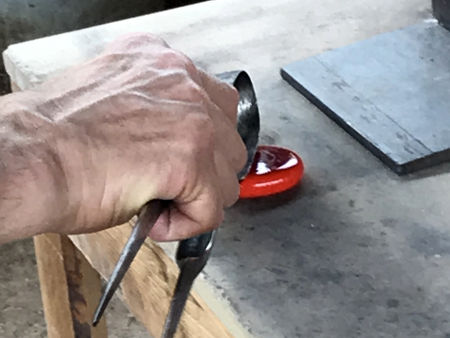
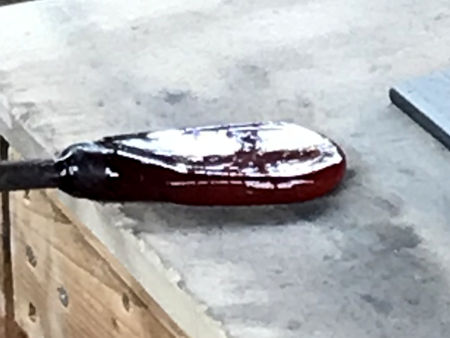
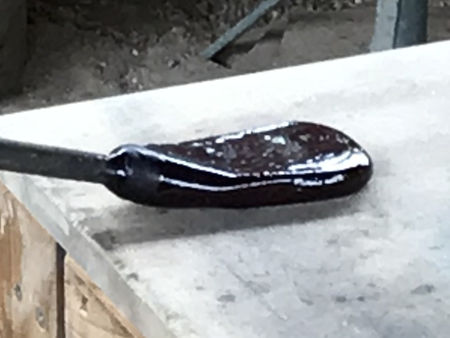
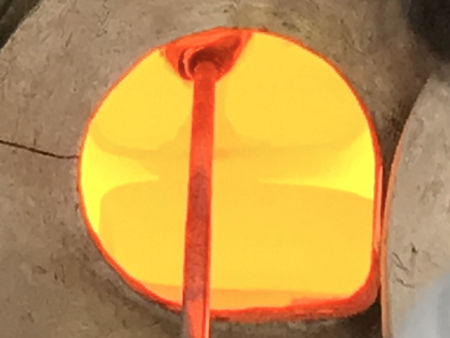
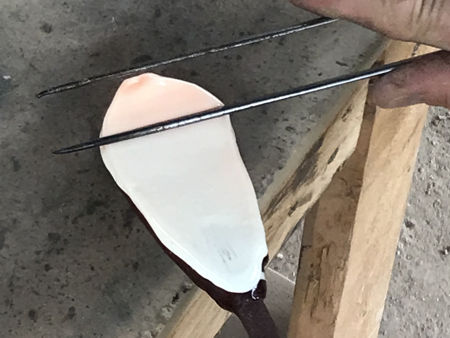
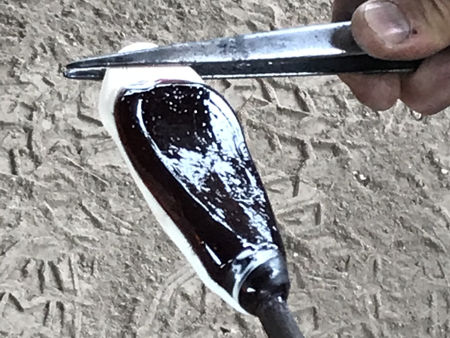
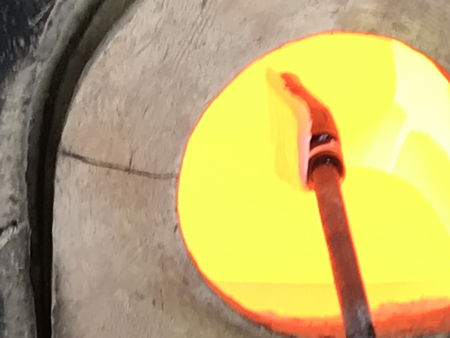
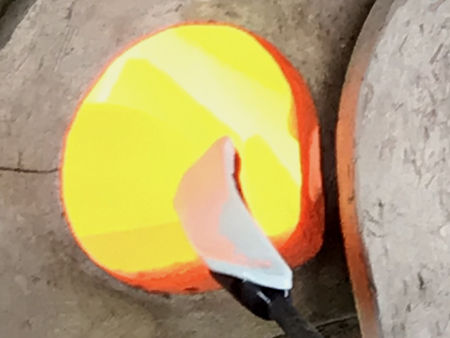
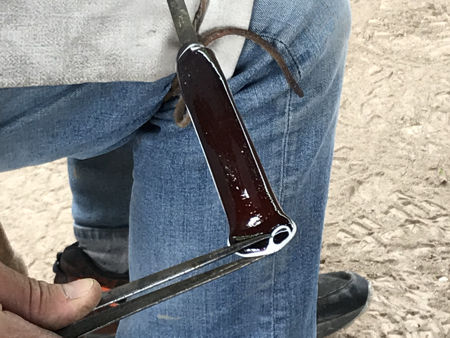
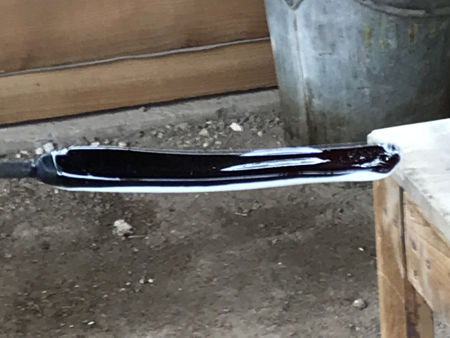
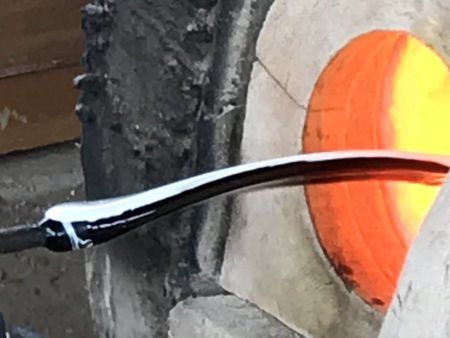
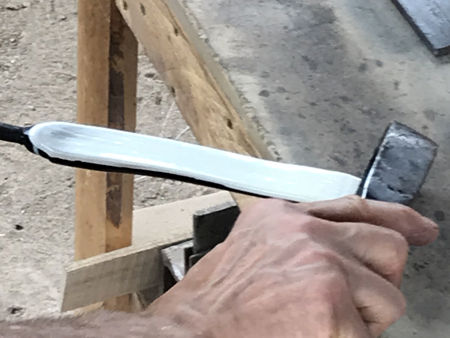
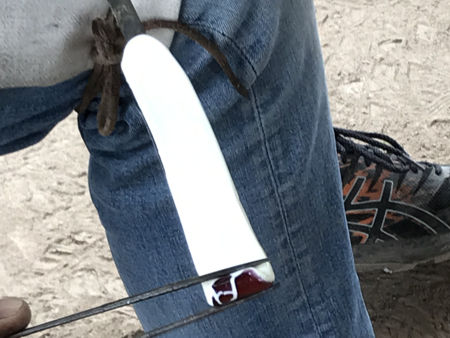
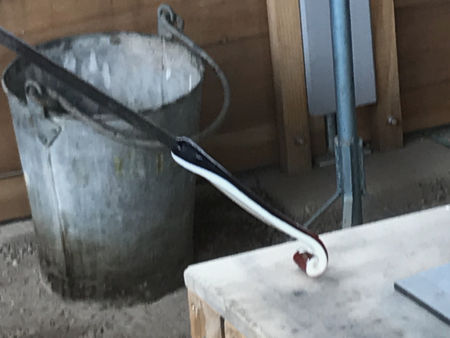
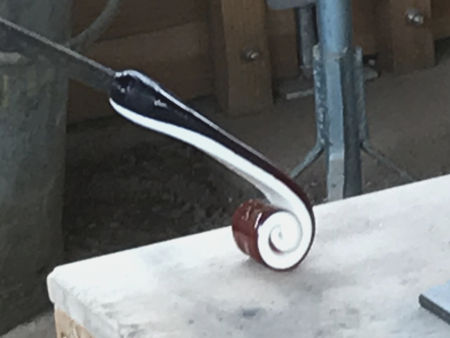
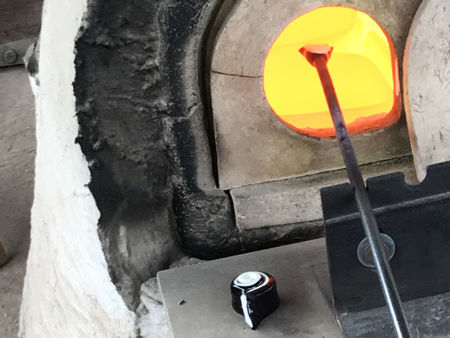
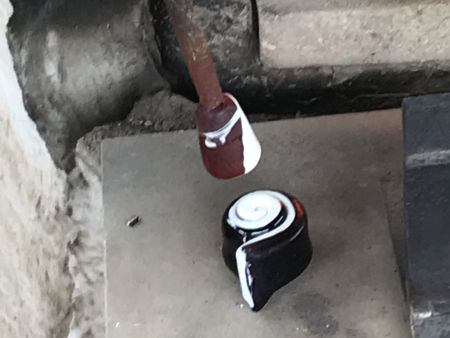
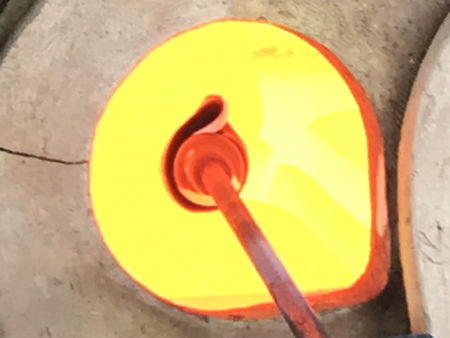
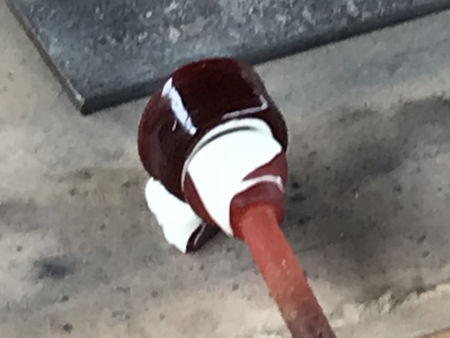
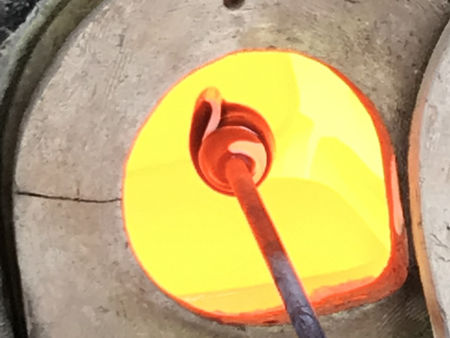
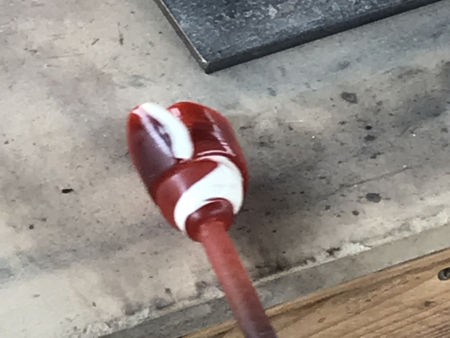
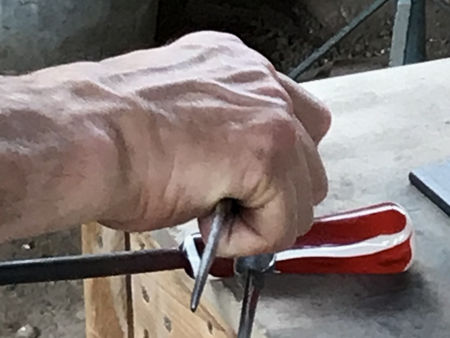
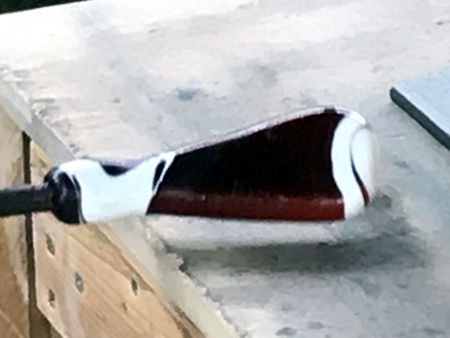
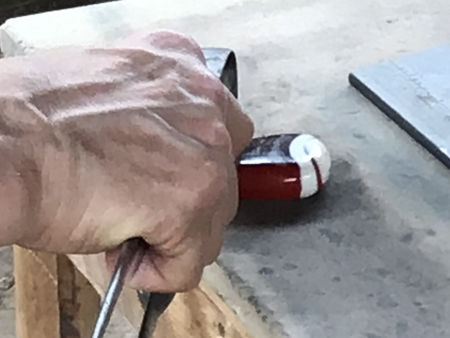
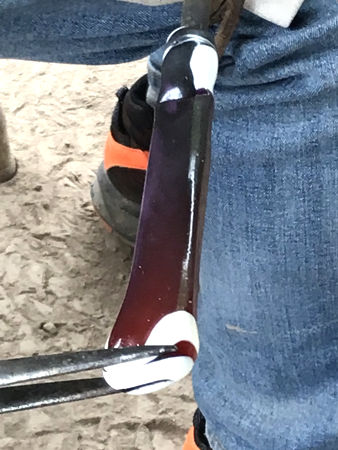
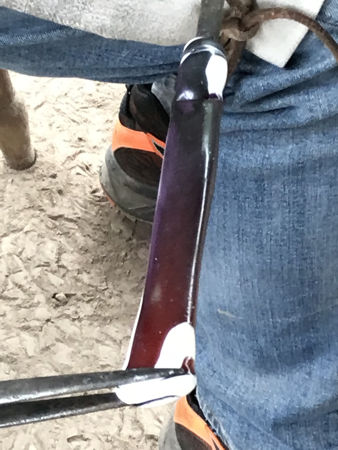
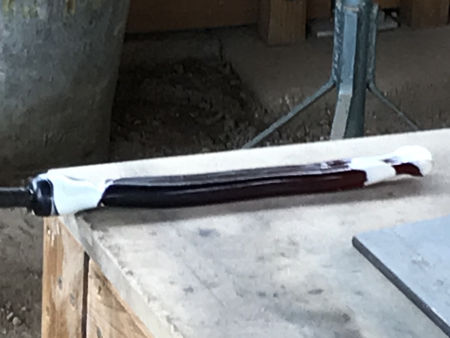
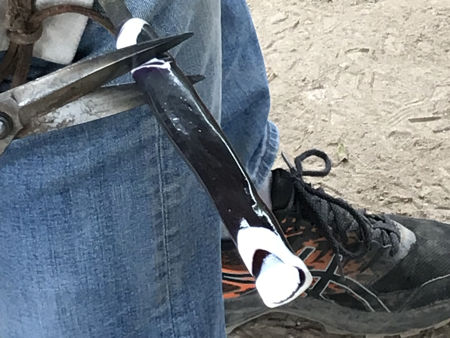
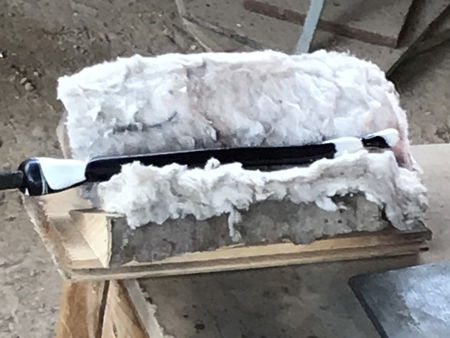
Making a Cane with a Spiral Cross-section This is begun by gathering some of the base glass - in this case, purple, and flattening, shaping and bending it to form a tongue. When cool, it is lowered onto the opaque white glass, collecting some on the bottom of the tongue without forming any bubbles, lifting it out and scraping the white glass on the rim of the pot to remove excess glass. It was difficult to do this as the pot was set at an angle, so, in this case, the excess white glass was removed using the pincers. After stretching it, the tongue is rolled up using the marver. In order to apply pressure when rolling, only a couple of inches of the tongue is reheated each time. When fully rolled up, the spiral is removed from the bit iron and the moile is reheated to act as a punty. After reheating, marvering and stretching a little, the spiral is flattened to form a rectangle in cross section. Several reheats and stretches later, it is ready to be removed from the bit iron and transferred to the annealing oven. When cold, the cane can be sliced into short 'florets' using a hammer and hardy. Photographs of some of these florets, along with illustrations and explanations of how they are used, can be seen on this page. |
|
|
|
|
|
|
|
|
|
|
|
|
|
|
|
|
|
|
|
|
|
|
|
|
|
|
|
|
|
|
|
|
|
|
|
|
|
|
|
|
|
|
|
|
|
|
|
|
|
|
|
|
Home Gallery Contact Events & Projects Projects: 2019 Onwards Film & TV Archive & Links