 Home
Gallery
Contact
Events & Projects
Projects: 2019 On
Film & TV
Archive & Links
 Home
Gallery
Contact
Events & Projects
Projects: 2019 On
Film & TV
Archive & Links
|

|
2022 Furnace ('Phoenix') and Lehr at Quarley - 'Phoenix' Firing Four - Blown Window Panes
Projects: 2019 Onwards
Wood Gathering and Processing
Phoenix Firing Three
Repairs after Firing Three
Phoenix Firing Four
Phoenix Firing Five
The New Shelter Floor
The Electric Kiln
Rebuilding the Lehr
Etna Build and Firings
General Photos
Vesuvius Firepit Build
Vesuvius Superstructure Build
Vesuvius Firings
Repairs after Firing Five
Phoenix Firing Six
------------------------------------------------
Furnace Performance and Lehr Non-blown Window Panes Blown Window Panes
|
Cylinder Glass
(Double Glossy)
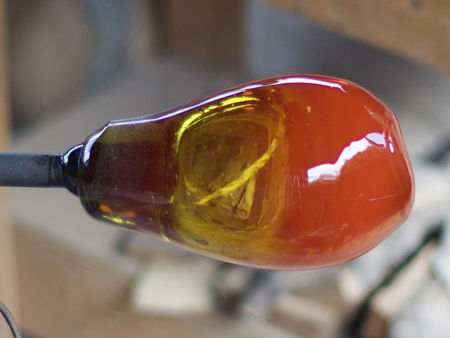
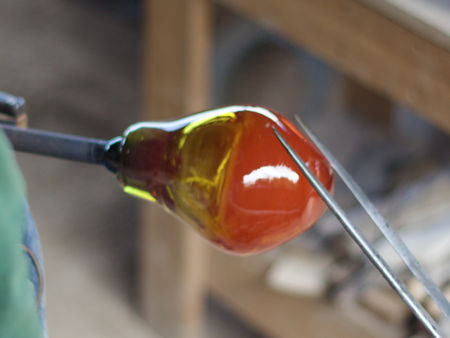
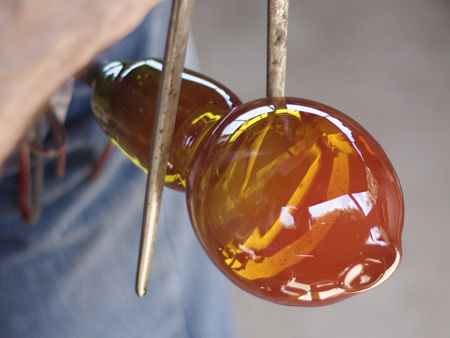
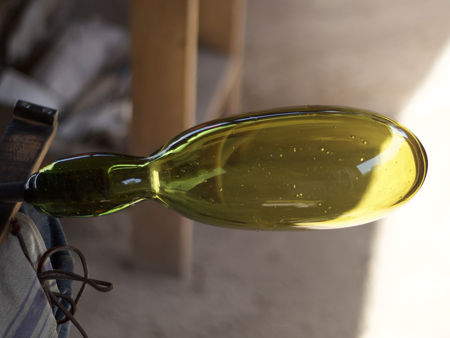
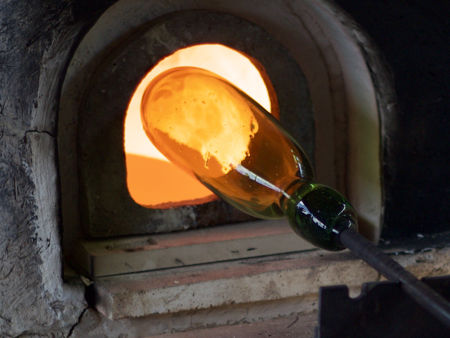
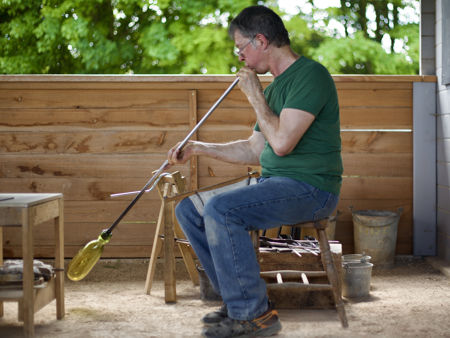
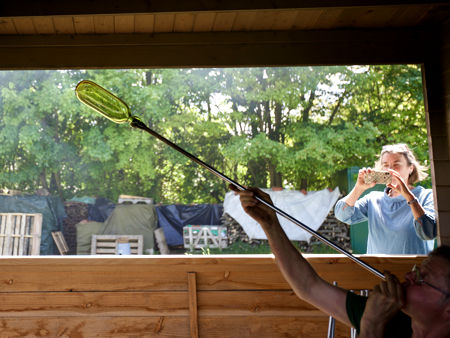
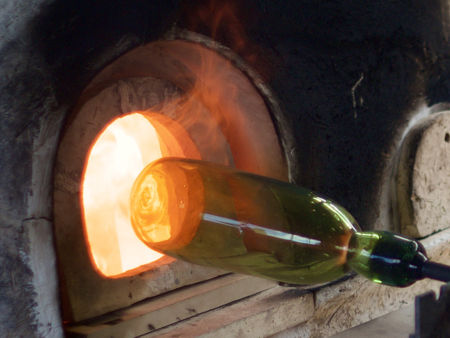
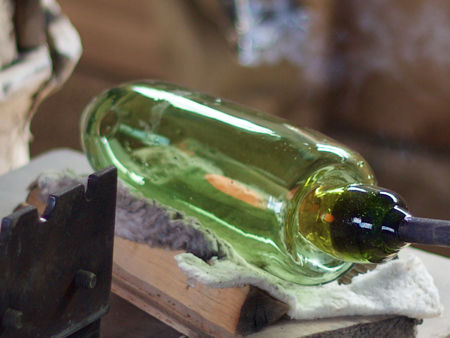
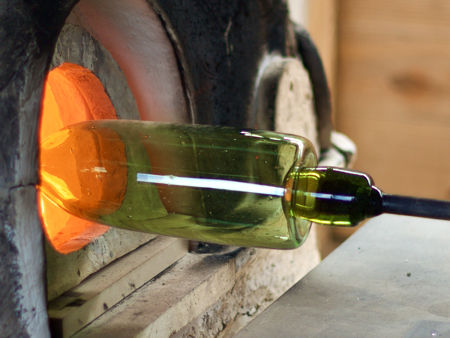
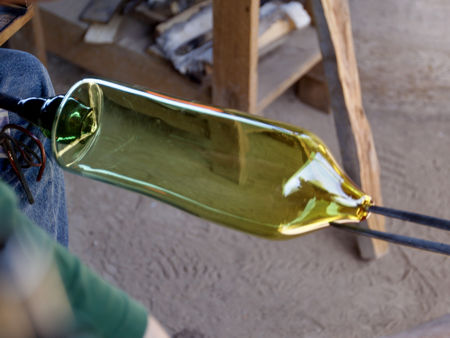
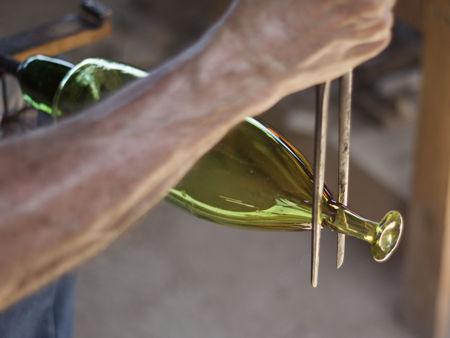
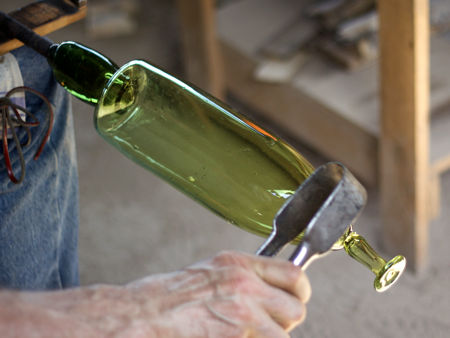
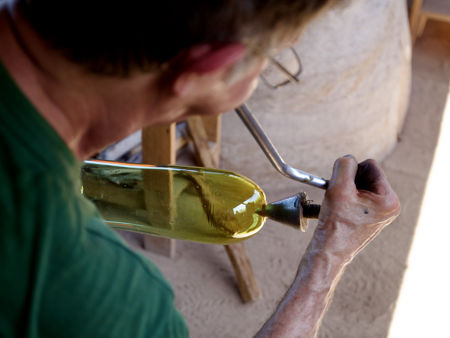
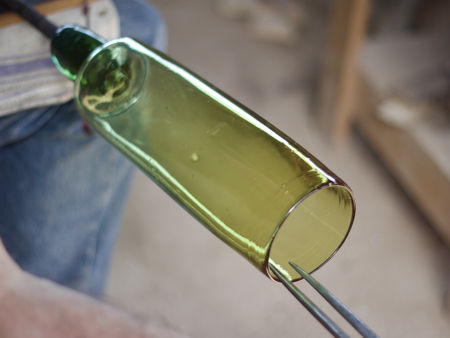
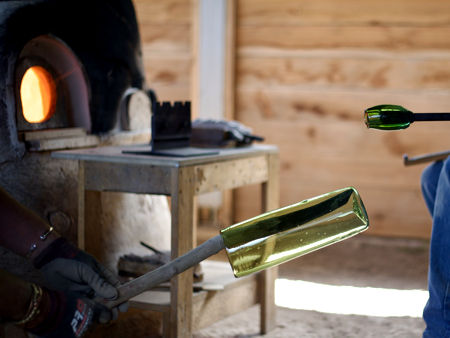
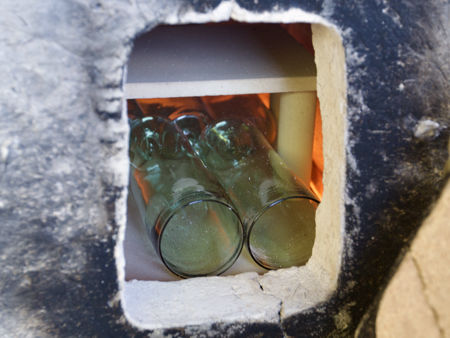
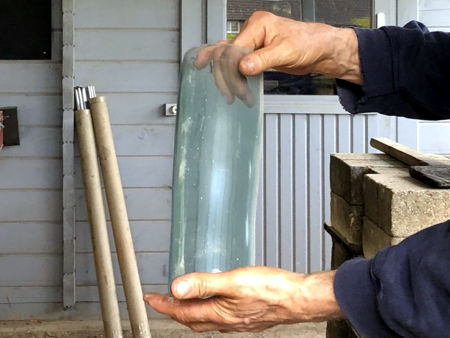
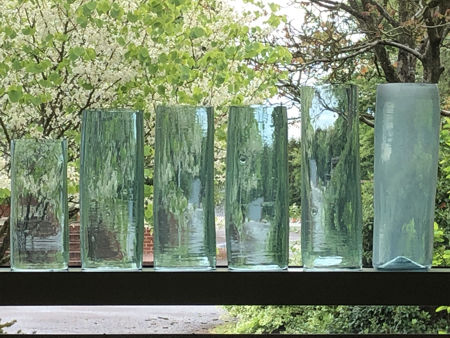
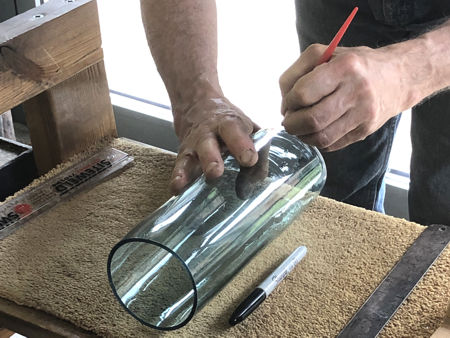
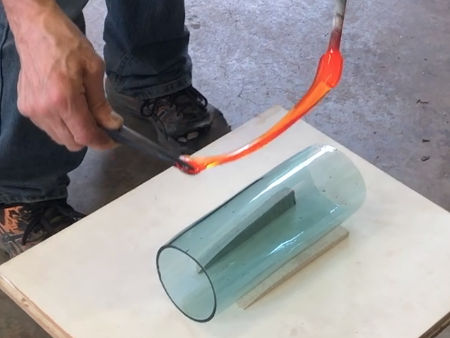
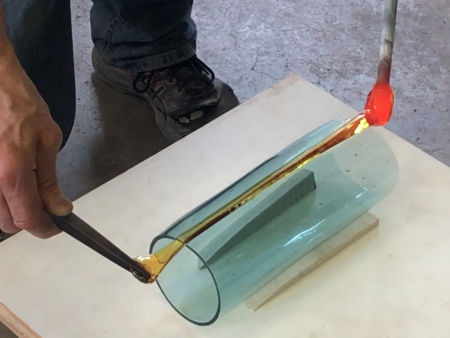
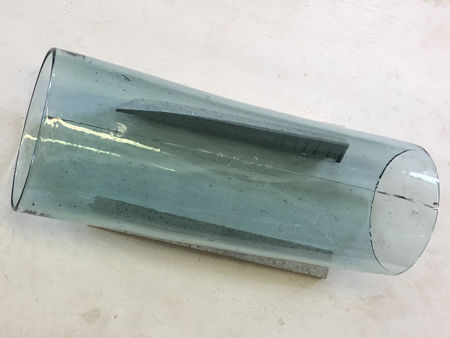
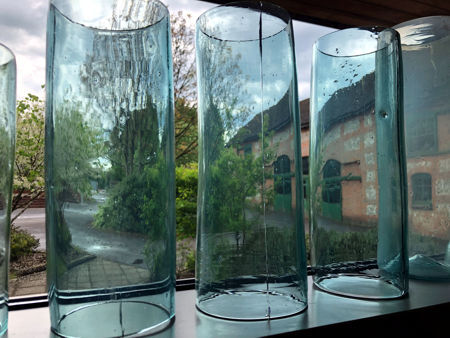
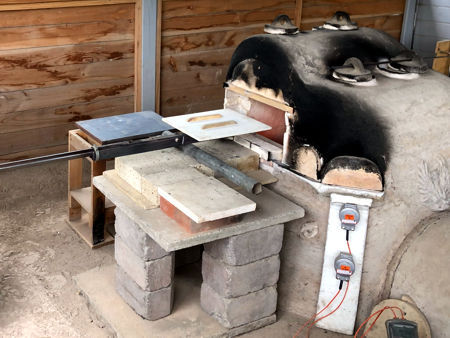
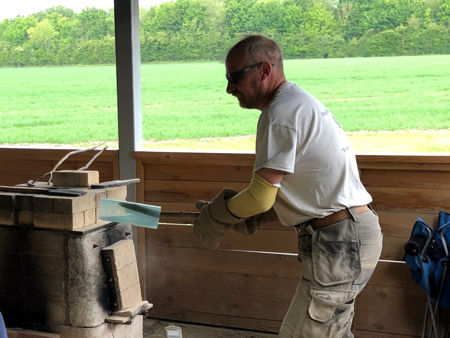
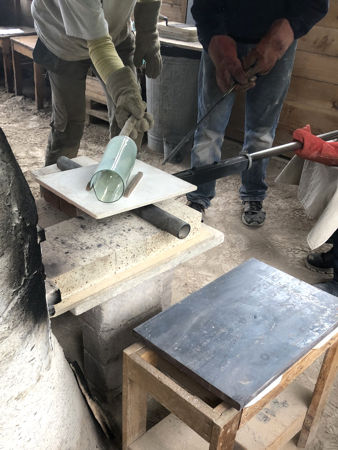
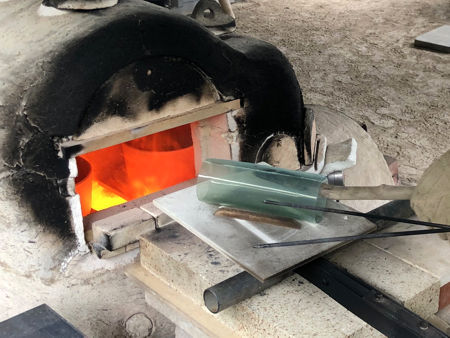
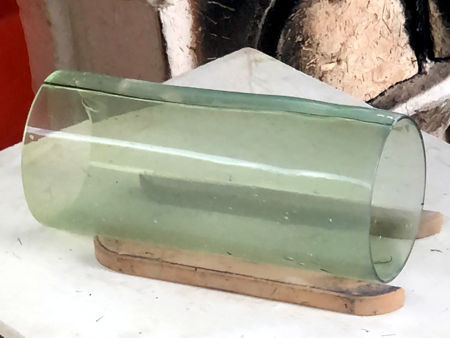
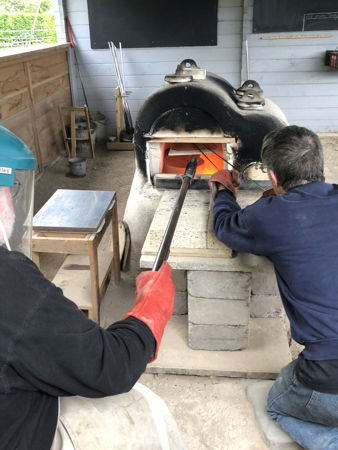
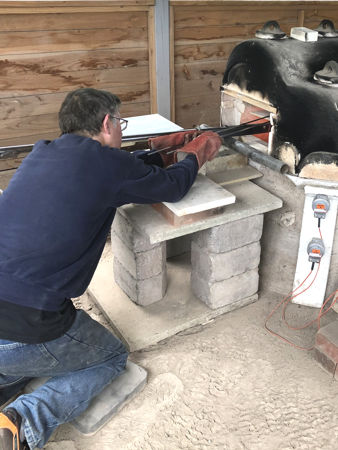
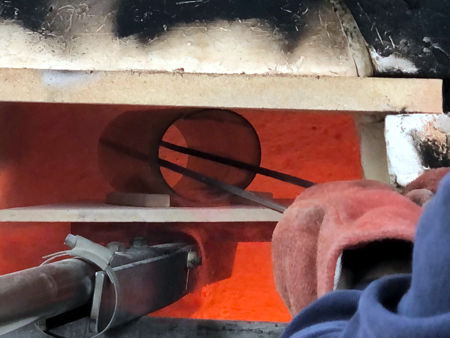
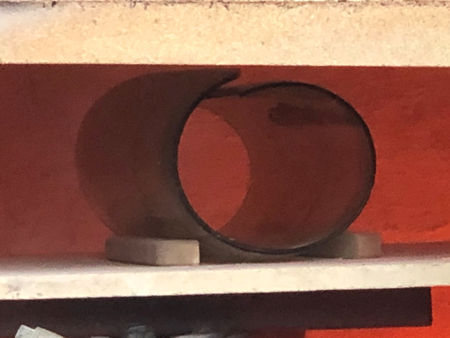
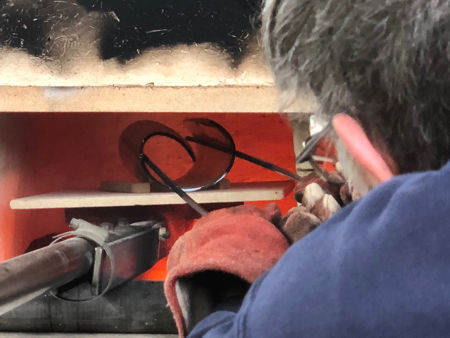
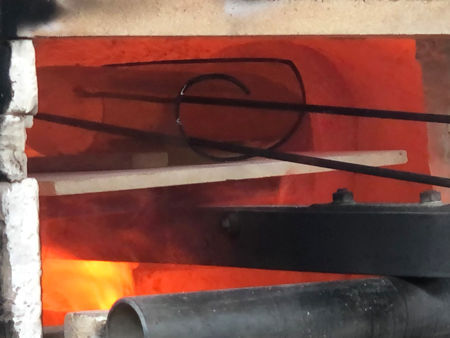
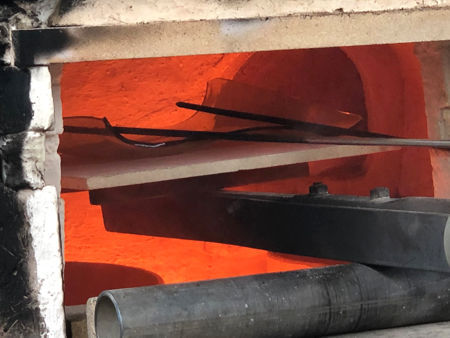
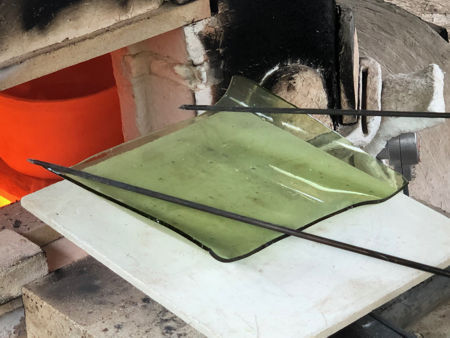
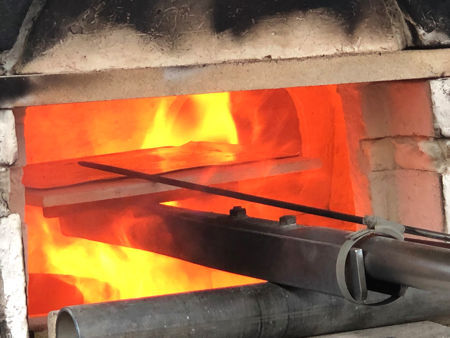
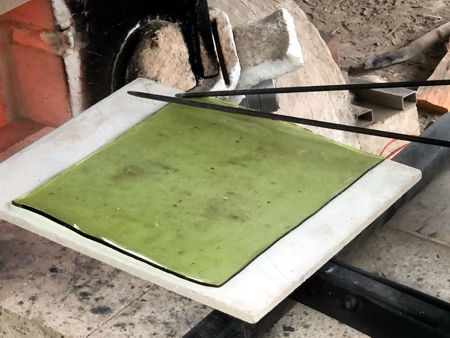
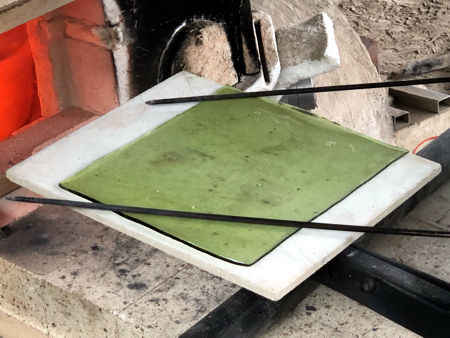
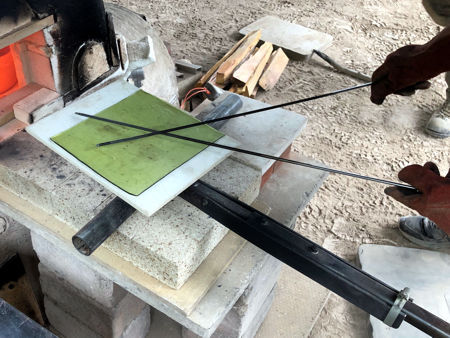
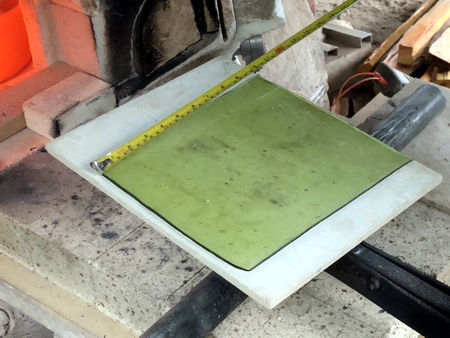
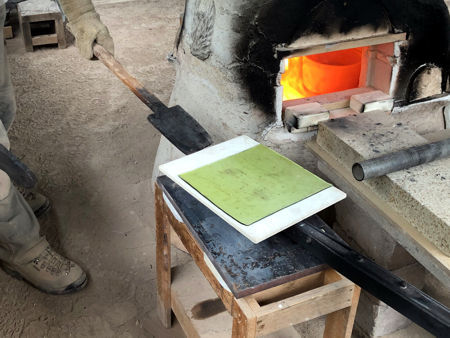
To make a cylinder glass window pane, a cylinder is blown, split lengthways either before or after annealing, re-heated to the softening point, the split teased apart and the cylinder opened and flattened. There are variations in the details of manufacture, but we adopted the technique of making a long bubble, flattening the base, puntying it and stretching and opening the cracked-off end, then annealing and cooling the resulting cylinder. The next day, cracking-off the base, splitting the cylinder using a trail of hot glass, then re-heating and flattening the cylinder to form a pane. Normally, a dedicated kiln is used for opening out the cylinder into a pane, but we only had the furnace! We cracked the base of each cylinder by playing a horizontal flame against the rotating vertical cylinder at the point of a small scored line. To split the first cylinder we scored a line along it with a diamond cutter, then laid a trail of hot glass along the score. Within a few seconds, the localised heat cracked the cylinder along the area touched by the hot glass. We found that the scored line was unnecessary, and the later ones were just marked with a marker pen to guide the placing of the hot trail. The size of our cylinder glass window panes was dictated by the width of the re-heating hole as well as the diagonal measurement of the lehr doorway. |
|
|
|
|
|
|
|
|
|
|
|
|
|
|
|
|
|
|
|
|
|
|
|
|
|
|
|
|
|
|
|
|
|
|
|
|
|
|
|
|
|
|
|
|
|
|
|
|
|
|
|
|
|
|
|
|
|
|
|
|
|
|
|
|
|
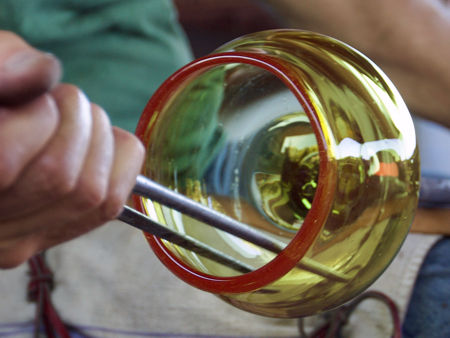
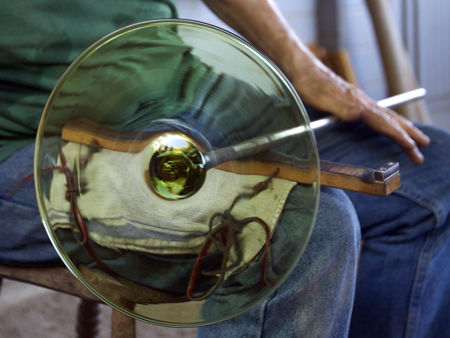
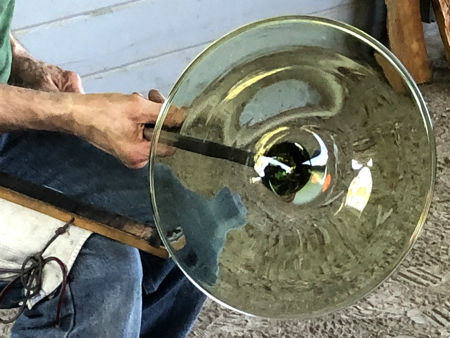
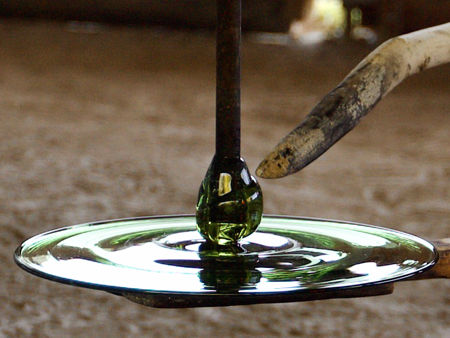
Crown Glass
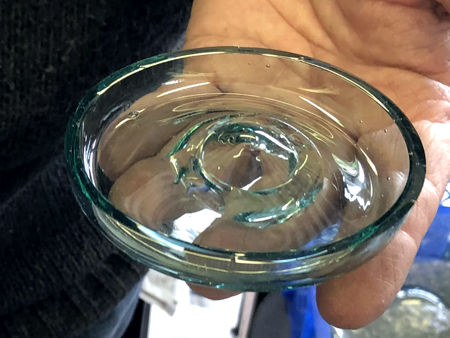
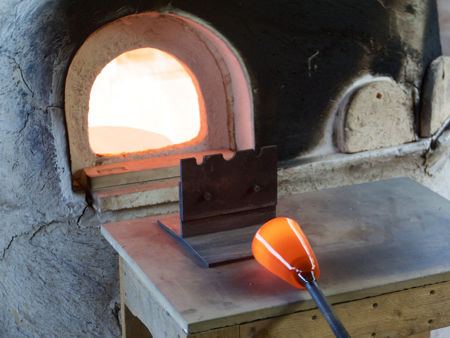
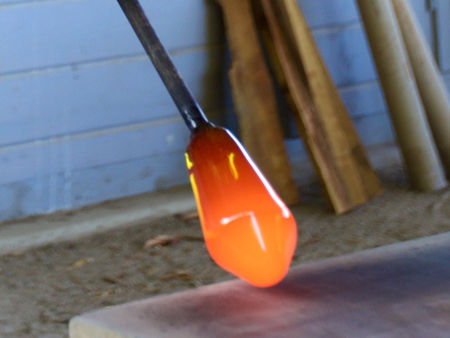
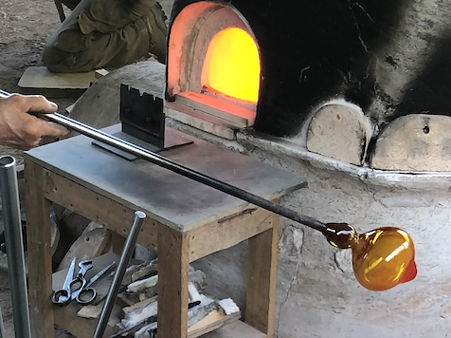
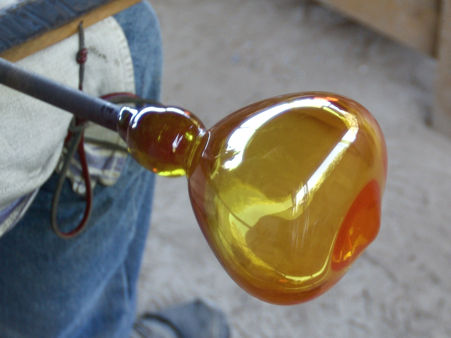
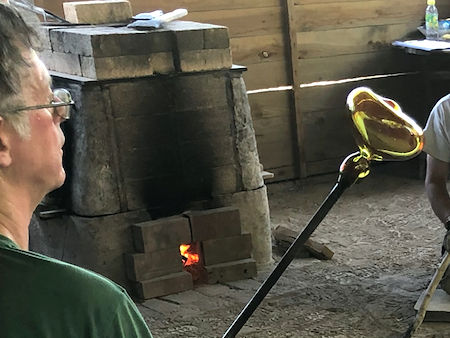
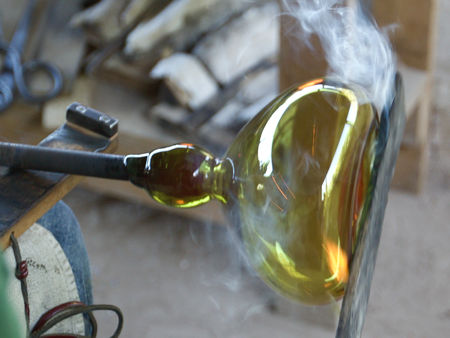
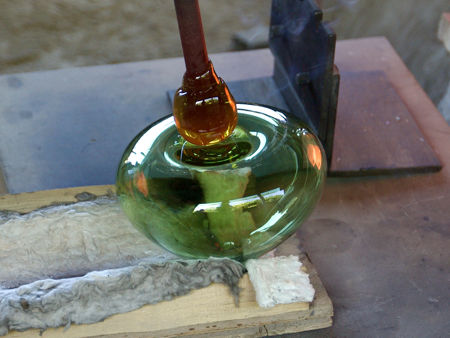
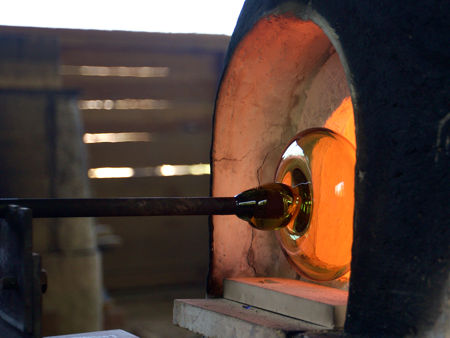
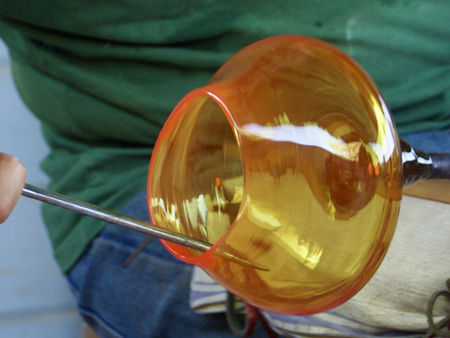
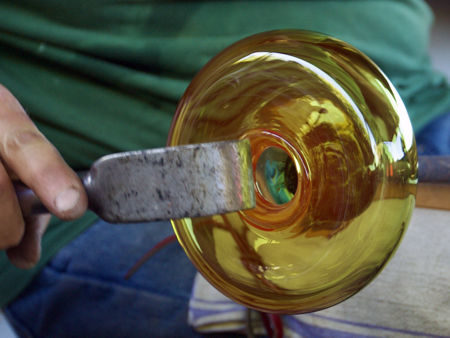
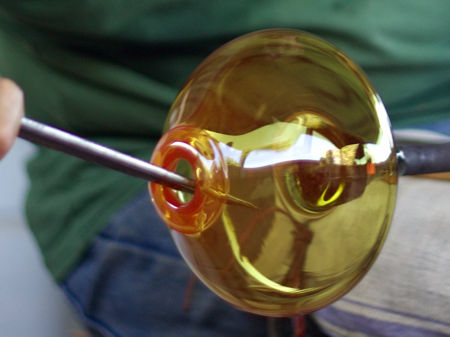
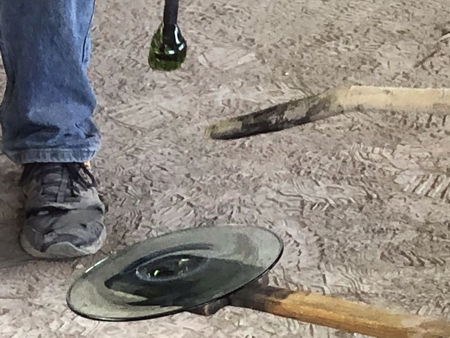
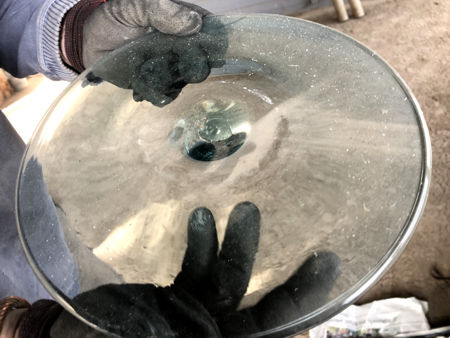
The method of making a crown glass window pane is well-known: a large bubble with a thick base is puntied, opened out - either with or without a folded rim - into a wide bowl form, thoroughly re-heated and spun to form a flat plate. One of the photos shows a crown without a folded rim being worked on. The size of our crowns was dictated by the diagonal measurement of the lehr doorway. Otherwise it would have been possible to make larger crowns. |
|
|
|
|
|
|
|
|
|
|
|
|
|
|
|
|
|
|
|
|
|
|
|
|
|
Home Gallery Contact Events & Projects Projects: 2019 Onwards Film & TV Archive & Links