 Home
Gallery
Contact
Events & Projects
Projects: 2019 On
Film & TV
Archive & Links
 Home
Gallery
Contact
Events & Projects
Projects: 2019 On
Film & TV
Archive & Links
|

|
2022 Furnace ('Phoenix') and Lehr at Quarley - 'Phoenix' Firing Four - Furnace Performance & Lehr
Projects: 2019 Onwards
Wood Gathering and Processing
Phoenix Firing Three
Repairs after Firing Three
Phoenix Firing Four
Phoenix Firing Five
The New Shelter Floor
The Electric Kiln
Rebuilding the Lehr
Etna Build and Firings
General Photos
Vesuvius Firepit Build
Vesuvius Superstructure Build
Vesuvius Firings
Repairs after Firing Five
Phoenix Firing Six
------------------------------------------------
Furnace Performance and Lehr Non-blown Window Panes Blown Window Panes
|
Furnace Performance
Fuel Use
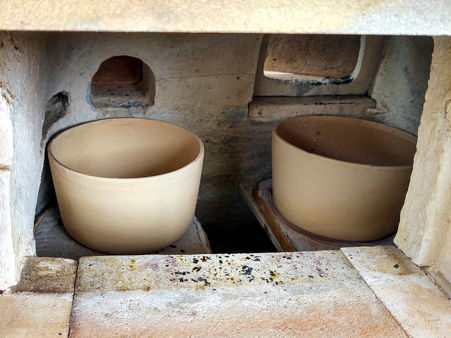
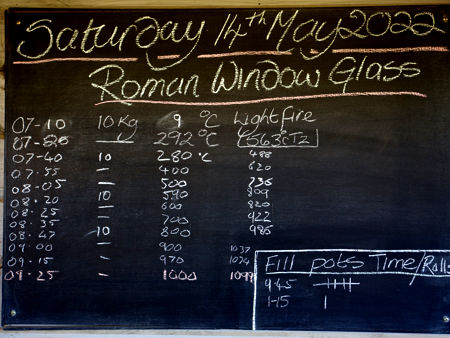
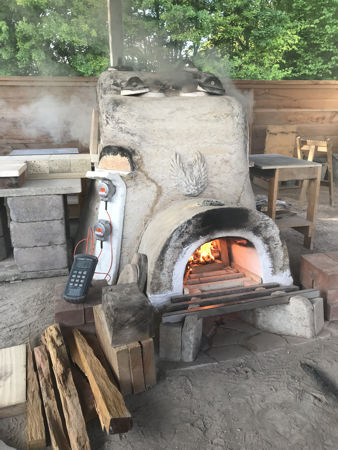
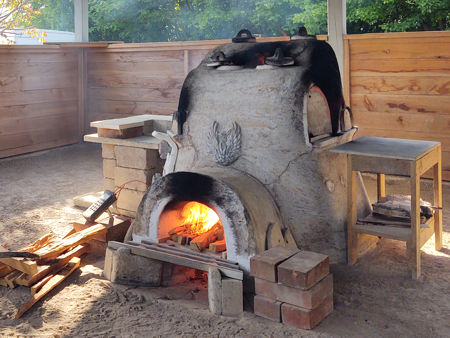
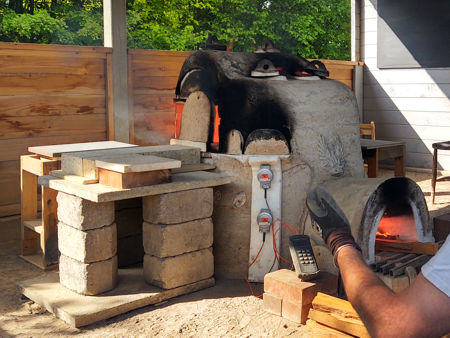
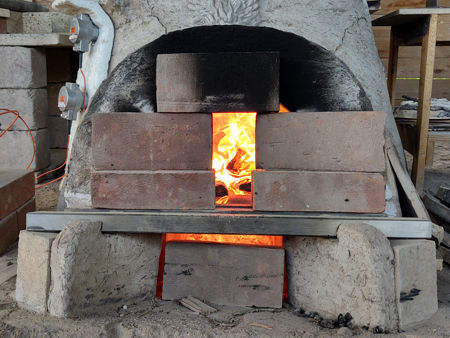
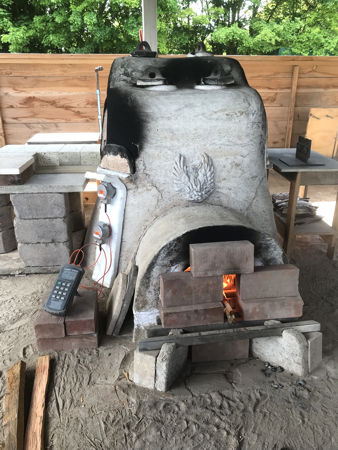
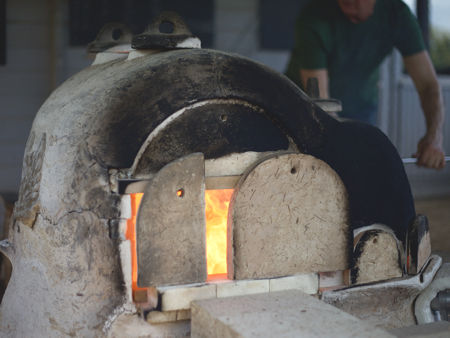
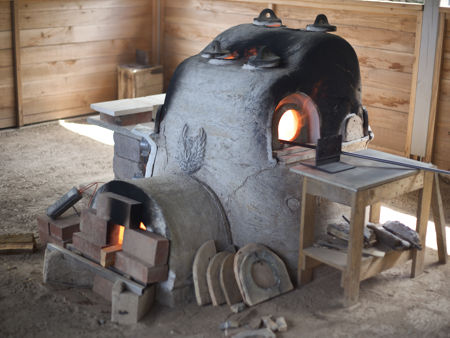
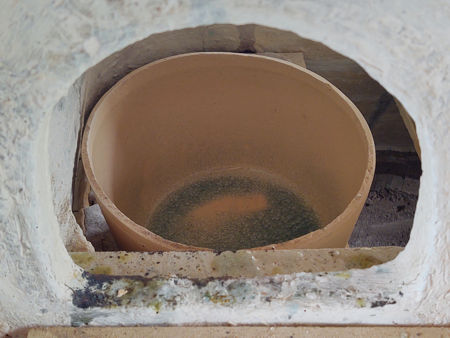
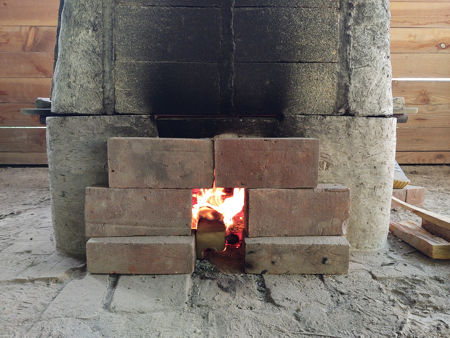
To fire the furnace to an average working temperature of 1032°C, we used 410.0 kilos (0.41 tonnes) of wood over two days (Opepe during the day and Chestnut overnight), at an average rate of 19.38 kilos per hour for the warm-up to 1000°C, then 12.82 kilos per hour for the rest of the first working day. Overnight, the rate dropped to 8.30 kilos per hour. On the second day, the rate increased to 16.33 kilos per hour. This higher rate for Day Two was due to the increased amount of heat loss through radiation from the wide re-heating hole. The relatively low rate of fuel use of 12.82 kilos per hour on the first day compares very well with the rate of 12.51 kilos per hour at 1027°C during Phoenix Firing Two, which was the first time we experimented with closing down the stoke hole inlet. See this page. We put two pots in the furnace: one to hold the glass and an empty one as a backup in case the first pot failed. In the event, this pot was not needed, so was removed unbroken at the end of the firing, to be re-used in the future. As normal, the pot which was used broke on cooldown of the furnace at the end of Day Two.
Effects of the Wide Re-heating Hole
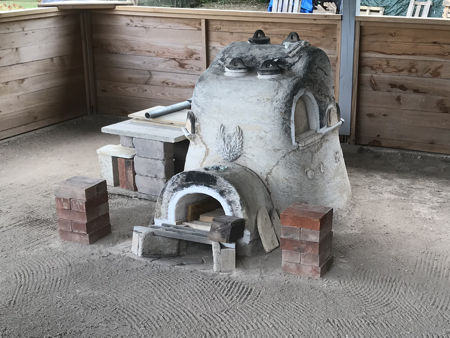
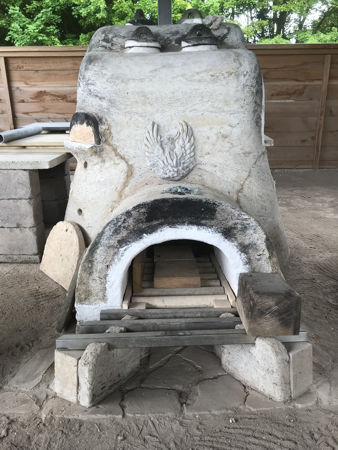
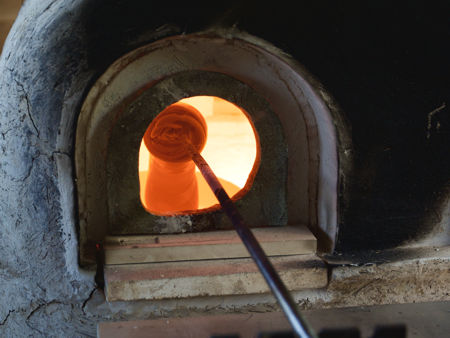
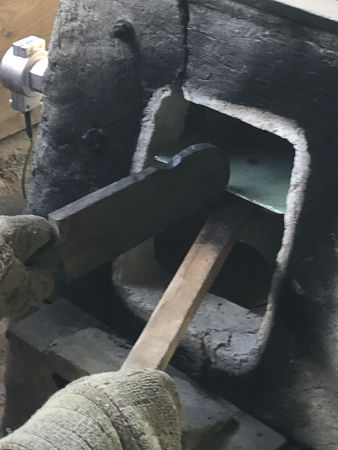
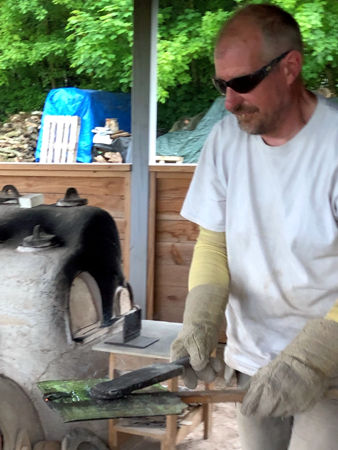
A second effect is that the constant heat radiation makes it uncomfortable for the people working the hot glass. In particular, the person controlling the 'pastorello' (in this case, David) has to be completely protected from the radiaton with a visor and thick gloves, as well as several layers of clothing. The person making the pane (Mark) is at least able to move away from the furnace whilst the pane is re-heated. These effects were lesser, but still noticeable when flattening the cylinders, which we did at about 780°C. Although this temperature was close to the overnight average temperature of 743°C, the rise in fuel consumption was noticeable (from about 8 kilos per hour to about 14.90 kilos per hour), even though we switched from Chestnut to Opepe for the working day. This was partly due to the temperature rise, but also due to the wide re-heating hole, which had to be open. Clearly an easily-moveable door to partially or completely cover the entrance hole is necessary; perhaps along the lines of those seen in furnaces in the East. One that can be raised and lowered as required would be ideal, and this will be addressed before our next window pane-making session. This should appreciably lower the rate of heat loss and the fuel consumption, as well as making it easier to work and re-heat the glass. |
|
|
|
|
|
|
|
|
|
|
|
|
|
|
|
|
|
|
|
|
|
|
|
Lehr Performance
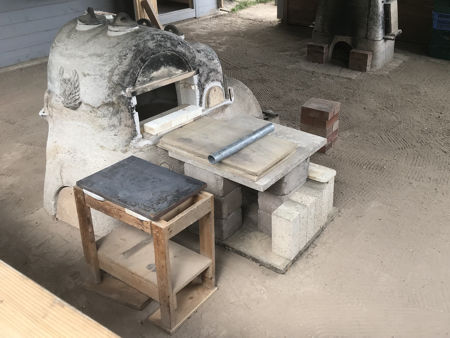
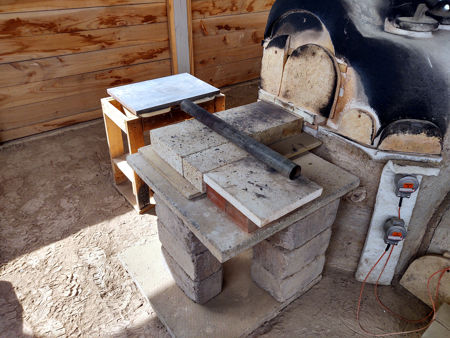
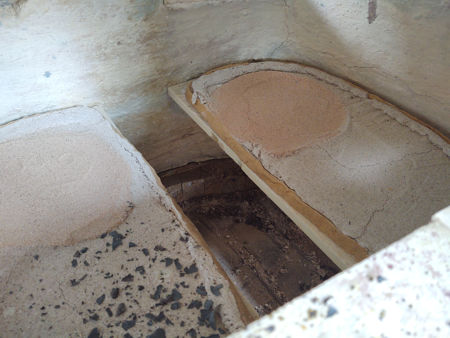
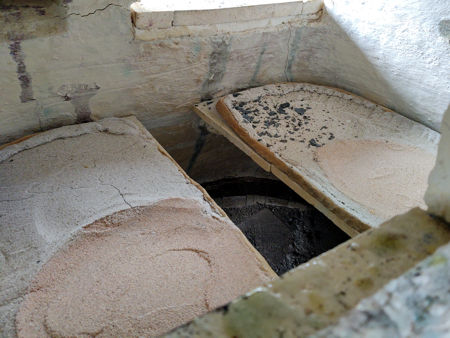
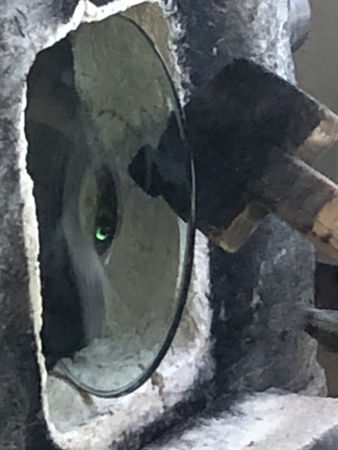
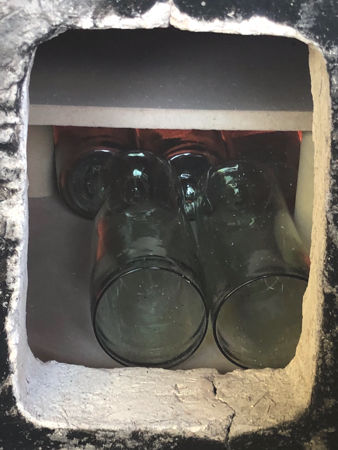
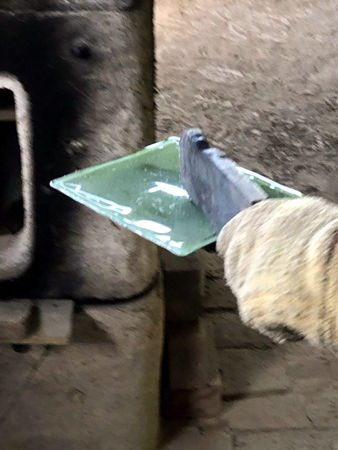
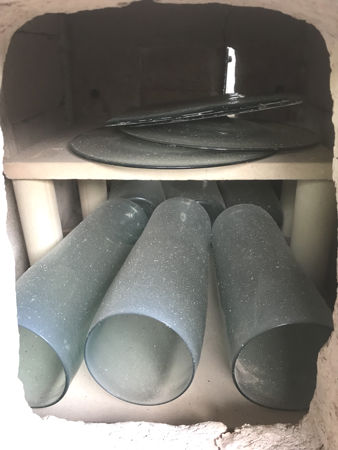
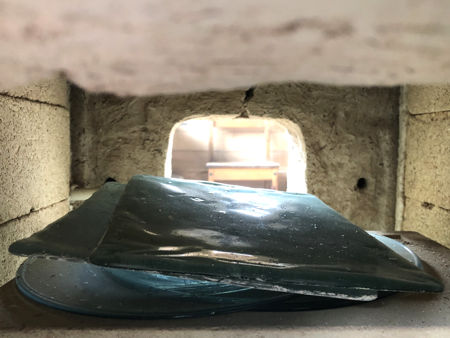
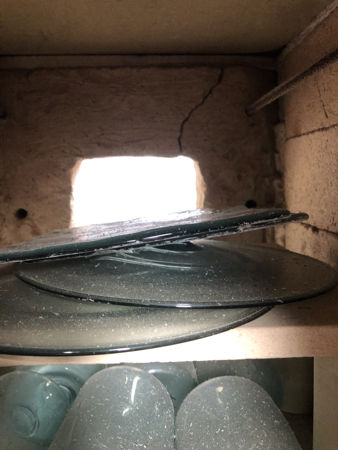
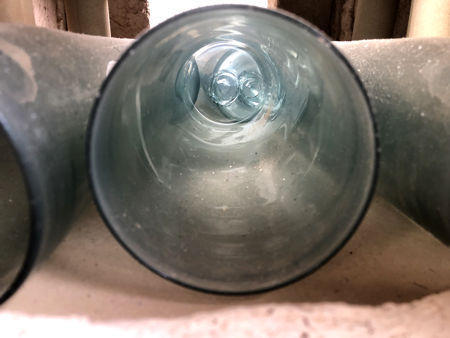
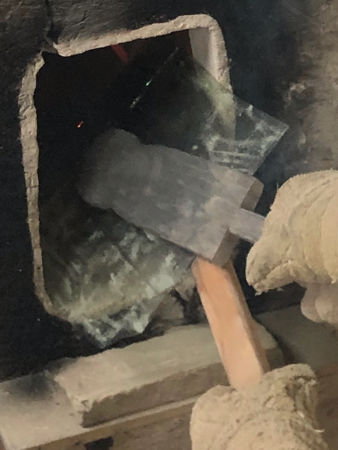
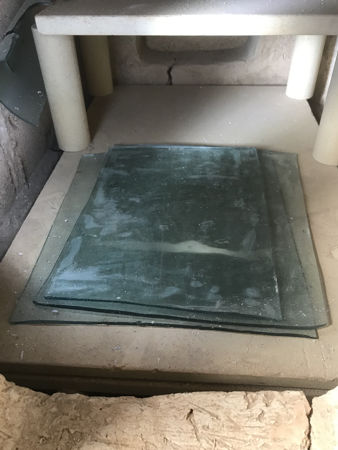
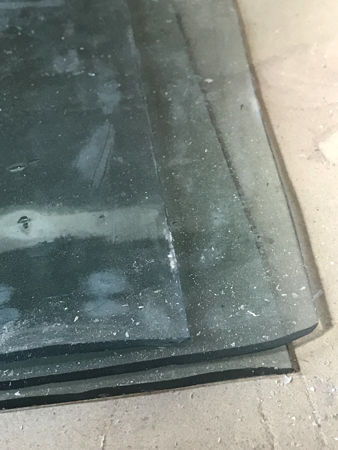
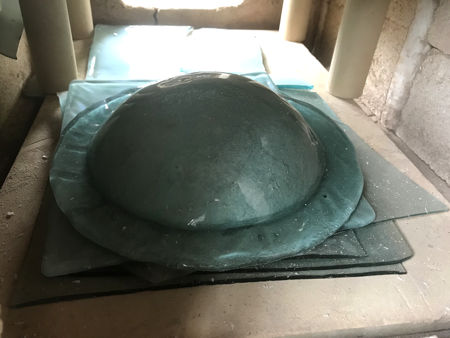
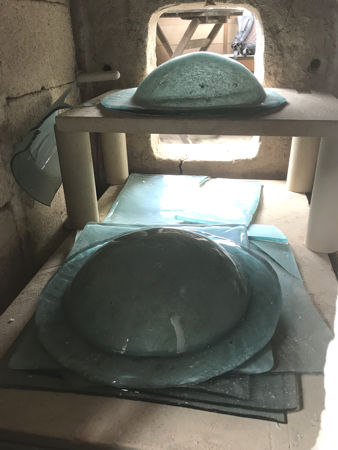
We ran the lehr at about 490°C, burning Oak at a rate of about 3.7 kilos per hour, and keeping the stoke hole opening narrow. This resulted in a better fuel use performance than in Firing Three, but this may have been due to the high calorific value of Oak, plus a warmer ambient temperature (summer, rather than winter temperatures). See this page. The lehr openings are not really wide enough for window panes if they were to be made on a production level, but matched with the width of the furnace openings, so just accepted the largest panes we were making. Note that the broken matt/glossy pane had already cracked when it was put away, so it did not break during its time in the lehr. We had a similar problem with one of the opened-out cylinders. Of course, broken panes could be cut and grozed to square or rectangular when cold, effectively saving them. |
|
|
|
|
|
|
|
|
|
| |
|
|
|
|
|
|
|
|
|
|
|
|
|
|
|
|
|
Home Gallery Contact Events & Projects Projects: 2019 Onwards Film & TV Archive & Links