 Home
Gallery
Contact
Events & Projects
Projects: 2019 On
Film & TV
Archive & Links
 Home
Gallery
Contact
Events & Projects
Projects: 2019 On
Film & TV
Archive & Links
|

|
2022 Furnace ('Phoenix') and Lehr at Quarley - Vesuvius Superstructure - Inner Wall Build & Firing
Projects: 2019 Onwards
Wood Gathering and Processing
Phoenix Firing Three
Repairs after Firing Three
Phoenix Firing Four
Phoenix Firing Five
The New Shelter Floor
The Electric Kiln
Rebuilding the Lehr
Etna Build and Firings
General Photos
Vesuvius Firepit Build
Vesuvius Superstructure Build
Vesuvius Firings
Repairs after Firing Five
Phoenix Firing Six
------------------------------------------------
Inner Wall Build and Firing One Outer Wall Build Upper Wall Build Flat Roof Build and Stoke Hole Collar
|
Building the Inner Wall
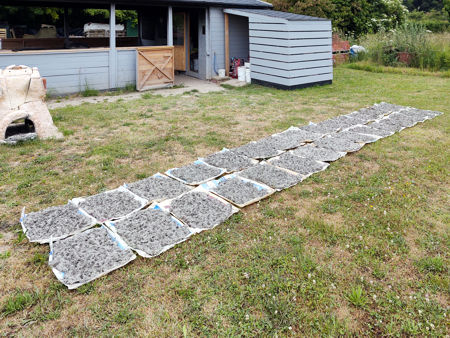
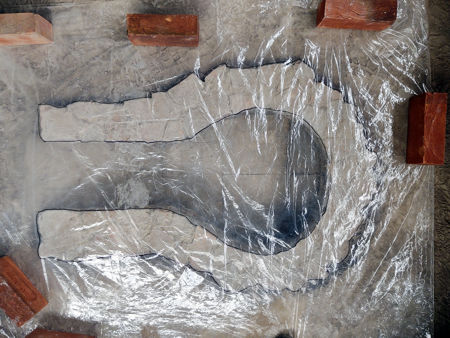
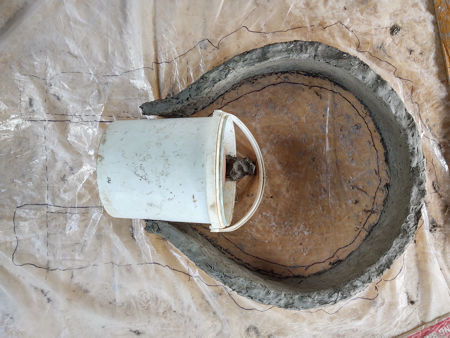
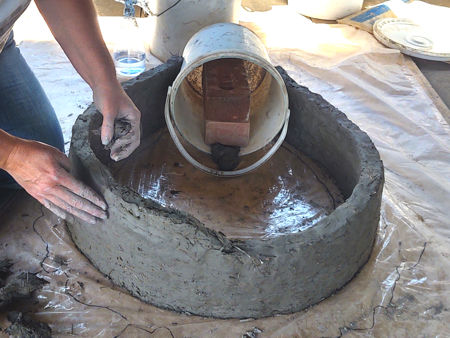
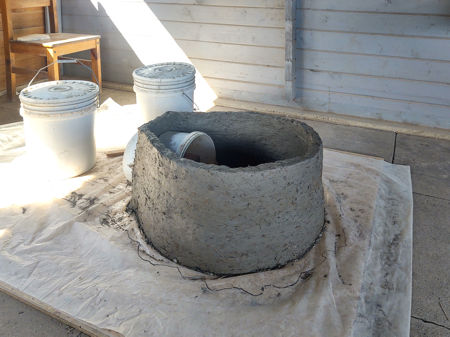
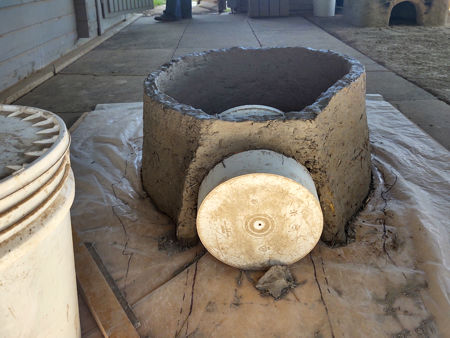
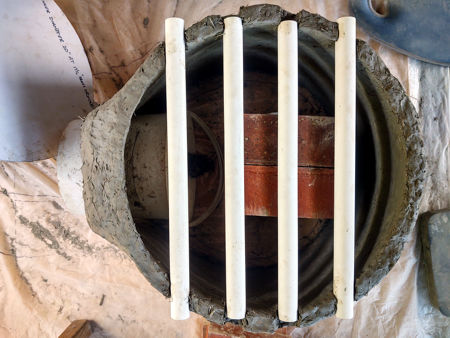
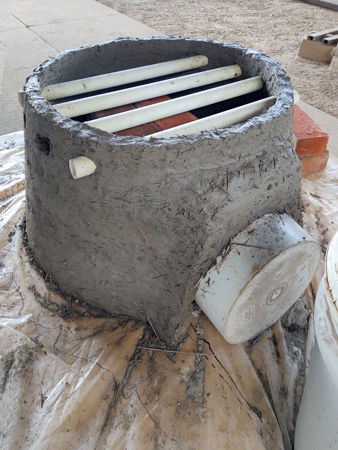
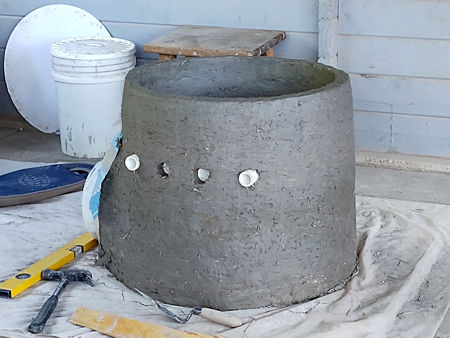
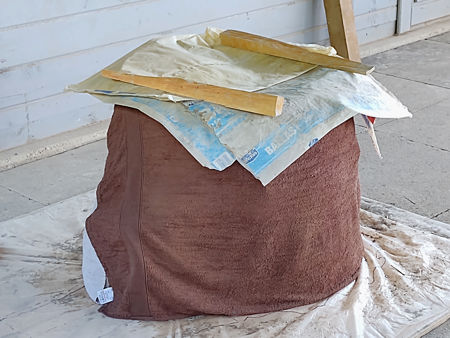
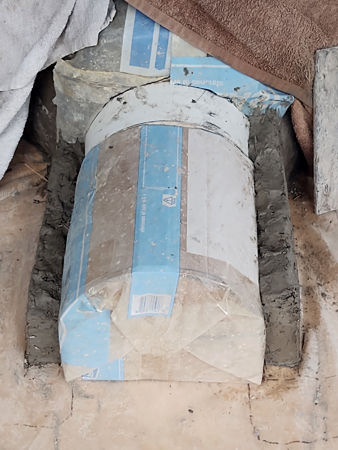
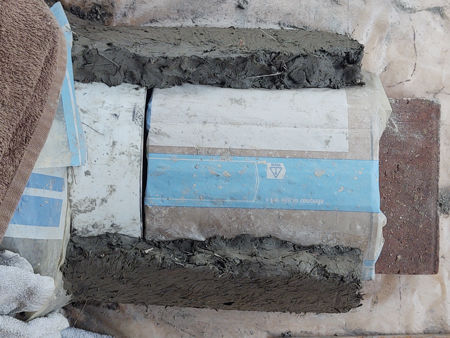
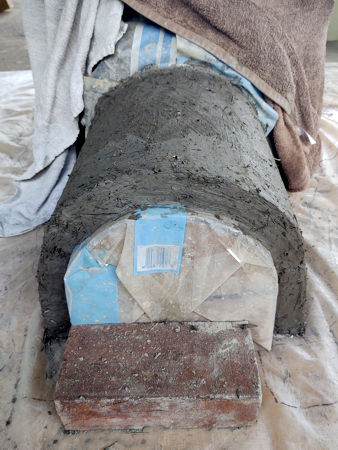
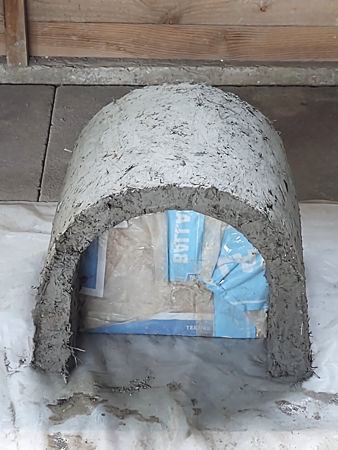
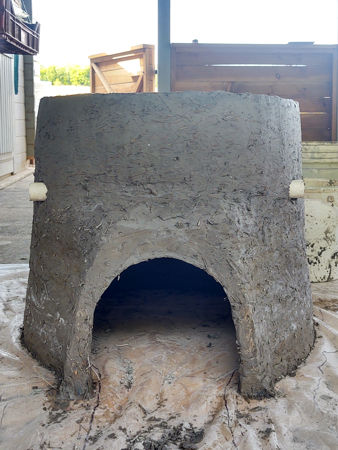
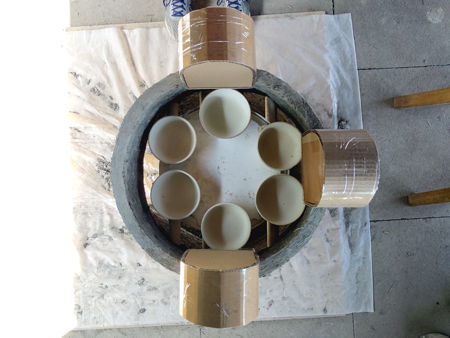
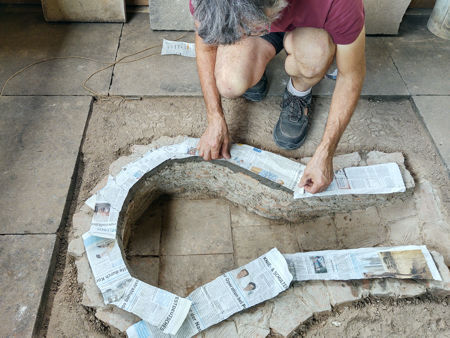
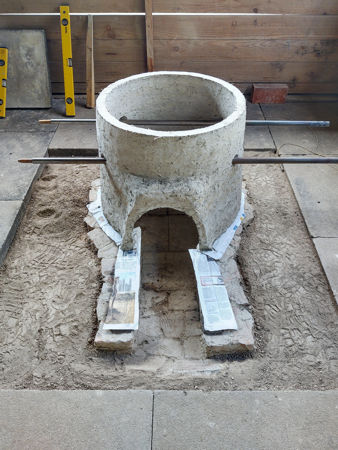
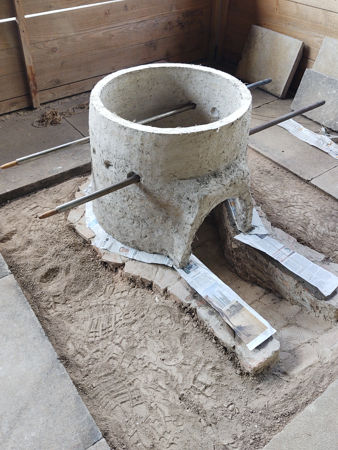
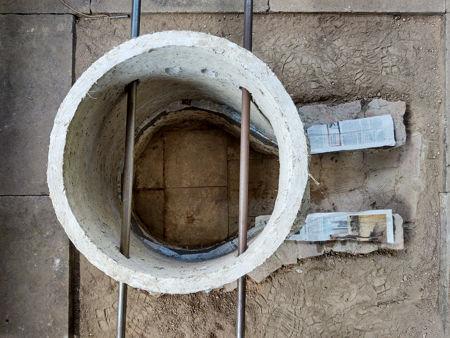
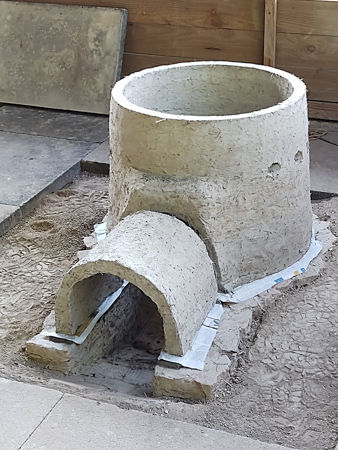
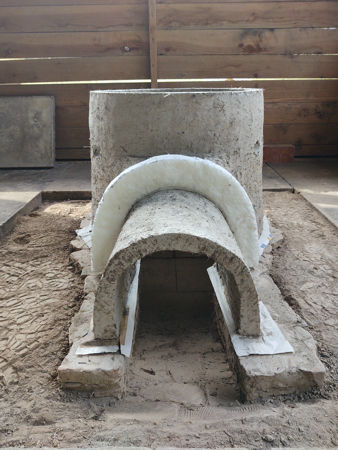
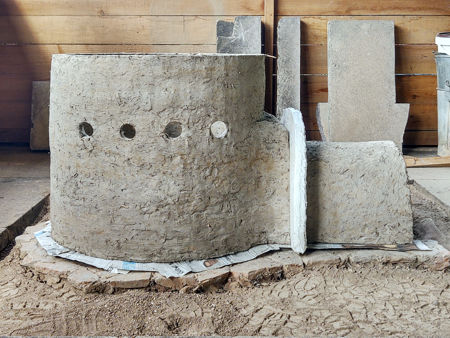
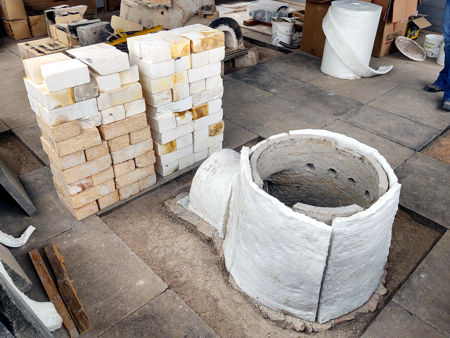
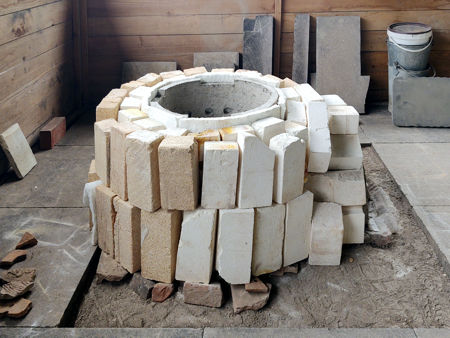
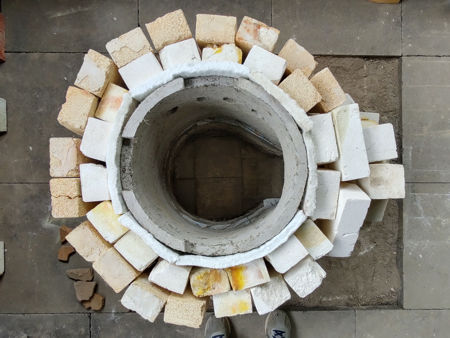
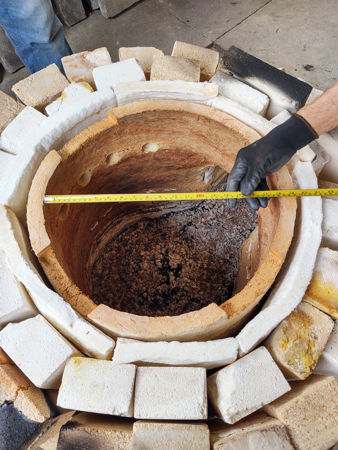
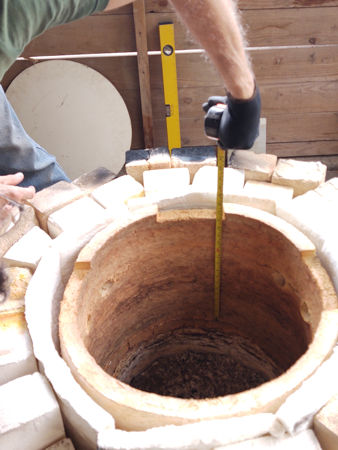
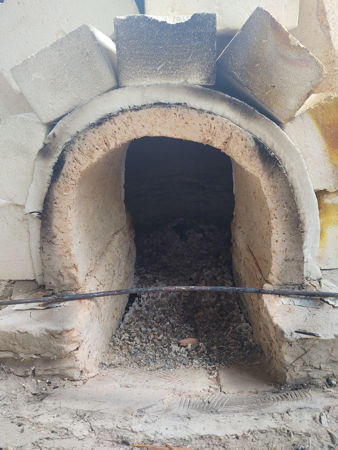
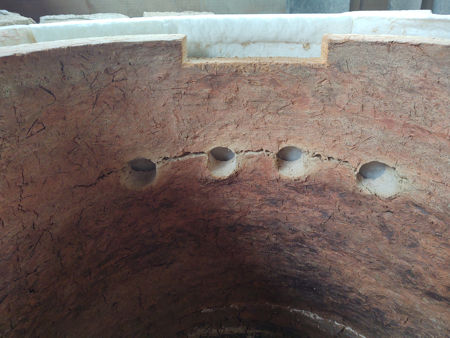
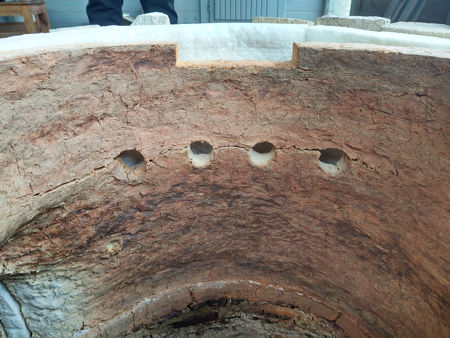
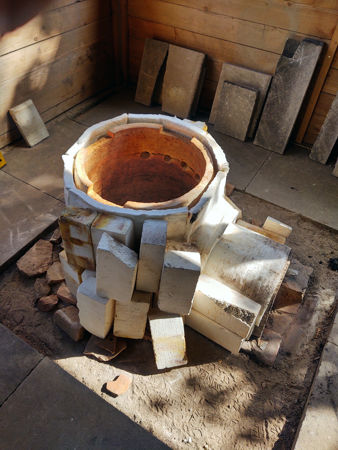
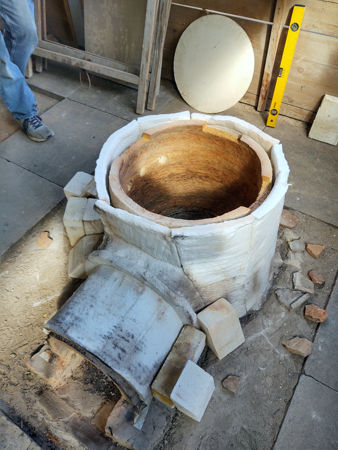
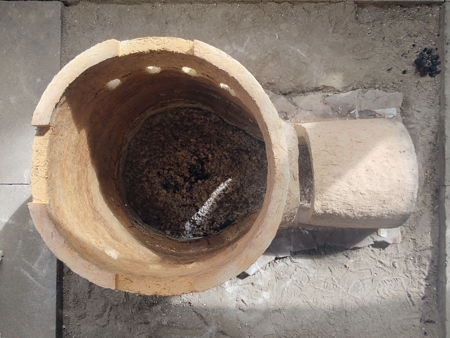
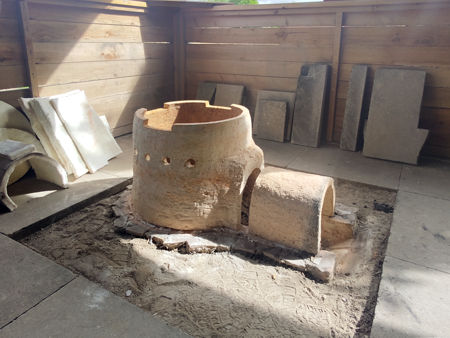
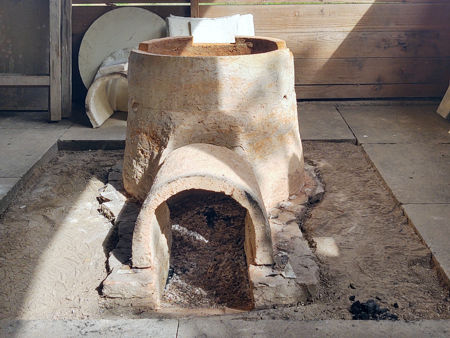
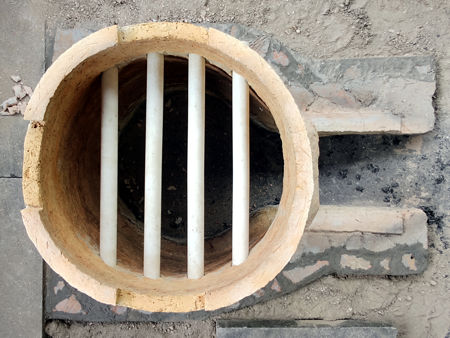
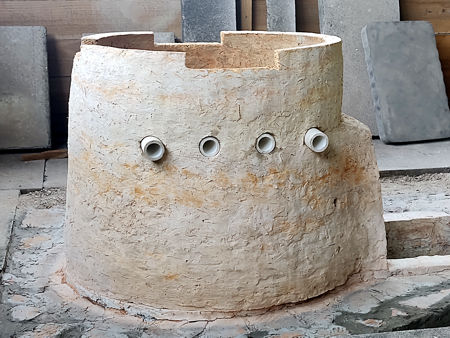
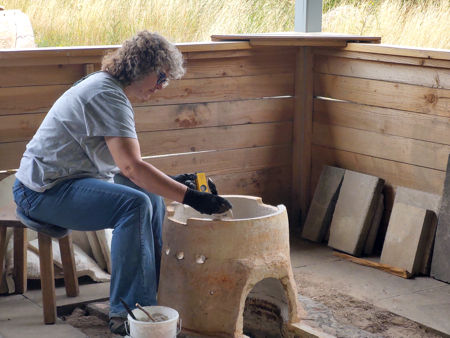
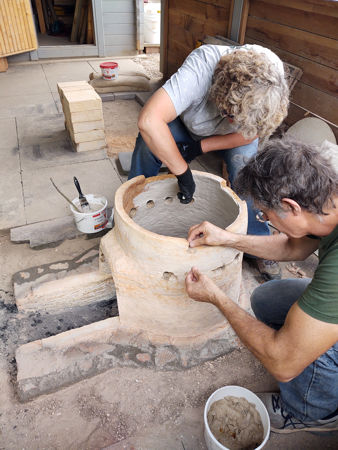
To build this furnace, we made about 150kg of daub, and we used most of it. We made the inner wall about 1.5" - 2" thick, about 19" in diameter and about 18" tall. This allowed for a 10% shrinkage on drying and firing. As a guide, we used the outline of the firepit traced onto a plastic sheet. For the tunnel exit we used one of our 10.5" diameter plastic buckets. For the tunnel itself, we used a cardboard form 12" long by 11" wide by 9" high, and covered in plastic sheeting. Due to the hot, dry summer weather, we had to cover the inner wall each night with damp towels and plastic bags. At about 12" height, we fitted four mullite tubes, 21" in length, to act as shelf supports. After we had built the inner wall, we cut the slots for the gathering hole floors. To put them in the correct places, we used the three forms for the gathering holes, together with six small pots. We would eventually have a circular, ceramic kiln batt shelf, with a central hole. Before we moved the dried inner wall into position, we had to build up the wall of the firepit so that there was a flat, level surface on which to sit the inner wall. We used some newspaper as a separator - we did not want the inner wall to bond to the extra daub on the top of the firepit wall when we fired the furnace. The inner wall was easy to lift using a couple of blowing irons pushed through the holes for the mullite tubes. Finally, we fitted the inner wall of the stoke hole tunnel and used one-inch-thick ceramic fibre blanket to make a gasket between the wall and the tunnel. We had kept the inner wall thin so that it was light in weight and would be easier to fire to the same temperature all of the way through its thickness. The firing (Firing One) is recorded below. |
|
|
|
|
|
|
|
|
|
|
|
|
|
|
|
|
|
|
|
|
|
|
|
|
|
|
|
|
|
|
|
|
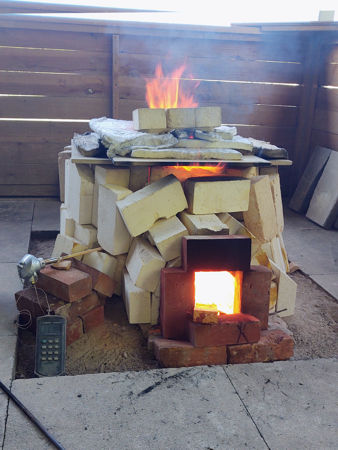
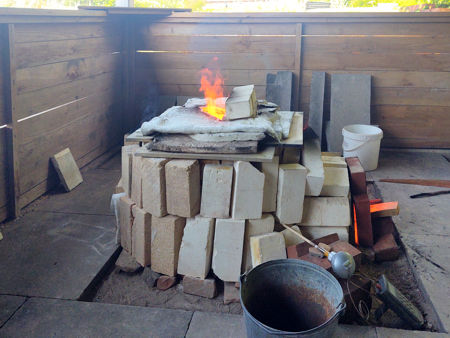
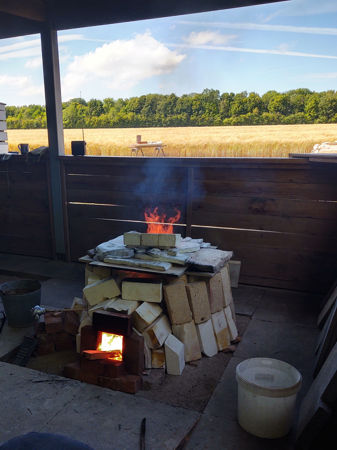
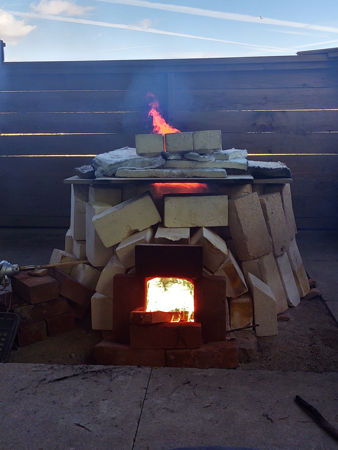
Firing One: the Inner Wall
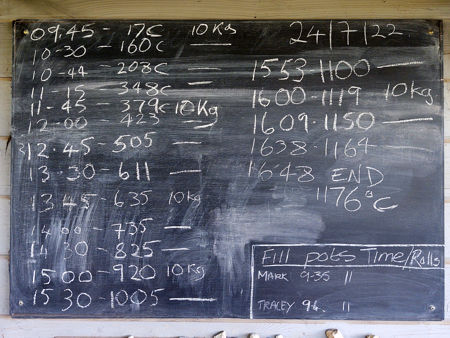
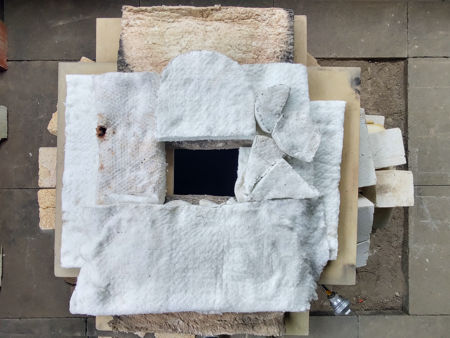
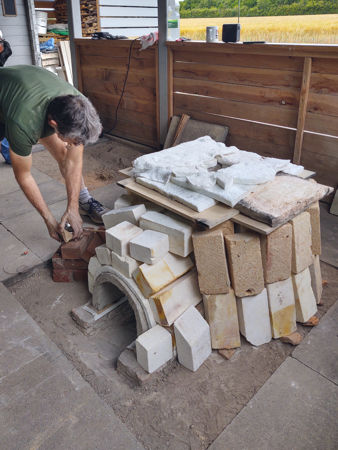
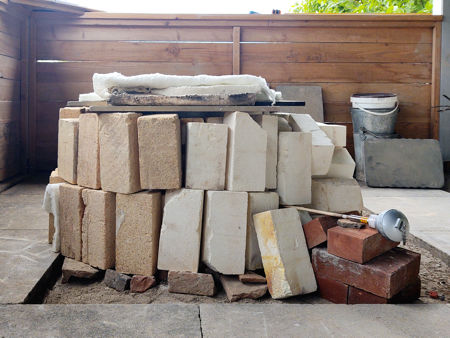
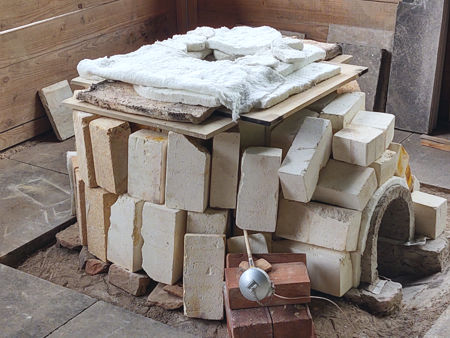
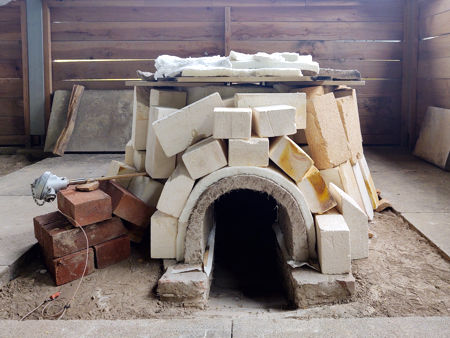
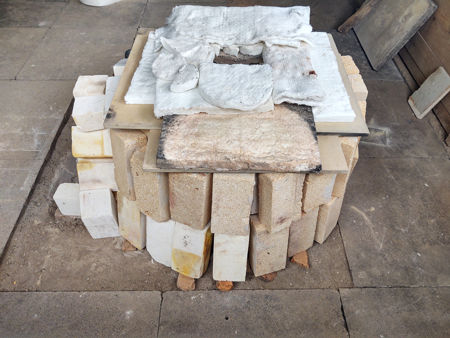
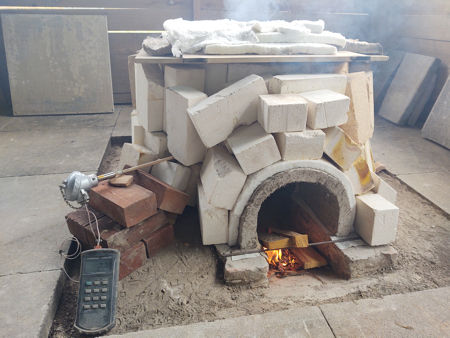
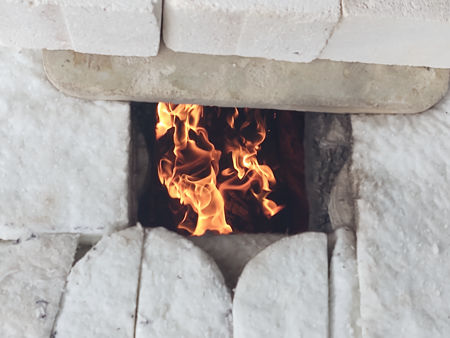
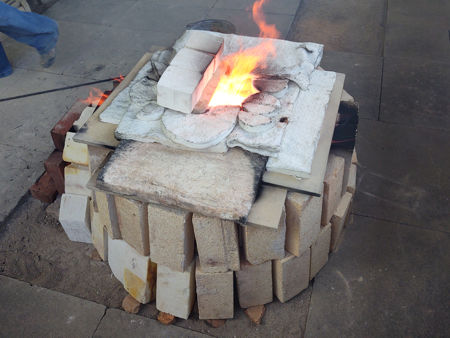
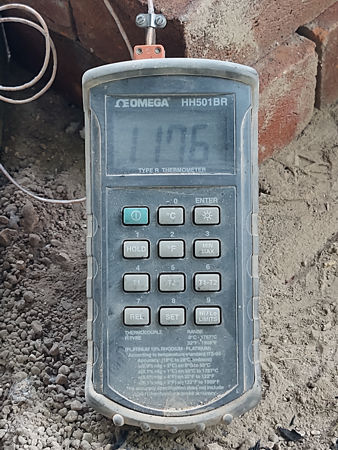
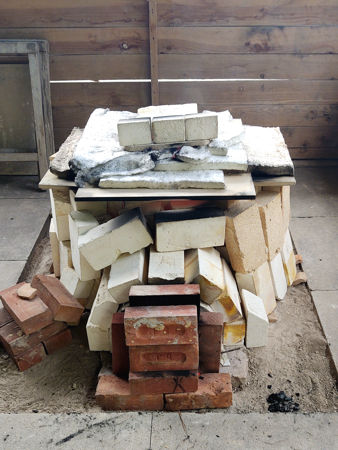
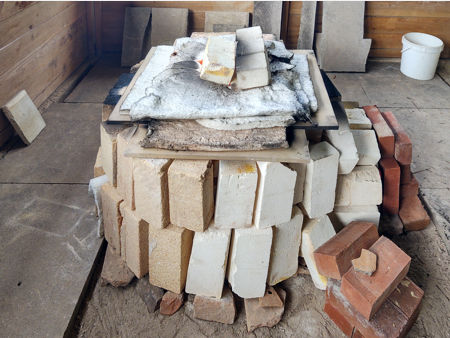
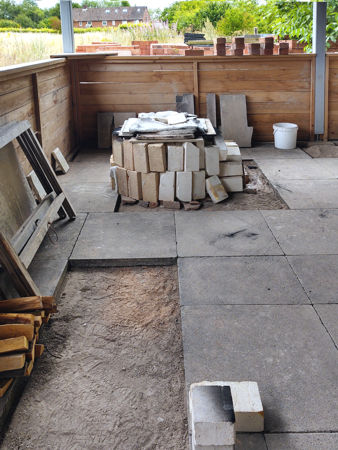
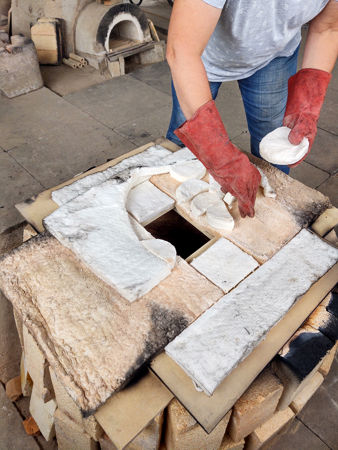
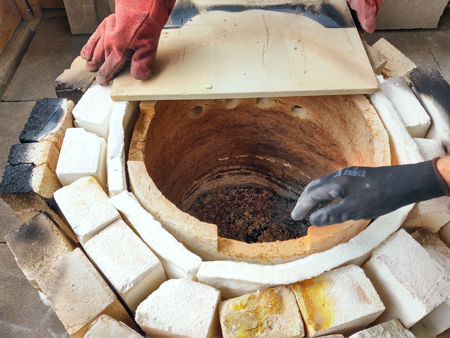
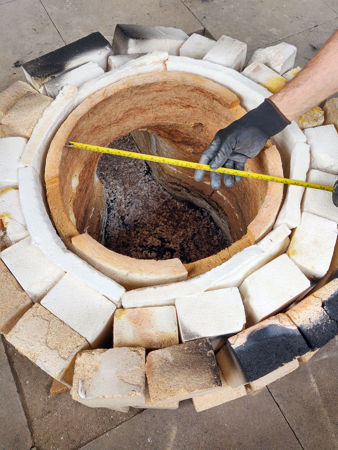
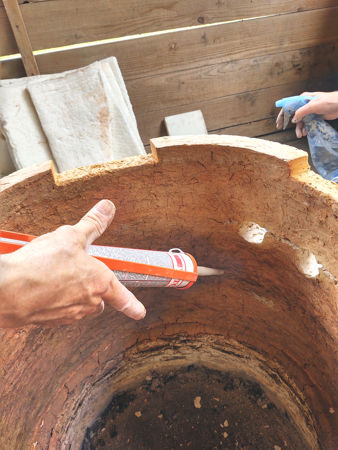
For the insulation, we used a 1" layer of ceramic fibre blanket, backed with two rows of HTI and LTI bricks packed as tightly as we could, given that we were insulating a circular wall and semi-circular tunnel. We covered the top with two ceramic kiln batts and used 3" of ceramic fibre blanket to insulate it. The firing lasted for seven hours: 09.45 to 16.48, and we burned 50kg of Opepe. We tried to maintain a steady rise to our target temperature of 1150°C, but we actually reached 1176°C. At the end of the firing, we stopped down the stoke hole and the top hole and allowed the furnace to cool down naturally. The next day, when the furnace had cooled, we unwrapped it and checked the dimensions. The wall had pulled slightly off-circular, which we attributed to the back of the furnace probably getting hotter than the front due to the flow of heat through the furnace. Two horizontal cracks had appeared at the level of the holes for the tubes - an obvious weak point. These were filled with high temperature filler, along with some small holes around the slots for the floors of the gathering holes, and the hot face given a coat of zircon slip, before building the rest of the furnace. We also had to refit the mullite tubes as the holes had shrunk a little too much. We were pleased with the results of this firing, and we will use this building technique for future furnaces. |
|
|
|
|
|
|
|
|
|
|
|
|
|
|
|
|
|
|
|
|
|
|
|
|
|
|
|
|
|
|
|
|
|
|
|
|
|
|
|
|
|
|
|
|
|
|
|
|
|
|
|
|
|
|
|
|
|
Home Gallery Contact Events & Projects Projects: 2019 Onwards Film & TV Archive & Links