 Home
Gallery
Contact
Events & Projects
Projects: 2019 On
Film & TV
Archive & Links
 Home
Gallery
Contact
Events & Projects
Projects: 2019 On
Film & TV
Archive & Links
|

|
2022 Furnace ('Phoenix') and Lehr at Quarley - 'Phoenix' Firing Six - Glassblowing
Projects: 2019 Onwards
Wood Gathering and Processing
Phoenix Firing Three
Repairs after Firing Three
Phoenix Firing Four
Phoenix Firing Five
The New Shelter Floor
The Electric Kiln
Rebuilding the Lehr
Etna Build and Firings
General Photos
Vesuvius Firepit Build
Vesuvius Superstructure Build
Vesuvius Firings
Repairs after Firing Five
Phoenix Firing Six
------------------------------------------------
Furnace Performance and Lehr Pots and Electric Kiln Glassblowing
|
Glassblowing
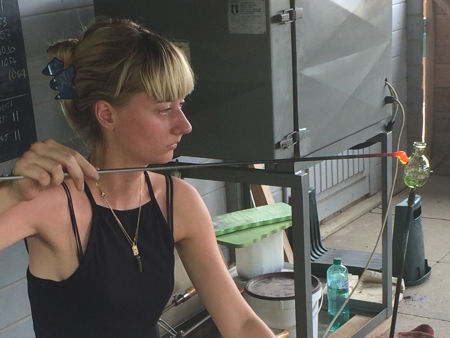
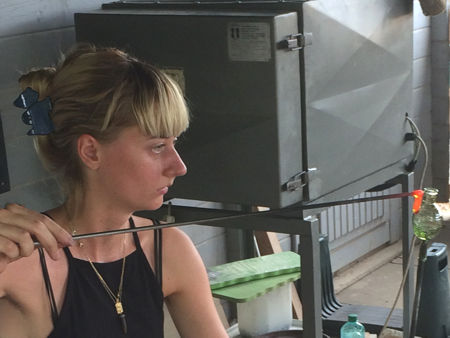
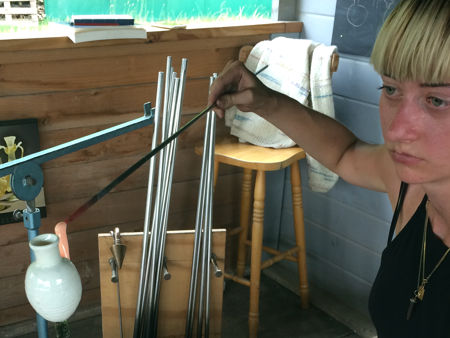
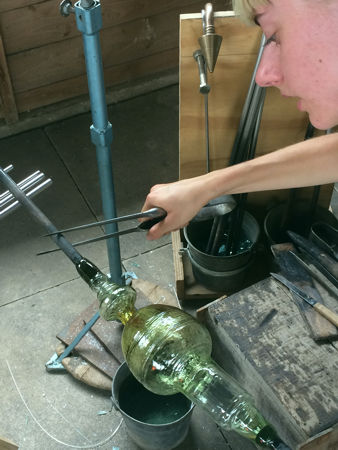
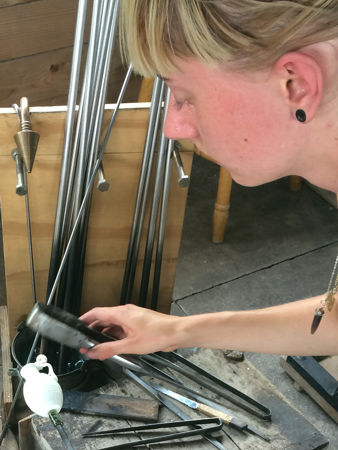
Jeanne Goutheraud Some photos of Jeanne concentrating on her work. |
|
|
|
|
|
|
|
|
|
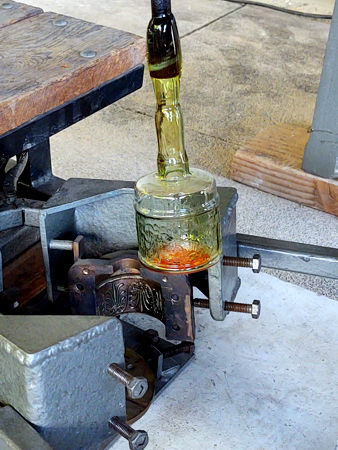
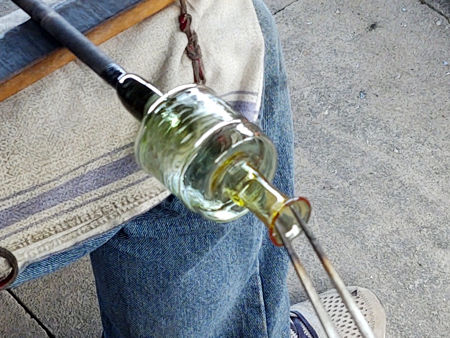
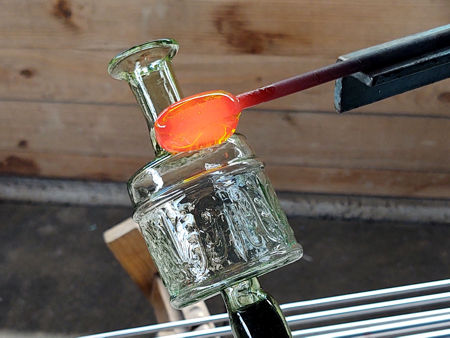
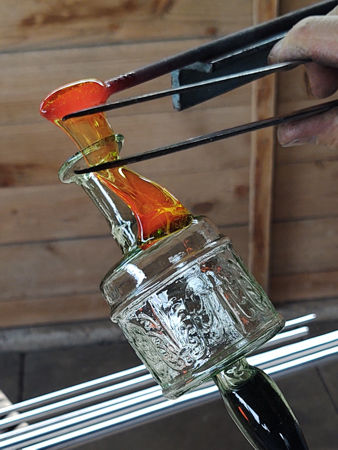
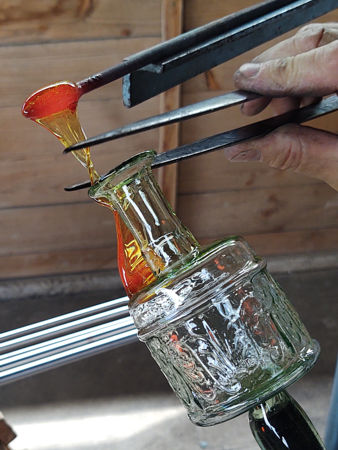
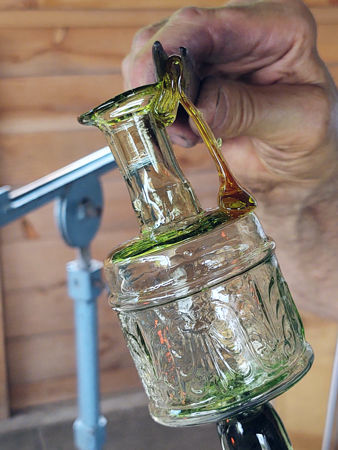
Photos of Mark blowing glass Pyxis Bottle The body is blown using the same three-part bronze mould which generates the normal pyxis. The neck is formed by pulling upwards whilst the body is still locked in the mould. Note that the lower portion of the neck preserves the upper limit of the mould - seen as a horizontal line. There are no vertical mould seams above this point. |
|
|
|
|
|
|
|
|
|
|
|
|
|
|
|
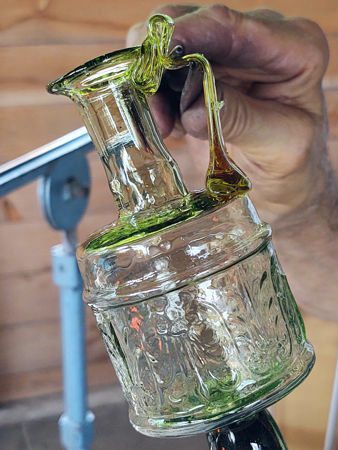
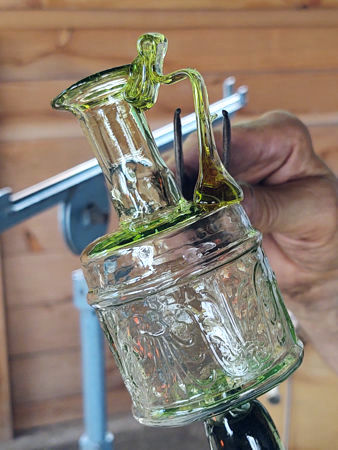
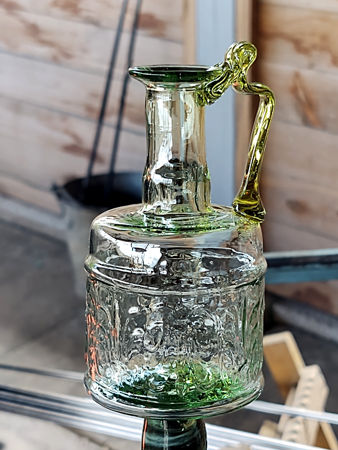
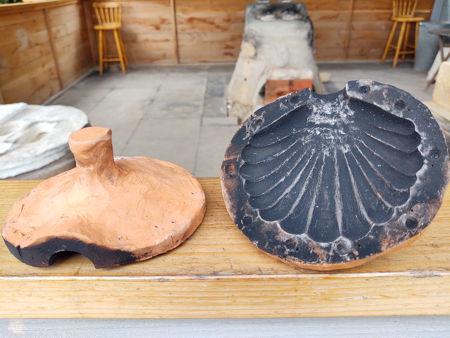
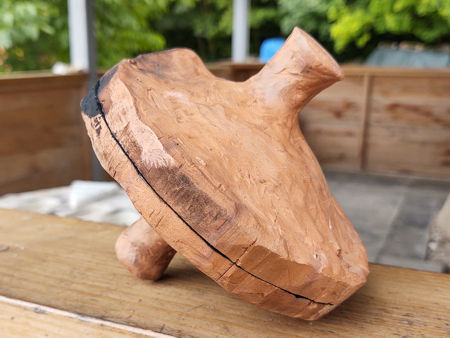
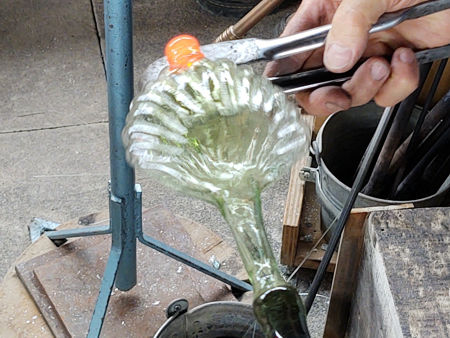
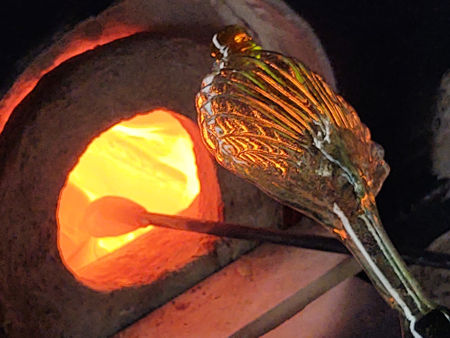
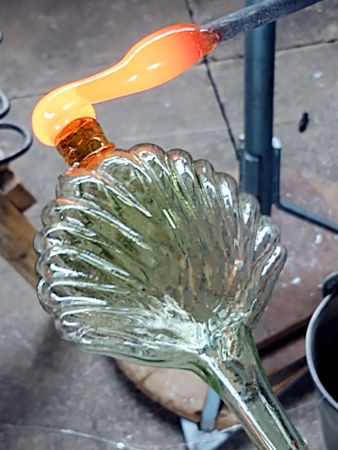
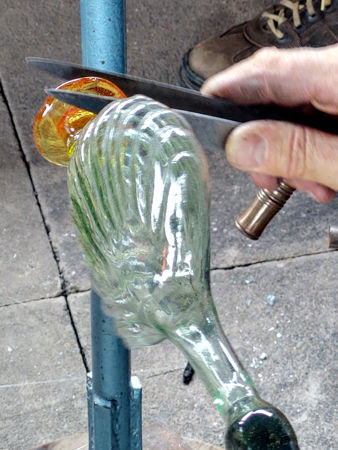
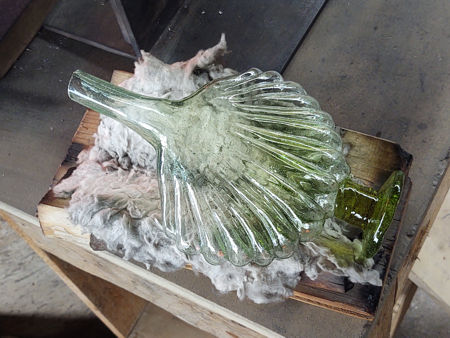
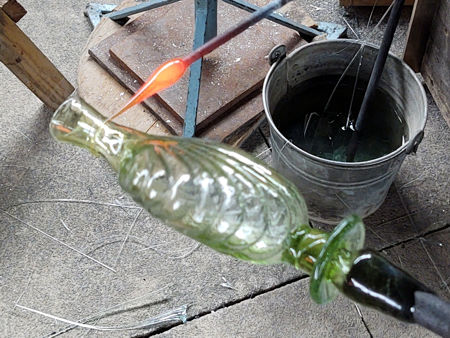
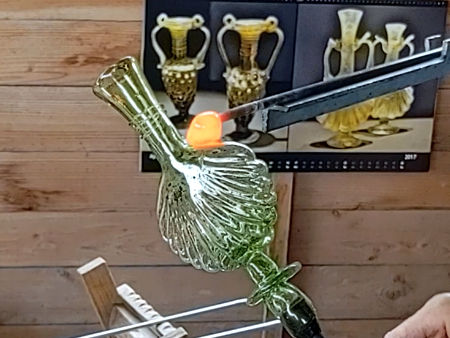
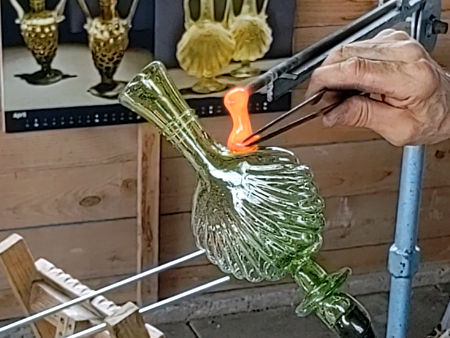
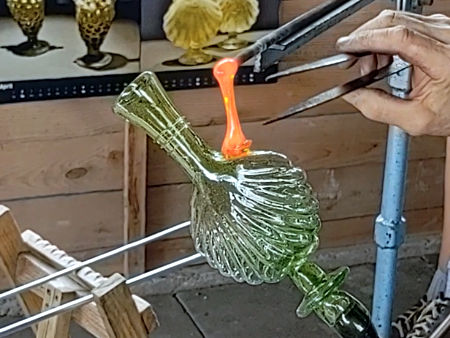
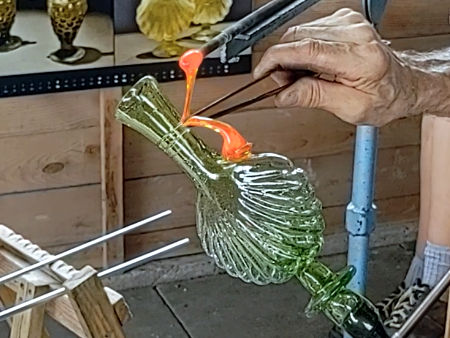
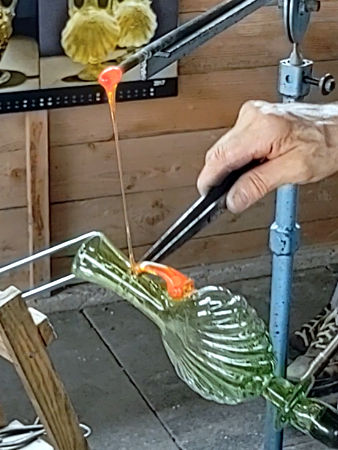
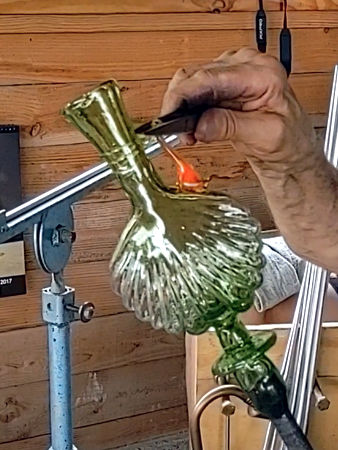
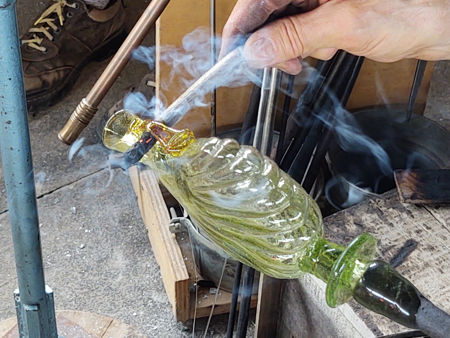
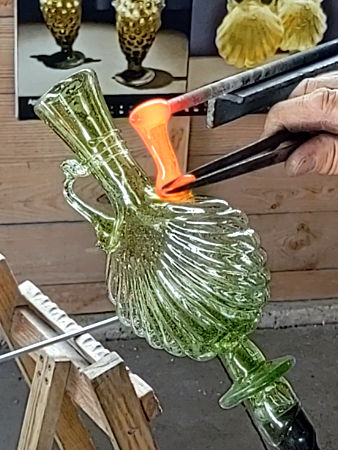
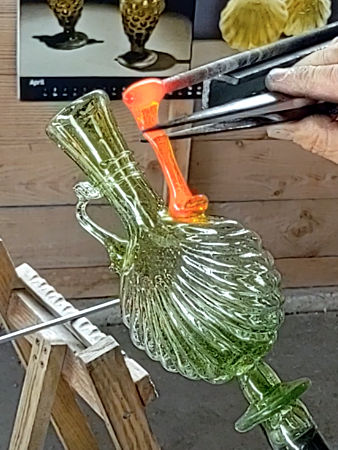
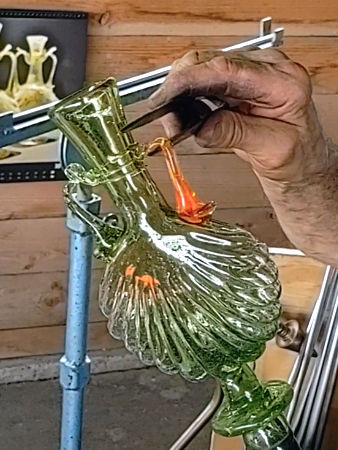
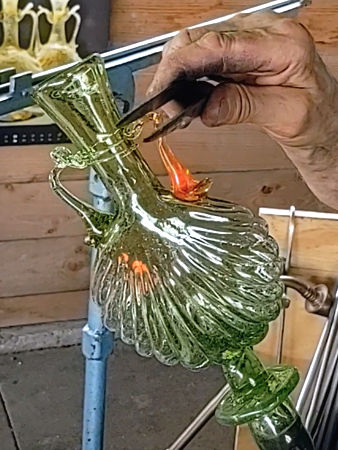
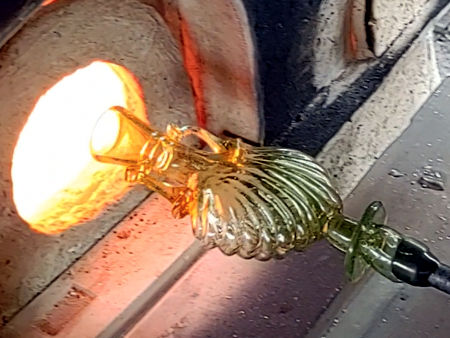
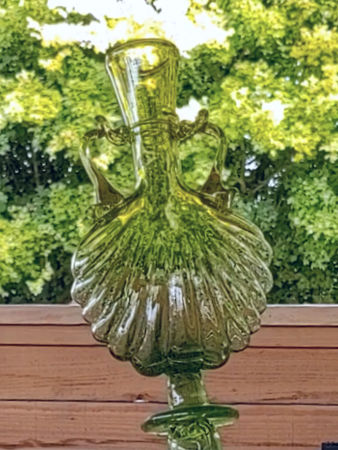
Shell Bottle Thr body is blown into a two-part fired ceramic mould (made by David). Making the parison is more involved in that it has to fit into a flat, wide space and be hot-enough to expand. The neck is made by pulling upwards whilst the body is still locked in the mould. Note that the lower portion of the neck preserves the upper limit of the mould - seen as a horizontal line. It is less distinct than when using a bronze mould as the ceramic does not chill the glass as quickly as the bronze. There are no vertical mould seams above this point. The foot that is put onto this bottle is not made in the same way as those on original shell bottles. |
|
|
|
|
|
|
|
|
|
|
|
|
|
|
|
|
|
|
|
|
|
|
|
|
|
|
|
|
|
|
|
|
|
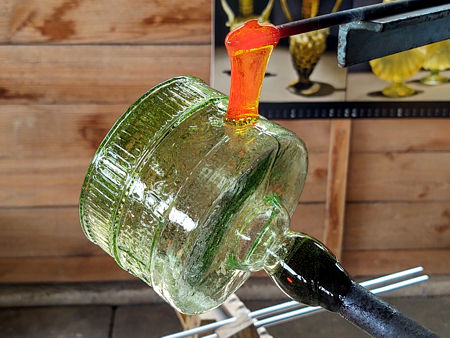
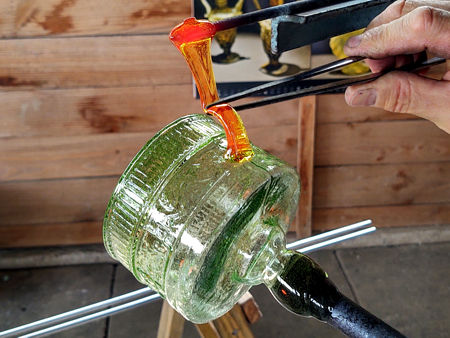
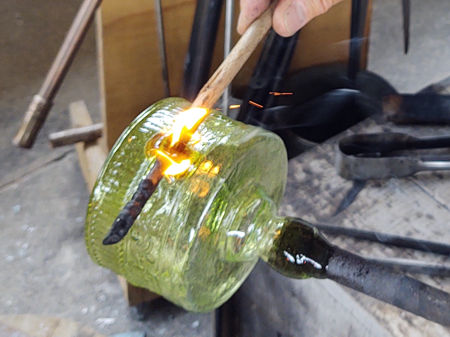
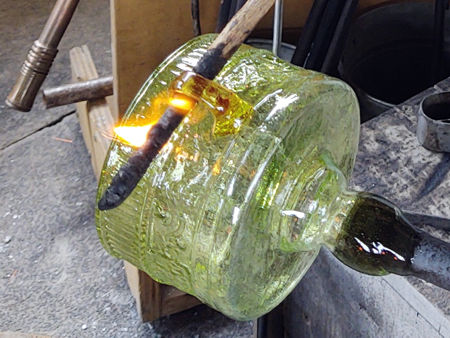
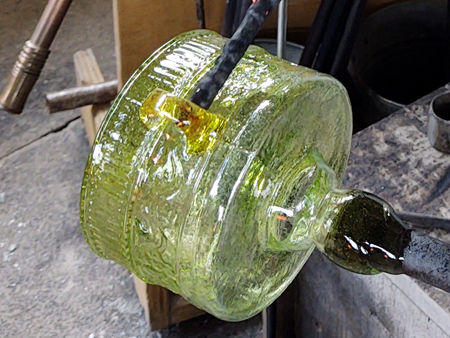
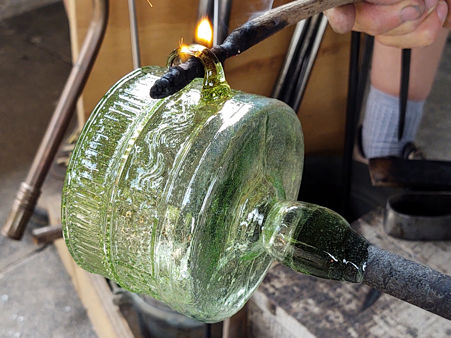
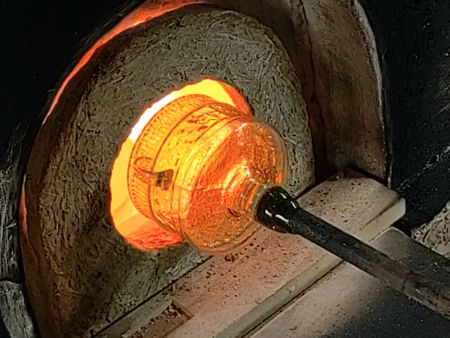
Ennion Beaker The body is blown using a three-part bronze mould (the originals are blown into a four-part mould). Both handles are attached whilst the beaker is on the blowpipe (it does not need a punty). This means that each initial lower attachment becomes the upper attachment on the finished beaker. These photos show the first handle being attached and shaped. |
|
|
|
|
|
|
|
|
|
|
|
|
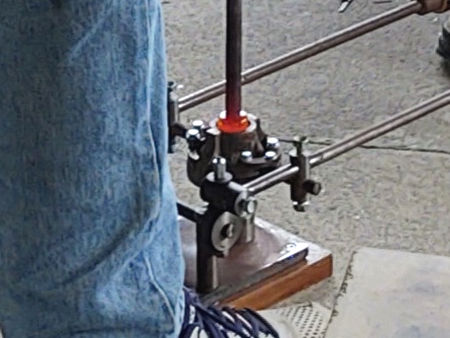
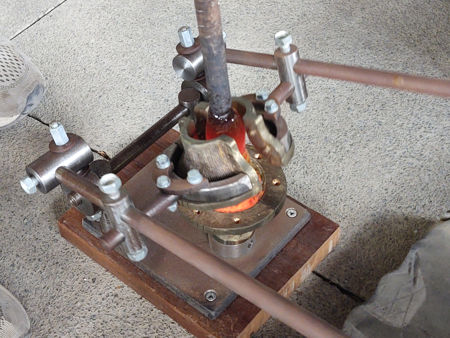
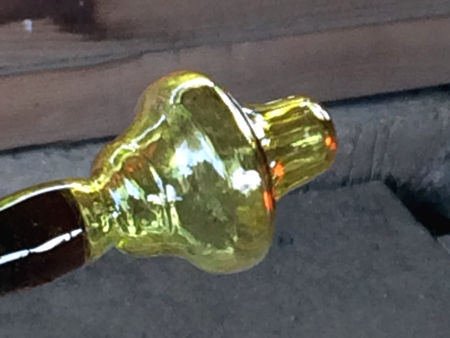
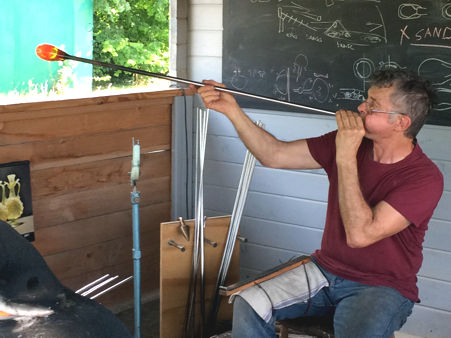
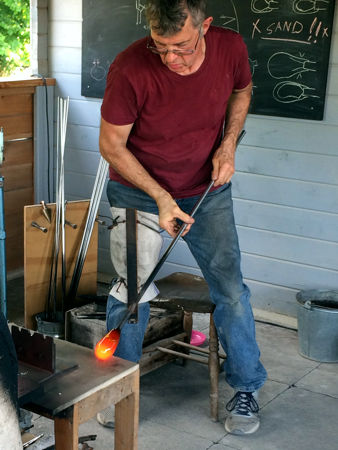
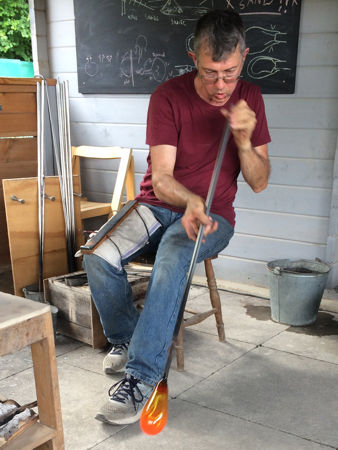
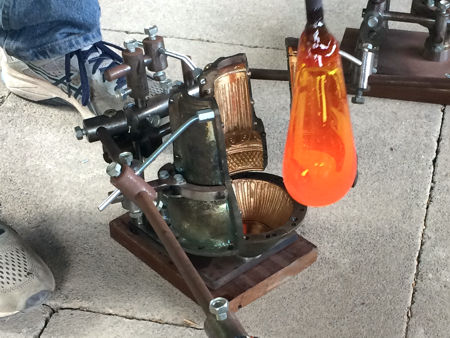
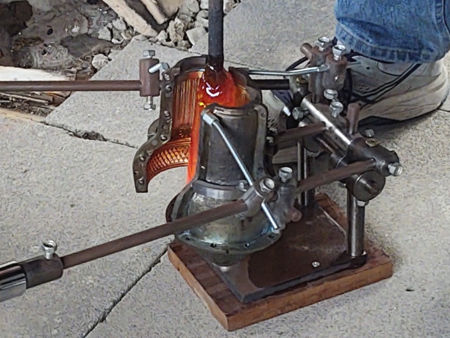
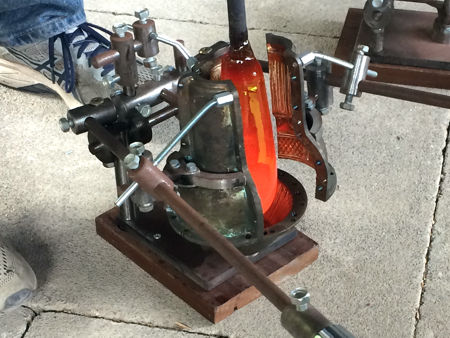
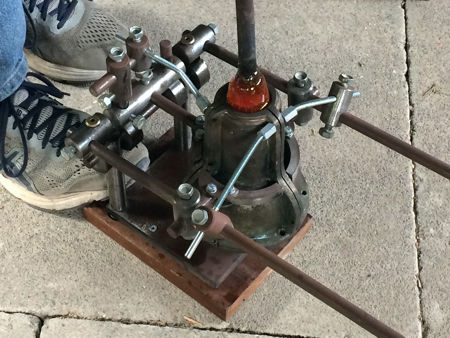
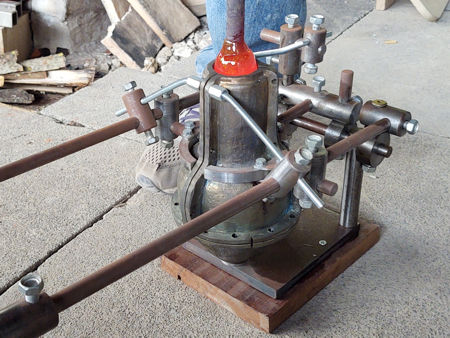
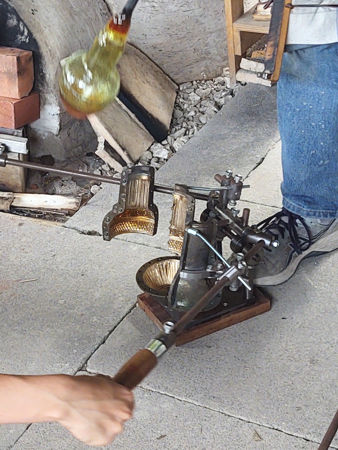
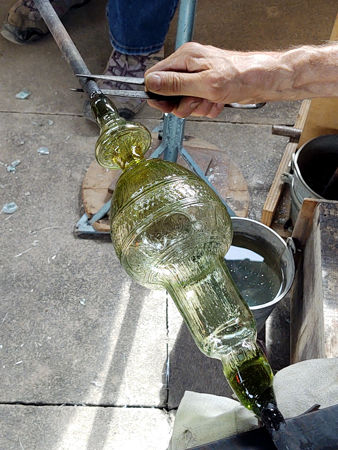
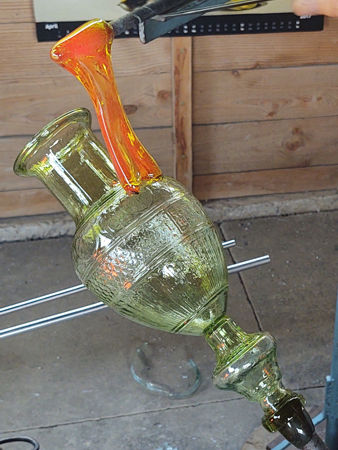
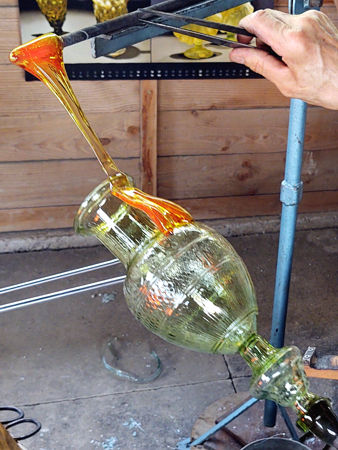
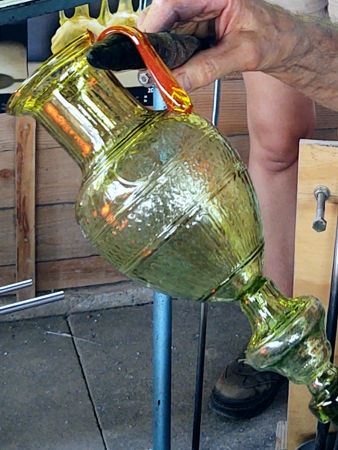
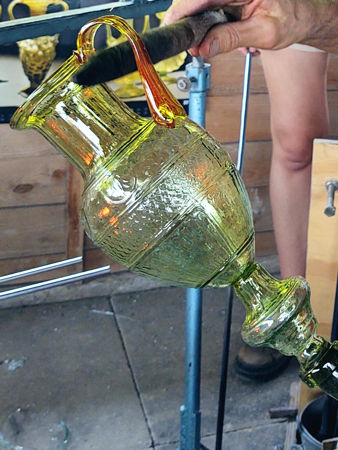
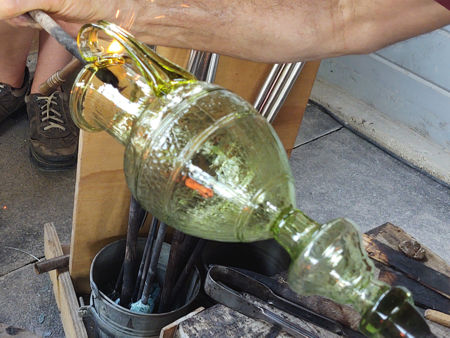
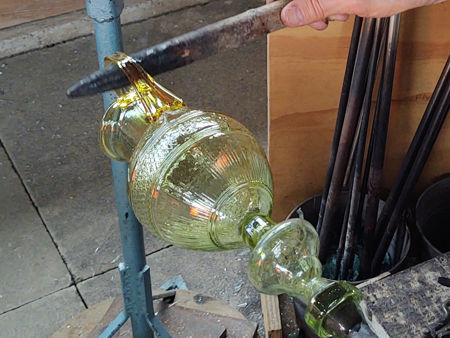
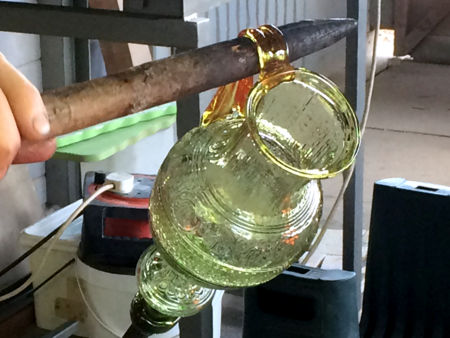
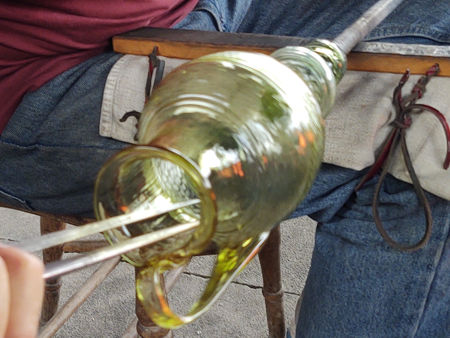
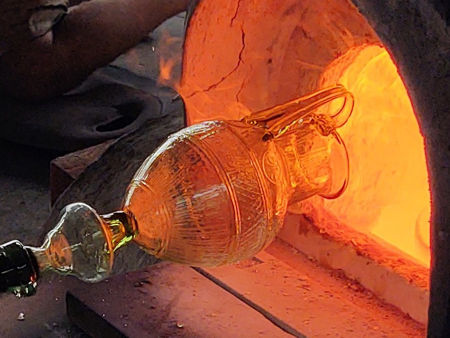
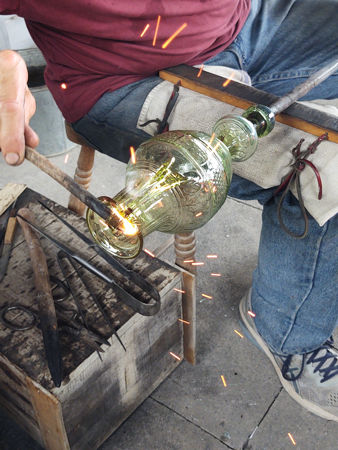
Ennion Jug The Ennion Jug, dating to the first half of the 1st century CE, is one of the earliest examples of a form of punty being used in the Roman period. The foot and body are blown separately, and the foot is used as a punty, so three people are needed to make the jug. The body is blown into a four-part mould, and the foot into a three-part mould. |
|
|
|
|
|
|
|
|
|
|
|
|
|
|
|
|
|
|
|
|
|
|
|
|
|
|
|
|
|
|
|
|
|
|
|
|
|
|
|
|
|
|
|
|
|
|
Home Gallery Contact Events & Projects Projects: 2019 Onwards Film & TV Archive & Links