 Home
Gallery
Contact
Events & Projects
Projects: 2019 On
Film & TV
Archive & Links
 Home
Gallery
Contact
Events & Projects
Projects: 2019 On
Film & TV
Archive & Links
|

|
2021 Furnace ('Phoenix') and Lehr at Quarley - Furnace Superstructure Build
Projects: 2019 Onwards
Woodshed Build
The Woodpile
IFoG Furnace Removal
Firepit Reconstruction
Furnace Superstructure Build
Phoenix Firing One
Repairs after Firing One
Phoenix Firing Two
Repairs after Firing Two
------------------------------------------------
Building The Lower Walls Building The Upper Walls Drying Out The Furnace Tunnel Height Adjustment
|
Drying Out the Furnace
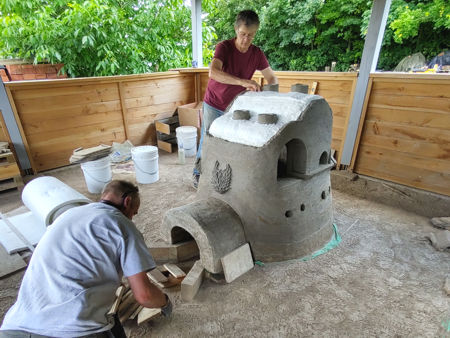
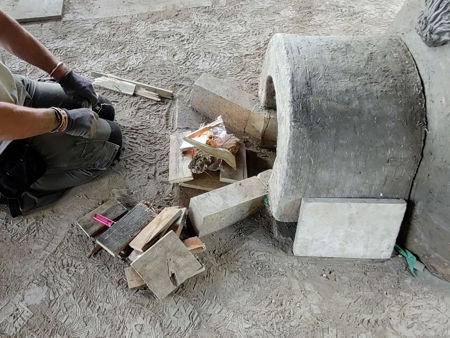
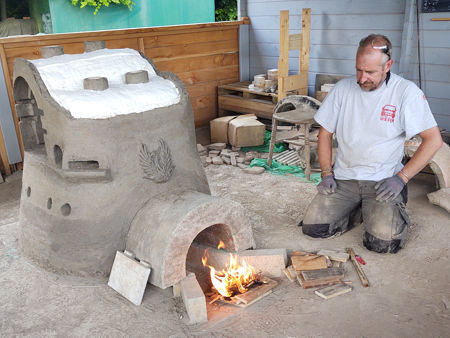
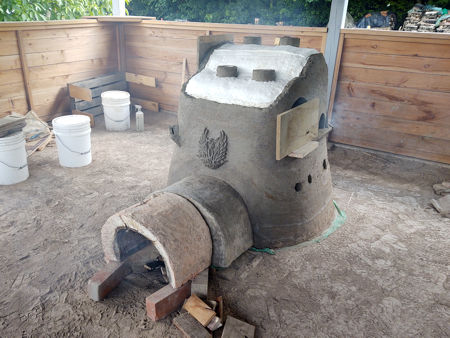
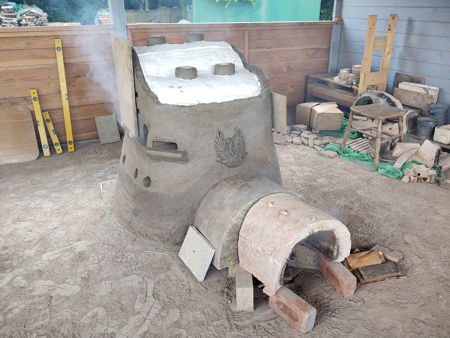
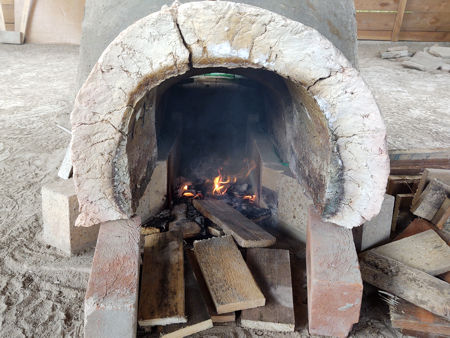
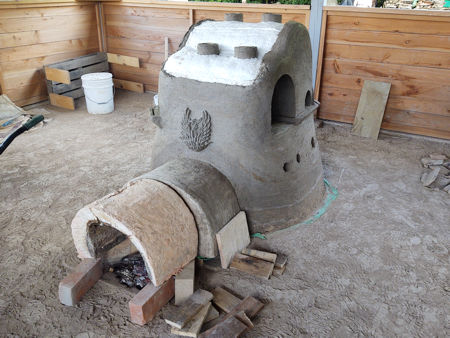
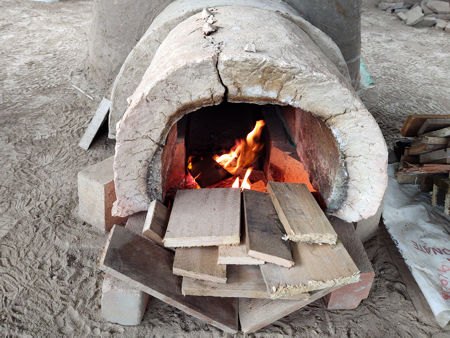
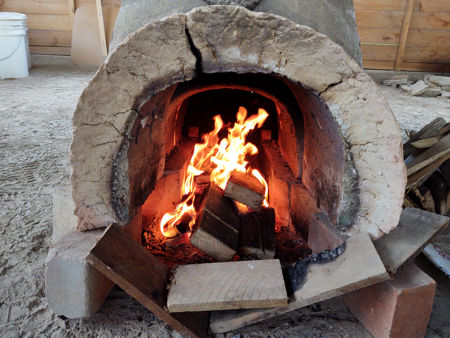
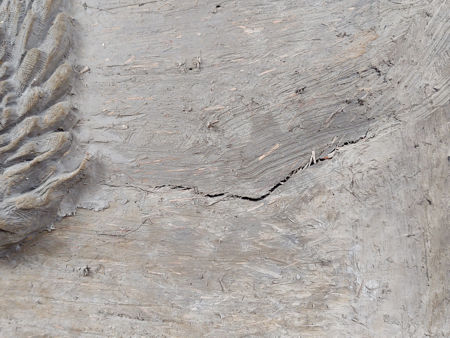
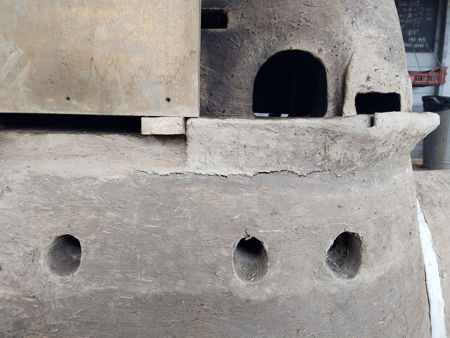
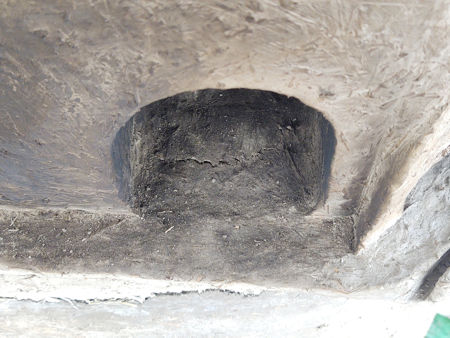
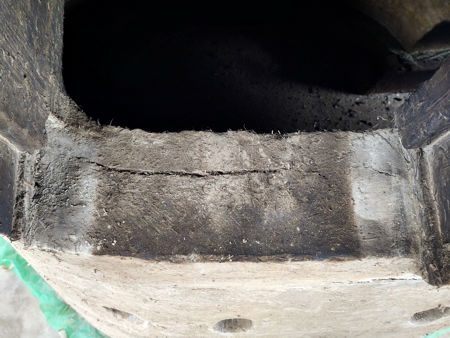
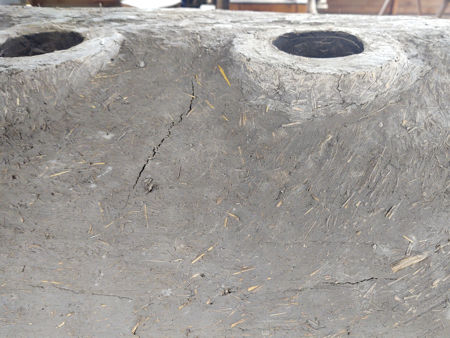
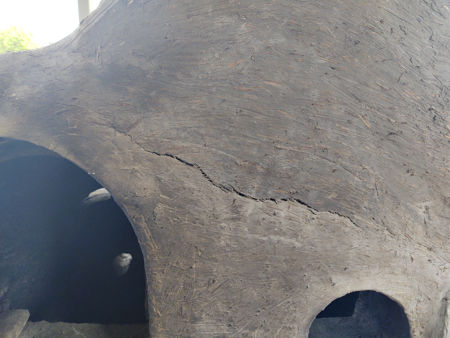
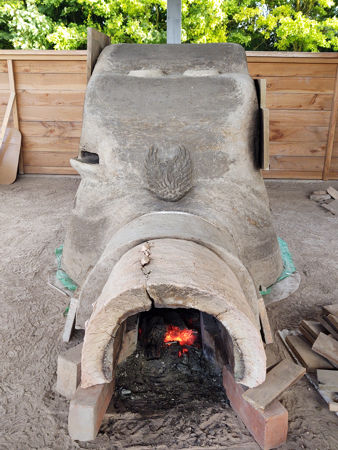
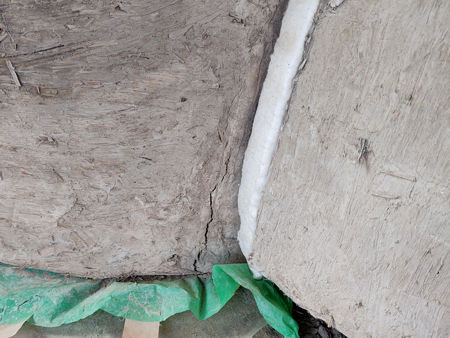
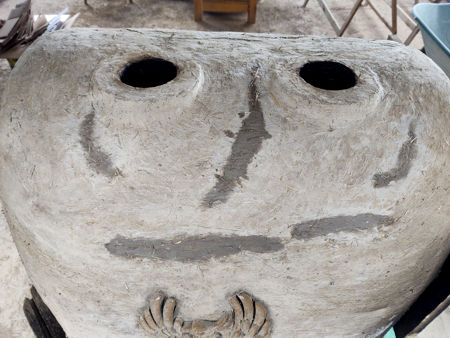
As soon as the furnace superstructure build was under way, it began to dry. This was necessary so the successive daub layers could be built on a stable base, but it also meant that shrinkage would take place. Using two layers of plastic worked in the IFoG Furnace build, but much less so in this build. No cracks showed until we started to actively dry the furnace. The weight of furnace plus the slight unevenness of the firepit walls inhibited the sliding process, leading to more cracks than we anticipated.To actively dry the furnace, we lit a fire outside the tunnel and allowed the furnace to draw in the warm air and gases. Later we added the tunnel from the IFoG Furnace and allowed the fire to extend downwards. We kept this fire going for as long as possible during the day for nine days (about 48 hours in total), keeping the temperature low; around 150°C, and burning pallet wood at a rate of c.2kg per hour. When the tunnel was dry enough to be moved, we inserted a 1" thick ceramic fibre blanket gasket between it and the furnace wall to stop leakage of smoke and heat. The cracks formed in this initial drying stage were plugged using daub. Many of them occurred at the points where the walls were left for a week or so before they were added to during the building phase, and can be seen in the photos of the back and the top of the furnace (which we had not finished before starting the fire), the floors of the gathering holes, and at the bottom of the front of the furnace where it meets the tunnel. Another consequence of the drying phase was that the horizontal slots in the large gathering hole were no longer level and the hole itself had distorted. This needed drastic measures to sort these problems out: essentially taking a saw and a chisel to the daub to reshape the hole and correct the slots. The furnace continued cracking during Firings One and Two (links on this page). Although some of these cracks looked severe, none threatened the integrity of the furnace, especially as they could be repaired after each firing. |
|
|
|
|
|
|
| |
|
|
|
|
|
|
|
|
|
|
|
|
|
|
|
|
|
Home Gallery Contact Events & Projects Projects: 2019 Onwards Film & TV Archive & Links